
Free Mural Scaling Grid Generator
Set out a mural scaling grid instantly with our 100% free generator. Enter the wall dimensions and the overlay reports each cell in metres or feet, so the grid you chalk matches the one on your reference, then export SVG or 600 DPI in seconds. No signup, no downloads needed. Trusted by 60,000+ artists worldwide.
Wall-sized squares from a small sketch
The same square division as a transfer grid, scaled for a surface measured in metres rather than centimetres. The cell that is 2 cm on the sketch is 40 cm on the wall, and the grid keeps the two in step.
6 controls, not a fixed picture
Set columns, rows, wall width and wall height, choose wall unit, toggle wall/cell labels. Every one is live on the canvas.
Stacks with draw & transfer
Overlays combine, each carrying its own transform, so this one can sit under or over square grid, rectangular and custom, and 4 more in the same set.
Print the tile, chalk the wall
Export at 600 DPI and print the ruling in sections to carry to the wall, or take the SVG for a projector or plotter. Cell sizes stated in real units survive the trip to full scale.
| Ctrl + Z | Undo |
| Ctrl + Y | Redo |
| Esc | Deselect overlay |
| Alt + drag | Free positioning (no snap) |
| Ctrl + scroll | Zoom canvas |
| Ctrl + P | |
| ? | Show this help |
A grid for a wall is a different problem from a grid for a sheet. The cell has to be a size your arm and your chalk line can actually work in, and the only way to know is to state the wall.
The mural scaling grid draws one of the 82 composition overlays in Grid Maker Pro, and the rest stack on the same image.
- 333 × 375 mm default cell
- m or ft
- SVG + 600 DPI export
- Nothing uploaded
What is a mural scaling grid?
The mural scaling grid is a free browser tool that draws an even transfer grid and reports the resulting cell size on the actual wall, in metres or feet, given the wall's dimensions. Columns run to 60 and rows to 40, and the wall can be anything from 0.1 to 200 units. It draws over your own reference, exports SVG and raster to 600 DPI, and never uploads anything.

How to use the mural scaling grid
A wall entered in metres or feet, a reference divided to match, and the cell size you will actually chalk out. The scaling is done before you are up the ladder.
Measure the wall and enter it
A mural scaling grid starts from the wall, in metres or feet, from 0.1 up to 200. This is the number everything else depends on, and it is worth measuring rather than estimating — a 5% error in the wall width is a 5% error in every cell.
JPG · PNG · GIF · WEBP
Choose the counts against your reach
The overlay reports the cell size as you change them. On a 4-metre wall, 12 columns gives a 333 mm cell, which a chalk line handles comfortably. 40 columns gives 100 mm, which is 1,600 small squares to strike and follow.
Columns · Rows · Wall unit
Check the cells are square, then export
Cells are square only when the column-to-row ratio matches the wall's. The default 12 × 8 on a 4 × 3 m wall gives 333 × 375 mm — taller than wide by an eighth. Export SVG or a raster up to 600 DPI.
PNG · JPG · PDF · SVG · up to 600 DPI
Three steps, about a minute. No signup, no upload.
What the Mural Scaling Grid does
Cell size in real units
A mural scaling grid reports its cell size on the drawing, in metres or feet. On a sheet, cell size is a convenience; on a wall it is the constraint, because a cell has to be something you can reach across and strike a line through.
Up to 60 columns
Sixty columns and forty rows is 2,400 cells, which is more than any hand-struck grid should ever be. The useful range is far lower, and the readout is how you find where it stops being practical.
Square only if the ratios match
12 columns and 8 rows on a 4 × 3 metre wall gives cells 333 mm wide and 375 tall — an eighth taller than wide. To get square cells the column-to-row ratio has to equal the wall's, so 12 × 9 would do it.
Walls to 200 units
0.1 to 200 metres or feet. That range covers a panel above a fireplace and the gable end of a building, and the cell readout is what makes both plannable in the same tool.
Over your own reference
The grid goes on the design you are working from, which is where you read each cell. The wall gets the same grid chalked out at the reported cell size.
Vector out
SVG scales without loss, which matters when the printed reference has to be readable in poor light on a scaffold. Raster export runs to 600 DPI, sized from the paper format.
Mural scaling grid examples: four ways the mural grid reads
Mural scaling grid vs a projector vs a pounced cartoon
| Option | Cell size in real units | Works in daylight | Survives interruption | Cost |
|---|---|---|---|---|
| Grid Maker Prothis tool | Metres or feet, reported | Yes | Yesthe grid stays | Free |
| A projector | No | No | Norealignment needed | Equipment |
| A pounced cartoon | Implicit, full size | Yes | Yes | Time + paper |
| Freehand from a reference | None | Yes | Yes | Free |
Who a mural scaling grid is for: surfaces you cannot see all at once
How a mural scaling grid works — Gridding a wall: the same method, a different set of constraints
The grid method does not change when the target is a wall, which makes this the one of the 82 composition overlays whose difficulty is entirely physical. What changes is every practical constraint around it — the cell size is limited by your reach, the accuracy by a chalk line, and the schedule by the fact that you cannot see the whole thing at once.
The underlying operation is identical to any transfer: divide the source into cells, divide the target into the same number, copy cell by cell. Nothing about the geometry cares whether the target is a sheet of paper or a gable end.
Choosing a cell size for a wall
Everything else cares. On paper the cell size is chosen for accuracy. On a wall it is chosen for reach — a cell has to be something you can span with a straight edge and see the whole of while you are standing close to it.
The comfortable range in practice runs from about 250 mm to about 600 mm. Below 250 you are striking a great many lines for very little extra accuracy; above 600 you cannot judge a cell's contents from a working distance because you cannot see it all at once.
That range translates directly into a column count once you know the wall. On a 4-metre wall, 12 columns gives 333 mm and sits comfortably in the middle. Eight columns gives 500 mm, still workable. Forty columns gives 100 mm — 1,600 cells to strike, and no gain that survives a brush.
Which is why the readout matters more here than on any other transfer grid. The count is not the decision; the resulting physical cell is, and the count is just how you get there.
Why your cells are probably not square
The default of 12 × 8 on a 4 × 3 metre wall makes a point worth noticing: the cells come out 333 mm wide and 375 mm tall. Not square. An eighth taller than wide, which is enough to distort a transfer noticeably.
Cells are square only when the column-to-row ratio equals the wall's width-to-height ratio. A 4 × 3 wall needs a 4:3 count — 12 × 9, or 8 × 6, or 16 × 12. Any other pairing gives rectangular cells, and if your reference is gridded with square cells the copy will stretch.
This is the same failure the rectangular grid page describes, and it bites harder on a wall because the error is discovered later. A distorted drawing on paper is a wasted afternoon; a distorted mural is a wasted week.
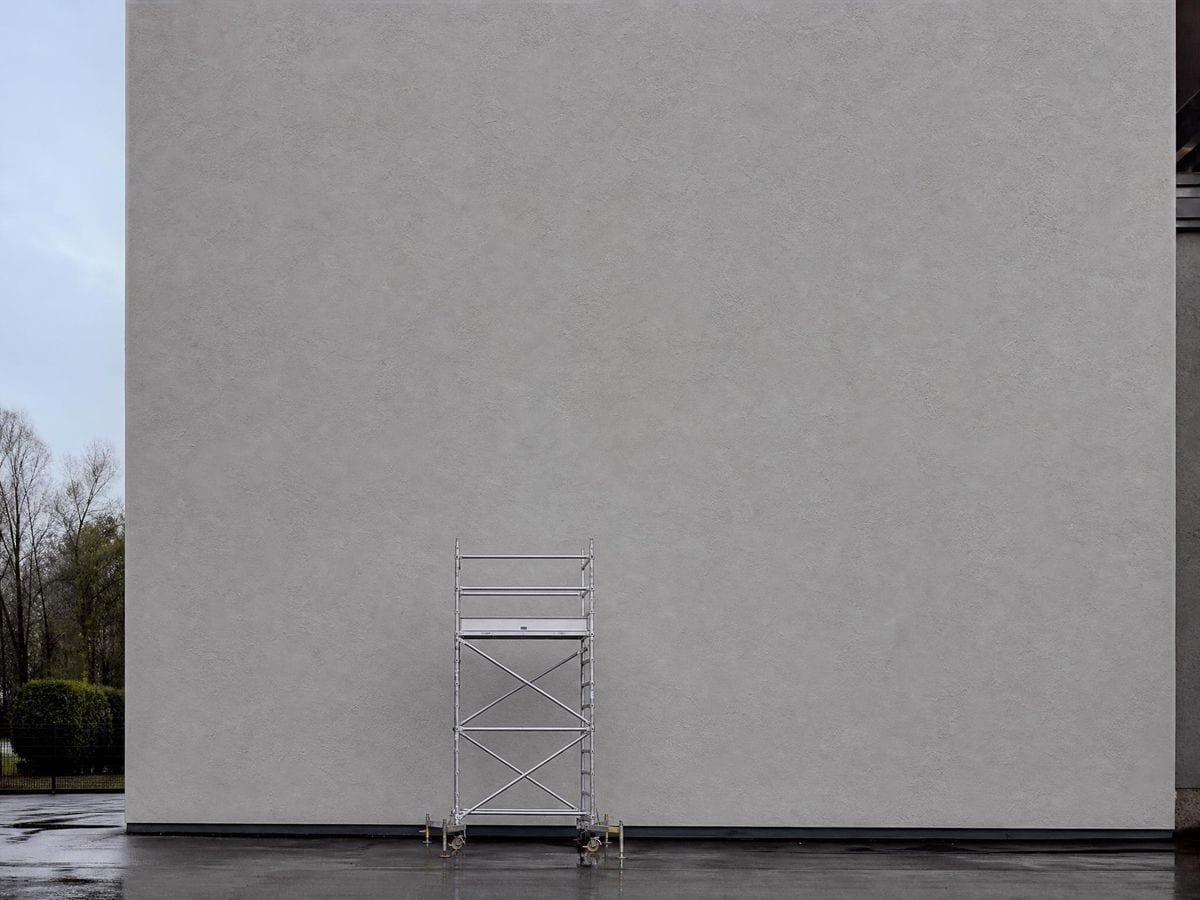
The mural scaling overlay page covers the technique, beside the rest of the guides for artists. Striking the grid is its own skill. A chalk line is the standard tool and it is accurate over long spans, but it needs two people or a hook, and it goes out of true if the line sags. On anything above about three metres, snapping from both ends and checking the middle is worth the extra minute.
Plumb, level, and walls that are not rectangular
Plumb and level matter more than they do on paper for an obvious reason: a wall has a real vertical, and a grid a degree off it will fight the building. Setting the first vertical with a plumb line or a laser and measuring everything from it is the standard sequence.
Walls are also rarely rectangular. Corners are out of square, floors slope, and a grid struck by measuring from the floor will not agree with one struck by measuring from the ceiling. Deciding which datum matters — usually eye level or the dominant sight line — is a design decision made before the first line.
Numbering at mural scale
Numbering the cells is not optional at this scale. A mural is worked in sections over days, from a ladder or scaffold, often by more than one person, and the only thing keeping the transfer coherent is that everyone agrees which cell is which. Letters across and numbers down is the convention.
The reference should carry the same numbering, printed large enough to read in whatever light the site has. That sounds trivial and it is the difference between a smooth job and one interrupted every twenty minutes by someone squinting at a phone.
For exterior work, chalk is the usual marking medium precisely because it washes off. Charcoal works and stains. Pencil on masonry is nearly invisible at working distance. Whatever you use, testing it on an offcut of the actual substrate before committing is worth the five minutes.
Gridding against projecting
The alternative to gridding is projection, and it is genuinely faster when conditions allow. It needs darkness, a position in front of the wall with nothing in the way, mains power, and a surface you can trace onto in that darkness. Exterior daytime work meets none of those.
The grid's real advantage is durability. A chalked grid survives an interruption, a change of shift, a day of rain under cover, and a decision to change the design halfway through. A projected outline exists only while the projector is on and aligned.
It also survives being wrong. If a cell's contents come out badly, you repaint that cell against a grid that is still there. With a projection, correcting anything means setting the whole projection up again in exactly the same position.
For very large work the usual approach is to grid coarsely and subdivide locally. A 600 mm primary grid over the whole wall, then a halved grid chalked in only where a face or a piece of lettering needs it. That keeps the striking effort proportional to where the detail actually is.
Units, and measuring the wall
The unit switch between metres and feet is not cosmetic. Working in the unit your tape reads removes an arithmetic step at every measurement, and arithmetic at every measurement on a ladder is where errors come from.
The wall dimension itself is worth measuring rather than taking from a drawing. Buildings are not built to their drawings, and a 5% discrepancy in the wall width becomes a 5% discrepancy in every cell — which accumulates across the width into a very visible drift by the far edge.
For anything under about two metres, the transfer scaling grid generator is the better tool, and the mural scaling calculator works out the cell size before you draw anything: it reports in millimetres, which is the useful unit at that size, and it handles the source-and-target comparison explicitly.
The grid draws over your own reference rather than exporting a fixed template because the reference is what you read from. The wall gets the physical grid, struck at the size the readout gives.
The export sizes itself from the paper format and the DPI you choose rather than from your screen, so a reference printed at A3 and 600 DPI stays readable on site. SVG scales without loss for anything larger.
Everything runs in your browser. Images you load are never uploaded, because there is no server for them to reach. The drawing, the transform and the export all happen on your own machine.
Where a mural scaling grid gets used
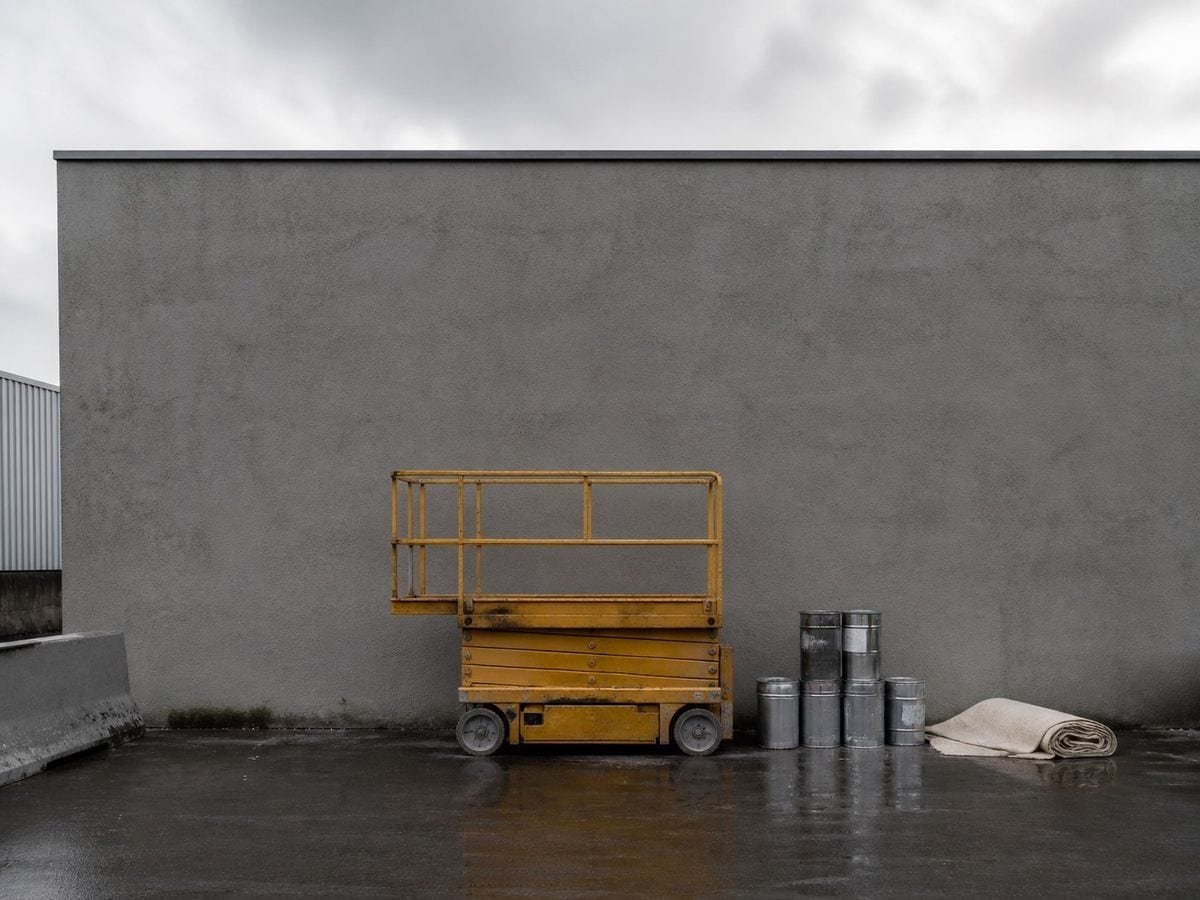
Between 250 and 600 mm a cell. Below that you strike lines all day; above it you cannot see a whole cell from working distance.
Measure the wall, do not take it from the drawing. Buildings are not built to their drawings and the error accumulates across the width.
Grid coarsely, subdivide locally. A halved grid only where a face needs it keeps the striking effort where the detail is.
Mural scaling grid: frequently asked questions
The geometry
What cell size should I aim for?
Between about 250 and 600 mm. Below 250 you are striking a great many lines for accuracy a brush will not preserve; above 600 you cannot judge a cell's contents from working distance because you cannot see the whole of it at once.
What does that mean in columns?
On a 4-metre wall, twelve columns gives a 333 mm cell and eight gives 500 mm — both comfortable to work in. The count follows the wall, which is why the overlay reports the cell rather than just the number: forty columns on the same wall gives 100 mm, which is 1,600 cells to strike for no gain.
Does it matter if the cells are not square?
It matters a great deal. If your reference is gridded with square cells and the wall's are not, every shape in the transfer stretches by the difference — uniformly, so nothing looks locally wrong. On a wall that error is discovered late and costs a week rather than an afternoon.
What about walls that are out of square?
Most are. Corners are off, floors slope, and a grid measured from the floor will not agree with one measured from the ceiling. Deciding which datum governs — usually eye level or the dominant sight line — is a design decision to make before the first line.
Is a projector better?
Faster where the conditions allow it — darkness, a clear position in front of the wall, power, and a surface to trace on in the dark. Exterior daytime work meets none of those. The grid's advantage is durability: it survives interruption, a change of shift and a mid-job design change, and a projected outline does not.
Should I measure the wall or use the drawing?
Measure it. Buildings are not built to their drawings, and a 5% discrepancy in the wall width becomes a 5% discrepancy in every cell — which accumulates across the width into a visible drift by the far edge.
Using it
Why are the default cells not square?
Because 12 columns and 8 rows on a 4 × 3 metre wall gives 333 mm wide by 375 tall — an eighth taller than wide. Cells are square only when the column-to-row ratio equals the wall's, so a 4:3 wall wants 12 × 9, 8 × 6 or 16 × 12.
How do I strike the grid accurately?
A chalk line, snapped from both ends and checked in the middle on anything above about three metres — a sagging line goes out of true. Set the first vertical with a plumb line or a laser and measure everything from it, because a grid a degree off vertical will fight the building.
Can I add diagonals to the wall cells?
Yes — the diagonal cell overlay runs alongside this one as a companion, which helps on the large cells a wall forces on you. Set its counts to match the ones here; it carries its own.
Export and print
What do I print to take up the scaffold?
The reference with the grid on it and the wall/cell labels showing, at the largest paper size your printer takes. The labels are the part that matters up a ladder — reading "C7" off a sheet beats counting cells across a wall you are standing too close to see.
Should I export the grid alone as well?
It is worth having. A transparent grid-only PNG at the wall's proportion is what you check the struck lines against afterwards — photograph the wall, drop the grid over it, and any cell that drifted shows up before you have painted into it.
Choosing a grid
Do I need to number the cells?
At this scale, yes. A mural is worked in sections over days, from a ladder, often by more than one person, and shared cell references are the only thing keeping the transfer coherent. Print the reference with the same numbering, large enough to read in the light the site actually has.
Should I use the transfer scaling grid instead?
If the target is a sheet rather than a wall, yes. The transfer scaling grid takes two sets of dimensions and reports both cell sizes; this one is specialised for walls, in metres or feet, with a reach-sized cell as the governing constraint.
Is a projector better for a mural?
In a dark room on a flat wall, yes — it is faster. Outdoors, in daylight, on a wall with no throw distance, or with people walking through the beam, it is not an option at all, and the grid is. Many muralists project the outline and grid the detail.
Practical matters
Does anything I load get uploaded?
No. There is no server to upload to. The image is read by your browser, the grid is drawn on your machine, and the export is generated locally.
Can I use it on a commissioned mural?
Yes. Nothing here is metered or watermarked and the terms leave the artwork yours. The grid method itself is centuries old and unowned — it is how the Sistine ceiling got off the cartoon.
Open the tool Mural scaling grid
A cell you can reach across
A mural scaling grid takes the wall's size and reports what one cell measures on it. Export vector or 600 DPI. No signup, nothing uploaded.
Back to the generator →