
Free Custom Grid Maker
Build a custom grid from real measurements instantly with our 100% free custom grid maker. Upload any image, set the cell size in mm, cm, inches or pixels rather than a count, add labels and margins, highlight any cell, then export SVG or 600 DPI in seconds. No signup, no downloads needed. Trusted by 60,000+ artists worldwide.
A grid you specify outright
Rows, columns, margins and cell size are all given rather than derived, so the ruling can be matched to a sheet, a canvas or a printed template you already own instead of the other way round.
13 controls, not a fixed picture
Set columns, rows, cell size and lock cells square, choose set cells by, cell unit and cell labels, toggle cell labels. 13 controls in all, every one live on the canvas.
Stacks with draw & transfer
Overlays combine, each carrying its own transform, so this one can sit under or over square grid, rectangular and transfer scale, and 4 more in the same set.
Matches stock you already have
Set the cell size in real units and export as PDF at 300 or 600 DPI to print at true scale, or as SVG for a cutter or plotter that needs paths rather than pixels.
| Ctrl + Z | Undo |
| Ctrl + Y | Redo |
| Esc | Deselect overlay |
| Alt + drag | Free positioning (no snap) |
| Ctrl + scroll | Zoom canvas |
| Ctrl + P | |
| ? | Show this help |
Every other grid here asks how many cells you want. This one lets you say how big they should be, in the units your work is actually measured in.
The custom grid maker draws one of the 82 composition overlays in Grid Maker Pro, and the rest stack on the same image.
- mm · cm · in · px
- 21 × 29 at 10 mm on A4
- SVG + 600 DPI export
- Nothing uploaded
What is a custom grid?
The custom grid maker is a free browser tool that draws a grid specified either by cell count or by physical cell size. Sizes run from 0.1 to 500 in millimetres, centimetres, inches or pixels, with labels, a margin, a half-grid subdivision and one highlightable cell. It draws over your own photograph or a blank canvas, exports SVG and raster to 600 DPI, and never uploads anything.

How to use the custom grid
Your own column and row counts, your own margins, your own cell labels — for the transfers that no preset happens to fit.
Switch from count to size
The mode selector decides whether you are specifying how many cells or how big they are. For anything that will be printed, measured or transferred to a physical surface, size is the more useful of the two.
JPG · PNG · GIF · WEBP
Choose the unit and the size
Millimetres, centimetres, inches or pixels, from 0.1 to 500. 10 mm cells on A4 give 21 across and 29 down; 5 mm gives 42 × 59; a quarter inch gives the classic graph-paper spacing.
Columns · Rows · Cell labels
Add the labelling you need, then export
Labels, margin and highlight are all optional and all serve the same purpose — making the grid usable by more than one person. Export SVG or a raster up to 600 DPI, sized from the paper rather than from your screen.
PNG · JPG · PDF · SVG · up to 600 DPI
Three steps, about a minute. No signup, no upload.
What the Custom Grid Maker does
Real units
A custom grid takes its size in millimetres, centimetres, inches or pixels. If the finished work is measured in one of those, specifying the grid in the same unit removes an arithmetic step and the error that comes with it.
The count follows
10 mm cells on an A4 sheet give 21 across and 29 down — 609 whole cells. You do not compute that; you state the size and the grid works it out, which is the right way round when the size is the constraint.
A margin to write in
0% to 25%, insetting the whole grid. Every printed worksheet has a border, and having somewhere to write that is not on top of the drawing is the difference between a usable sheet and an annotated mess.
Two label systems
A1-style for letters-and-numbers, numeric for 1-1 and 2-2, or none. Numeric suits anything that will be read aloud or entered into a spreadsheet; alphabetic suits anything a person will navigate by eye.
One cell, called out
A highlight at 2.2× the line weight picks out a single cell. In a classroom it is a pointer; over a long transfer it is a place-keeper; in a client conversation it is how two people agree what they are looking at.
Printed at the size you said
The export is sized from the paper format and the DPI, not from your screen, so a 10 mm cell specified here prints as a 10 mm cell. Vector export keeps every line and every label editable.
Custom grid examples: four ways the custom grid reads
Custom grid vs printed graph paper vs drawing it in a vector app
| Option | Cells by size | Unit choice | Vector export | Cost |
|---|---|---|---|---|
| Grid Maker Prothis tool | Yes0.1 to 500 | mm, cm, inches, pixels | SVG + raster to 600 DPI | Free |
| Printed graph paper | Fixed by the pad | One | No | Per pad |
| Drawing it in a vector app | Yes | Yes | Yes | Subscription |
| A grid plugin or generator site | Sometimes | Usually one | Sometimes | Varies |
Who a custom grid is for: work with a physical unit
How a custom grid works — Specifying a grid by size: the case for working backwards from the paper
Almost every one of the 82 composition overlays asks how many cells you want. That is the wrong question whenever the cell size is the thing constrained by the work — which is most of the time in anything that gets printed, cut, stitched or built.
The two ways to specify a grid are by count and by size, and they are not interchangeable. Count fixes the number of divisions and lets the cell size fall out of the canvas dimensions. Size fixes the cell and lets the count fall out.
Which is correct depends entirely on what is constrained. If the work is a drawing exercise and the only requirement is enough cells to be useful, count is fine. If the work will be printed at a specific size, transferred to a surface with its own measurements, or matched to an existing grid, size is the only sensible input.
Working backwards from the paper
Consider a printed worksheet. You want 10 mm cells because that is what a ruler reads easily and what a child's hand can work within. Specifying by count means computing 210 ÷ 10 and 297 ÷ 10, deciding what to do with the remainder, and repeating the whole exercise if the paper size changes.
Specifying by size means typing 10. The grid works out that A4 takes 21 cells across and 29 down — 609 whole cells — and puts the remainder where it belongs.
The same logic covers a long list of practical cases. A 5 mm grid gives 42 × 59 on A4, which is the standard fine graph paper. A quarter-inch grid is the classic American equivalent. A 20 mm grid gives 10 × 14 and is coarse enough for a young child. A 25 mm grid gives 8 × 11 and is what a lot of transfer work uses because an inch is easy to eyeball on the receiving surface.
Grids for craft: cross stitch, knitting and beadwork
Craft work is where this matters most, because the receiving surface has a grid of its own that you do not control. Cross-stitch fabric is specified in threads per inch — 14-count aida has 14 stitches to the inch, so a grid at one-fourteenth of an inch corresponds to the fabric exactly.
Knitting is the same problem with different numbers. A gauge swatch gives stitches and rows per ten centimetres, and a chart drawn on a grid matching that gauge produces a garment the size you intended. A chart drawn on square cells when the gauge is not square produces one that is not.
That last point is worth dwelling on, because knitting gauge is almost never square. Rows per centimetre and stitches per centimetre differ, typically with more rows than stitches, so a design charted on square cells comes out compressed vertically in the finished fabric. The fix is a grid whose cells match the gauge ratio.
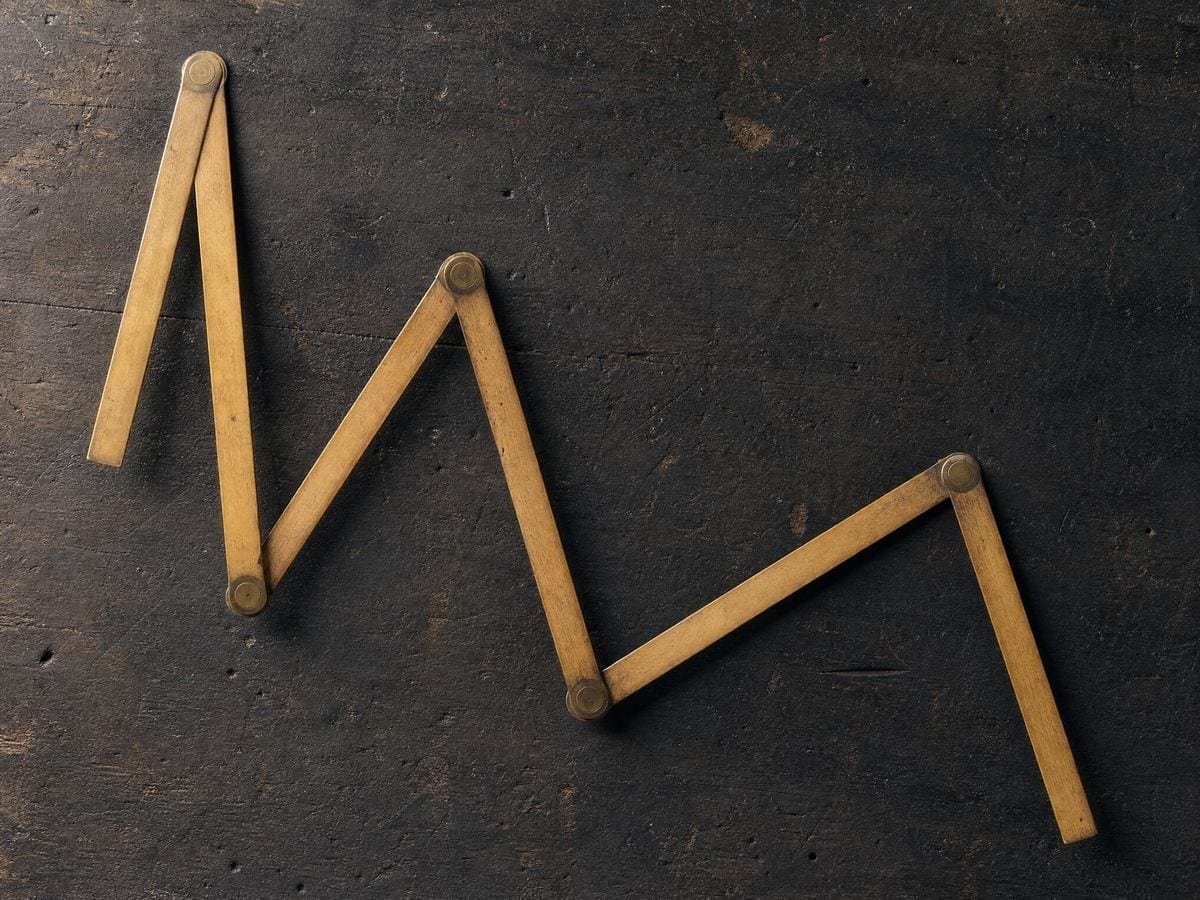
Beadwork, needlepoint, mosaic, tiling, pixel art and quilting all have the same structure: a physical unit determined by the material, and a design that has to be laid out in whole units of it. In every case, size is the input and count is the output.
For a grid specified by count rather than by size the rectangular grid generator is the tool, and the printable graph paper generator prints a blank sheet at the same spacing. For woodwork and metalwork the constraint is the measuring tool. If you are marking out with a rule in millimetres, a grid in millimetres transfers directly; a grid in some fraction of the workpiece requires arithmetic at every mark, and arithmetic at every mark is where errors enter.
Choosing your unit
The unit choice matters more than it looks. Working in the unit your instruments read is the single largest error reduction available in any transfer process, and it is free. Mixed units — a design in inches marked out with a metric rule — is the classic source of the error that is discovered after the cut.
Pixels are the fourth unit and they serve a different purpose: matching a digital canvas exactly. For pixel art, sprite work, icon grids and anything that will be displayed at 1:1, a grid specified in pixels is the only one that lands on pixel boundaries.
Margins, and what the printer clips
The margin control exists for the printed case. Every worksheet, every plan and every drawing sheet has a border, and the border is not decoration — it is where the sheet is held, where it is punched, and where things get written that are about the drawing rather than in it.
A grid running to the edge of the paper is also a grid that will be clipped by any printer with a non-printable margin, which is nearly all of them. Insetting by 5% avoids losing the outer row and column to the hardware.
Labels, half grids and the highlight
The labelling serves collaboration. A grid with no labels is usable by one person; a grid with labels is usable by two, because they can name a cell rather than point at one. That distinction turns out to be the whole difference between a personal tool and a teaching one.
The two label modes serve different situations. A1-style — letters across, numbers down — is what people navigate by eye, and it is self-describing so C4 cannot be confused with 4C. Numeric pairs, 1-1 and 2-2, suit anything that will be read aloud, dictated, or entered into a spreadsheet or a stitch chart.
Label size runs from 40% to 220% for the same reason. A worksheet held at reading distance wants small labels that do not compete with the drawing; a demonstration on a wall wants labels legible across a room. One setting cannot serve both.
The half-grid subdivision doubles the resolution at 45% opacity without renumbering. That combination is what makes it useful: the coarse coordinates survive, so a note that says "C4" still points at the same place, and the finer level is visibly subordinate rather than competing.
The highlight singles out one cell at 2.2 times the line weight, and it is more useful than it sounds. Over a transfer that takes hours, losing your place is the most common interruption, and a marked cell is a bookmark. In a lesson it is a pointer that survives the teacher walking away from the screen.
One thing to watch when working by size
There is one thing to be careful about when working by size: the cell size is applied to the canvas as drawn, so if you subsequently change the paper format the count changes rather than the size. That is the correct behaviour — you asked for 10 mm cells — but it means a grid set up for A4 will have a different number of cells on A3.
Which is usually what you want and occasionally is not. If the requirement is the same grid at two sizes, specify by count; if it is the same cell size on two sheets, specify by size. The mode switch exists precisely because both requirements are real.
The grid draws over your own image rather than exporting a fixed template because the size question is usually asked against something. Whether 10 mm cells are fine enough for a particular subject is a judgement about that subject, made by looking.
The export sizes itself from the paper format and the DPI you choose rather than from your screen, which is what makes a specified cell size meaningful — a 10 mm cell here prints as a 10 mm cell there. SVG keeps every line editable and every label as text. The custom grid overlay page works through them, beside the rest of the basic drawing grids.
Everything runs in your browser. Images you load are never uploaded, because there is no server for them to reach. The drawing, the transform and the export all happen on your own machine.
Where a custom grid gets used
14-count aida is fourteen stitches to the inch. A grid at one-fourteenth of an inch matches the fabric exactly and no arithmetic is involved.
Gauge is almost never square — more rows than stitches. Charting on square cells compresses the finished garment vertically.
Work in the unit your rule reads. Mixed units is the error you discover after the cut.
Custom grid: frequently asked questions
The geometry
When should I specify by size rather than by count?
Whenever the cell size is what is constrained — anything printed at a specific size, transferred to a surface with its own measurements, or matched to an existing grid. Count is fine when the only requirement is enough cells to be useful.
What does a 10 mm cell give me on A4?
21 cells across and 29 down — 609 whole cells. You state the size and the count follows, which is the right way round when the size is the constraint. 5 mm gives 42 × 59, 20 mm gives 10 × 14, 25 mm gives 8 × 11.
Which units are available?
Millimetres, centimetres, inches and pixels, with the size from 0.1 to 500. Work in the unit your measuring instrument reads — mixed units is the classic source of the error you find after the cut.
Why would I use pixels?
To match a digital canvas exactly. For pixel art, sprite work, icon grids and anything displayed at 1:1, a grid specified in pixels is the only one whose lines land on pixel boundaries.
How does this help with cross-stitch or knitting?
Both have a physical unit set by the material. 14-count aida has 14 stitches to the inch, so a grid at one-fourteenth of an inch matches the fabric exactly. Knitting gauge is almost never square — usually more rows than stitches — so a chart on square cells comes out compressed vertically in the finished fabric.
What is the margin for?
Two things. A border to write in that is not on top of the drawing, and protection from the printer: most printers have a non-printable margin, and a grid running to the paper edge loses its outer row and column to the hardware. Insetting 5% avoids both problems.
Which label mode should I use?
A1-style for anything navigated by eye: it is self-describing, so C4 is never confused with 4C. Numeric pairs for anything read aloud, dictated, or entered into a spreadsheet or stitch chart. The size runs 40% to 220%: small for a worksheet at reading distance, large for a wall.
What does the half grid do to my cell references?
Nothing. It doubles the resolution at 45% opacity and renumbers nothing, so a note saying C4 still points at the same place and the finer level is visibly subordinate rather than competing.
Using it
What does lock-square actually do to my counts?
It ties the two so the cells stay square: change the column count and the rows follow to whatever keeps the aspect right. Turn it off when the two surfaces genuinely have different proportions and you have decided to live with rectangular cells.
How do I set a cell size that matches ruled paper I already have?
Measure one square on the paper, switch the cell unit to millimetres and type it in. Sizes run from 0.1 to 500, so 5mm graph paper and a 50mm mural grid are both directly expressible — you are describing the paper rather than guessing a count that approximates it.
How do I keep a cell reference stable when I turn the half grid on?
You do not: halving the grid doubles the count, so cell B2 becomes a different square. Decide the subdivision before you start numbering, or use the half grid only as a temporary check on a cell you are already working and switch it off again before you move on.
Export and print
If I change the paper size, what happens?
The count changes and the cell size stays, which is what specifying by size means. If you need the same grid at two paper sizes, specify by count instead. Both requirements are real, which is why the mode switch exists.
Choosing a grid
Why not just buy graph paper?
Because bought paper comes in about three cell sizes and your reference does not. Specifying the cell in real units means the grid on the paper and the grid on the reference are the same grid, which is the entire mechanism of the method.
How is this different from the rectangular grid maker?
It is the same control set approached from the other end. The rectangular grid maker leads with independent counts; this leads with a physical cell size in a unit you choose. Use whichever matches the number you actually know.
Practical matters
Does anything I load get uploaded?
No. There is no server to upload to. The image is read by your browser, the grid is drawn on your machine, and the export is generated locally.
Can I add diagonals to the cells?
Yes. The diagonal cell overlay is offered here as a companion rather than as a separate page, so both run at once. It carries its own row and column counts, so match them to the ones set here.
Open the tool Custom grid maker
Say the size, not the count
Millimetres, centimetres, inches or pixels — and it prints at the size you said. Export vector or 600 DPI. No signup, nothing uploaded.
Back to the generator →