
Free One Point Perspective Grid Generator
Set up one point perspective instantly with our 100% free grid generator. Upload any image, place the horizon and vanishing point, and the full fan of orthogonals follows for interiors, streets and railway shots, then export SVG or 600 DPI in seconds. No signup, no downloads needed. Trusted by 60,000+ artists worldwide.
Everything to a single point
One vanishing point on the horizon, with all depth lines running to it while horizontals and verticals stay parallel to the frame. The construction for a view straight down a road, a corridor or a room.
4 controls, not a fixed picture
Set horizon Y, vanishing point X and lines, toggle horizon line. Every one is live on the canvas.
Stacks with perspective & structure
Overlays combine, each carrying its own transform, so this one can sit under or over two-point perspective, isometric and 3-point perspective, and 4 more in the same set.
The point survives the print
Export at up to 600 DPI, or as SVG so the convergence stays exact when enlarged. The horizon and the point are part of the grid, so a printed sheet is still a usable construction.
| Ctrl + Z | Undo |
| Ctrl + Y | Redo |
| Esc | Deselect overlay |
| Alt + drag | Free positioning (no snap) |
| Ctrl + scroll | Zoom canvas |
| Ctrl + P | |
| ? | Show this help |
A one point perspective grid built to your eye level and your viewpoint rather than to a template's — over a photograph, a rough, or a blank sheet at print size.
The one point perspective generator draws one of the 82 composition overlays in Grid Maker Pro, and the rest stack on the same image.
- Horizon 0–100%
- 4–32 orthogonals
- SVG + 600 DPI export
- Nothing uploaded
What is one-point perspective?
The one point perspective grid generator is a free browser tool that draws a horizon line and a fan of orthogonals radiating from a single vanishing point, over any photograph or blank canvas. Two controls do the real work: the horizon's height, anywhere from the top of the frame to the bottom, and the vanishing point's position along it. The number of radiating lines runs from 4 to 32, and they fan to all four edges rather than only to the top and bottom. Export is SVG or raster to 600 DPI, and nothing is uploaded.

How to build a one point perspective grid
One horizon, one vanishing point, and a fan of orthogonals reaching every edge — set against a photograph or over nothing, then printed at the size of your drawing board.
Set the horizon first
One point perspective starts at the horizon, which is your eye level and decides everything else. Low for a monumental view looking up, high for looking down into a space, and at the middle only if the viewer is standing in the middle of it.
JPG · PNG · GIF · WEBP
Move the vanishing point off centre
Slide the vanishing point along the horizon to where the viewer is actually facing. Dead centre is the symmetrical corridor shot and rarely what a drawing wants; a little off-centre is what most real interiors look like.
Horizon Y · Vanishing point X · Lines
Set the line count, then export
Raise the orthogonal count for a tiled floor, lower it for a clean construction. Export SVG for vector, or a raster up to 600 DPI to print the grid at the size you will draw on.
PNG · JPG · PDF · SVG · up to 600 DPI
Three steps, about a minute. No signup, no upload.
What the One Point Perspective Grid Generator does
The horizon is a choice, not a default
Eye level is the first decision in any perspective drawing and it is the one most templates make for you by putting it in the middle. Here it moves anywhere from the top edge to the bottom, and the whole fan rebuilds as it moves.
A vanishing point that moves
A centred vanishing point gives the symmetrical corridor and nothing else. Sliding it along the horizon is what turns a template into the view your subject actually has, and it is a single control.
Lines to every edge, not just two
The fan radiates to the top and bottom edges and to the left and right ones, so the grid describes walls and ceiling as well as the floor. A construction that only reaches the floor leaves you guessing above the horizon.
Over your own reference
Drag, scale and rotate the grid over a photograph until its vanishing point sits on the one the photograph already has. That is how you check whether a drawing's perspective agrees with its reference.
Readable at any density
Thirty-two orthogonals over a photograph is a lot of ink. Per-overlay colour and opacity, and an eyedropper that samples the image, keep the construction legible over both a bright window and a dark interior.
Printable at drawing size
Raster export is sized from the paper format and DPI you choose, up to 600, so the printed grid is at the size you will draw on. SVG export keeps it as vector for a light table.
One-point perspective examples: four ways the construction reads
One-point perspective vs a printed perspective template vs drawing software's perspective guides
| Option | Horizon height adjustable | Vanishing point movable | Over your own image | Cost |
|---|---|---|---|---|
| Grid Maker Prothis tool | Yes0 to 100% of the frame | Yesanywhere on the horizon | Yeswith independent transform | Free |
| A printed perspective template | Fixed by the sheet | Fixed | Only by tracing over it | Free or paid |
| Drawing software's perspective guides | Yes | Yes | Only inside that program | Subscription |
| Ruler and a pin | Yes | Yes | On the surface itself | Time |
Who one-point perspective is for: spaces that have to recede correctly
How one-point perspective works — Eye level, viewpoint, and the two mistakes that make one point perspective look wrong
One point perspective is the first of the 82 composition overlays that anybody learns, and two of its decisions get made by default rather than deliberately — which is what puts so many drawings of it wrong. Here is what the grid draws, what the two controls actually mean, and the failures they fix.
One point perspective describes a view where one set of the subject's edges runs straight away from you. A corridor seen down its length, a road running to the horizon, a room viewed square-on to its back wall. Everything parallel to your line of sight converges on a single point; everything parallel to the picture plane stays horizontal or vertical.
The grid draws that: a horizon line across the frame, a vanishing point on it, and a fan of orthogonals radiating outward to the frame's edges. It does not draw the verticals or the horizontals, because those are already parallel to the picture plane and need no construction — they are just level and plumb.
The horizon is not a line in the picture. It is a statement about where the viewer's eye is, and everything else in the drawing is a consequence of it.
The horizon is your eye level, and it is not the middle
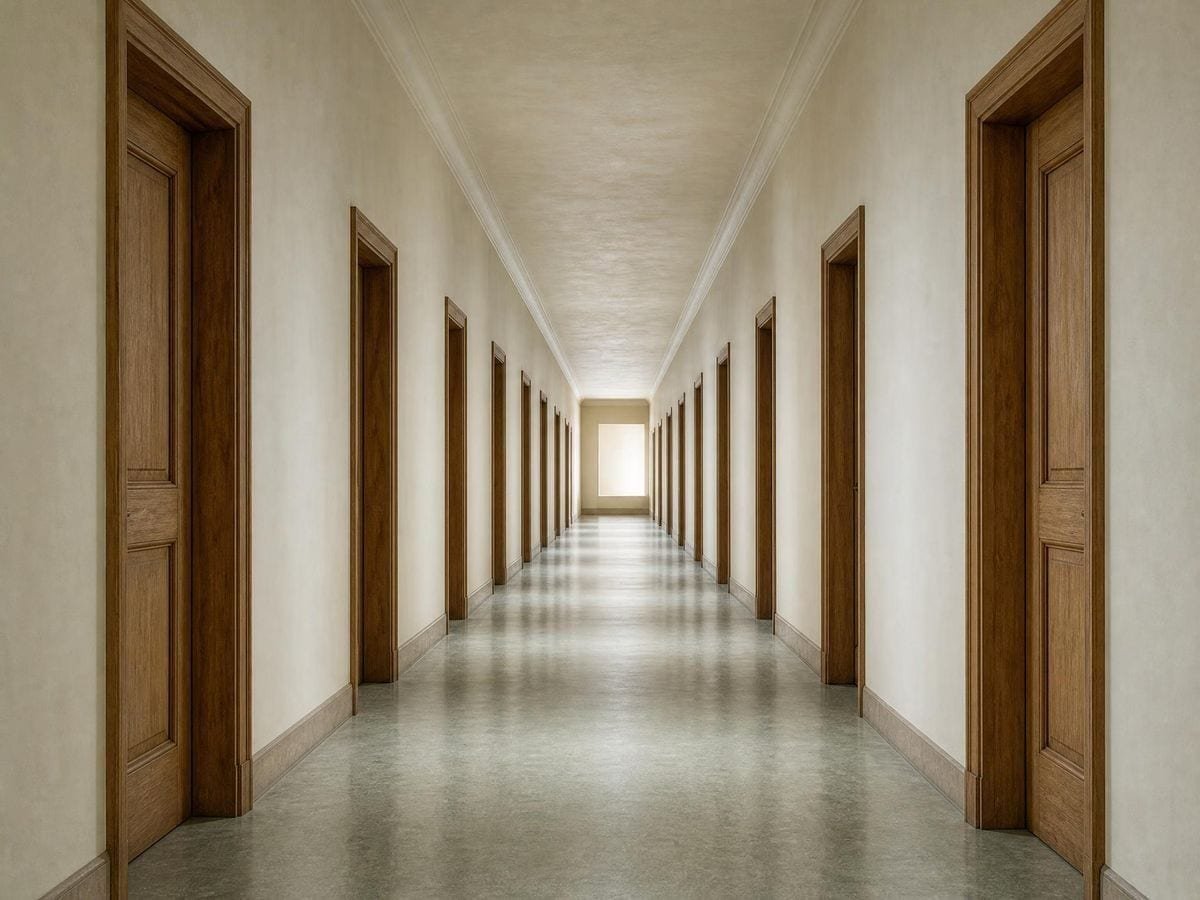
This is the first mistake. The horizon line sits at the height of the viewer's eye, and the middle of the frame is only correct if the viewer happens to be looking straight ahead at something at their own eye height with equal amounts of space above and below. Alberti fixed the rule in De Pictura (1435; trans. J.R. Spencer as On Painting, Yale University Press, 1956): the centric point goes at the eye height of the figures in the picture, so the viewer and the depicted world share one eye level.
Put the horizon low and the viewer is a child, or crouching, or the subject is monumental — you see the undersides of things, and floors compress into nothing. Put it high and you are looking down into the space, seeing the tops of tables and the pattern of the floor. Those are different pictures, and the choice is made by dragging one slider before you draw anything.
Useful check on a photograph: the horizon is at the height of the camera, and you can find it by looking for where parallel receding lines converge, or by noting that anything at exactly eye height appears edge-on with no top or bottom face visible.
The vanishing point is where the viewer is facing
The second mistake is leaving it centred. A centred vanishing point produces the perfectly symmetrical view — the corridor shot, the cathedral nave, the road down the middle — which is a strong and specific effect and completely wrong for most subjects.
Move it and the room turns. A vanishing point at 30% of the frame's width means the viewer is facing left of the space's centre, so the right-hand wall is seen more obliquely and the left-hand one more nearly face-on. That asymmetry is what makes an interior look inhabited rather than diagrammatic, and it costs one slider.
The vanishing point can also sit outside the visible frame, which is worth knowing: drag the whole overlay so the point falls off the edge and you get a very oblique view where the orthogonals barely converge inside the picture. That is a legitimate and quite common composition, and a fixed template cannot produce it.
How many orthogonals to show
The count runs from 4 to 32, and the right number depends on what the grid is for. A construction you are drawing over wants few — six or eight is enough to establish the space without burying the drawing. A tiled floor or a coffered ceiling wants many, because you are using the lines themselves as the divisions.
One thing the fan does not do is space the lines correctly in depth. The orthogonals are drawn to equally spaced points on the frame's edges, which is right for the lines themselves — but the spacing of, say, floor tiles receding from you is not equal, it compresses toward the horizon. Getting that right needs a diagonal construction, and the grid gives you the orthogonals to build it on rather than doing it for you.
Checking a drawing or a photograph against it
This is where the independent transform earns its place. Load the photograph, then drag and scale the grid until its vanishing point lands on the one the photograph already has — the point where the receding lines in the image converge. If the fan then agrees with the image's edges, the perspective is consistent. If it fans wider or narrower, you have found the discrepancy.
On your own drawing the same procedure finds the classic error: two receding edges that do not actually converge on the same point. Align the grid to one of them and the other will visibly disagree, which is a far quicker diagnosis than extending lines by hand across a finished drawing.
When one point is the wrong construction
One point works when a face of your subject is parallel to the picture plane. The moment you turn a box so you see two of its sides receding, one vanishing point cannot describe it and you need two. And once you tilt the view up or down enough that the verticals visibly converge as well, you need three.
Both are in the same tool, and switching to them early beats fighting a construction that cannot describe the subject. The tell is simple: if you find yourself wanting a second set of receding lines that do not meet at your vanishing point, you are drawing two point perspective — the perspective grid generator carries the two-point construction, and the three point perspective generator adds the third vanishing point for a view tilted up or down.
Where one-point perspective gets used
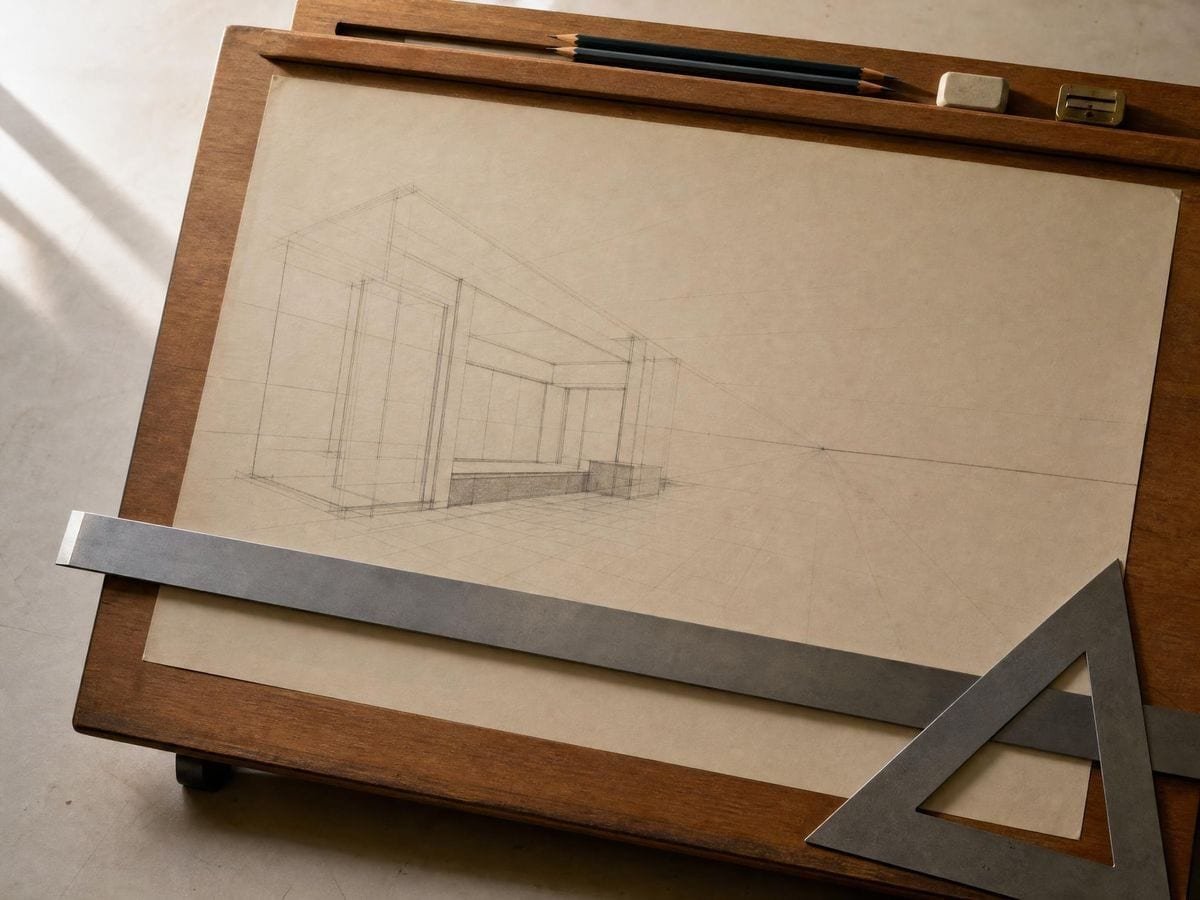
Interiors, always. Getting the eye level right before I draw anything is what stopped my rooms looking like doll's houses viewed from above.
Backgrounds for panels. I set the horizon per panel rather than per page, because the camera moves and the eye level should move with it.
I teach it by laying the grid over a photograph and asking students to find the horizon before I tell them. Once they can see it in a photo they stop putting it in the middle of their drawings.
One-point perspective: frequently asked questions
The geometry
Where should the horizon line go?
At the viewer's eye level, which is only the middle of the frame by coincidence. Low horizon means looking up at a monumental subject and seeing undersides; high horizon means looking down into a space and seeing the floor. The control runs from the top edge to the bottom, and it is the first decision to make.
Should the vanishing point be centred?
Only for a deliberately symmetrical view — a corridor down its length, a nave, a road down the middle. Moving it off centre turns the space so one wall is seen obliquely and the other more nearly face-on, which is what most real interiors look like.
Can the vanishing point sit outside the frame?
Yes, by dragging the whole overlay so the point falls beyond an edge. You get a very oblique view where the orthogonals barely converge inside the picture, which is a common and legitimate composition that fixed templates cannot produce.
Does the grid space floor tiles correctly in depth?
No, and this is worth knowing. The orthogonals are drawn to equally spaced points on the frame's edges, which is correct for the lines themselves, but tiles receding from you compress toward the horizon. That spacing needs a diagonal construction, which you build on top of these orthogonals.
Why are there no verticals or horizontals in the grid?
Because they need no construction. In one point perspective, everything parallel to the picture plane stays level and plumb — only the lines running away from you converge, and those are what the fan draws.
Using it
How many orthogonals should I use?
Between 4 and 32 are available. Six to eight is enough to establish a space you will draw over; a tiled floor or coffered ceiling wants many more, because there the lines themselves are the divisions.
How do I check a photograph's perspective with it?
Load the photograph and drag the grid until its vanishing point sits on the point where the image's own receding lines converge. If the fan then agrees with the edges in the picture, the perspective is consistent; if it fans wider or narrower, you have found the discrepancy. Worked examples from Renaissance painting onward are on the one point perspective overlay page.
How do I set the horizon from something already in the picture?
Find anything at your eye level in the photograph — a distant horizon, the point where a receding line stops rising — and move the horizon control onto it. Everything above that line is being seen from below and everything under it from above, which is a check you can make in a second.
The fan is too dense over a photograph. What do I change?
The line count first, then the opacity. Between 4 and 32 orthogonals are available, and eight is usually enough to establish a space you are drawing over — a fan of thirty-two converging lines will hide the picture near the vanishing point whatever weight you set.
Export and print
Can I print the grid to draw on?
Yes. Set the paper format you will draw on and export a raster at up to 600 DPI, and it is sized for that sheet. SVG export keeps it vector for a light table or a plotter.
Which format do I want for a large drawing?
SVG. Every orthogonal is a long straight line converging on a point, which is the geometry rasters render worst, and a print at A2 shows the stair-stepping plainly. Vector also keeps the lines meeting at exactly one point.
Choosing a grid
When should I switch to two point perspective?
As soon as two sides of a box are both visible and receding. One vanishing point does not describe that, and the tell is wanting a second set of receding lines that do not meet at your existing point. Where the verticals converge as well, the construction is three point. The two point perspective overlay page sets out that geometry.
Should I use this or the general perspective grid?
This, if the space really has one vanishing point — a corridor, a nave, a street seen straight down. The perspective grid generator covers the family and lets you switch between constructions; this one is the single-point case with the horizon and the vanishing point as direct controls.
Practical matters
Does my reference get uploaded?
No. The image is drawn to a canvas in your own browser and never sent anywhere. There is no account and no upload step.
Can I use it to teach perspective?
Yes, and the horizon control is what makes it teach — moving the horizon up and down while a photograph stays put shows what eye level actually means faster than any diagram. Nothing is metered and no account is needed.
Does it work on a tablet beside a drawing board?
Yes, in Safari and Chrome on iPad and Android, and the overlay drags under a finger. A tablet propped beside the board with the fan on the reference is close to the ideal setup for working from a photograph.
Open the tool One point perspective generator
Your eye level, your viewpoint
Set the horizon, move the vanishing point off centre, and the whole fan rebuilds. Export vector or 600 DPI. No signup, nothing uploaded.
Back to the generator →