
How to trace a photo onto canvas
Tracing a photo reference onto canvas is harder than tracing onto paper, because canvas is opaque and has a tooth that fights fine lines, so a lightbox is out. The methods that do work are the grid method, graphite transfer paper, a projector, and modern AR tracing that pins your photo over the real canvas through a phone camera. This guide covers all four, then the canvas-specific tips — tooth, toned grounds, sealing pencil under paint, portrait proportion — that decide whether the trace helps or gets in your way.
One of the guides behind the 82 composition overlays every visual artist should know and use.
By Sujith Puthran · Published 1 July 2026
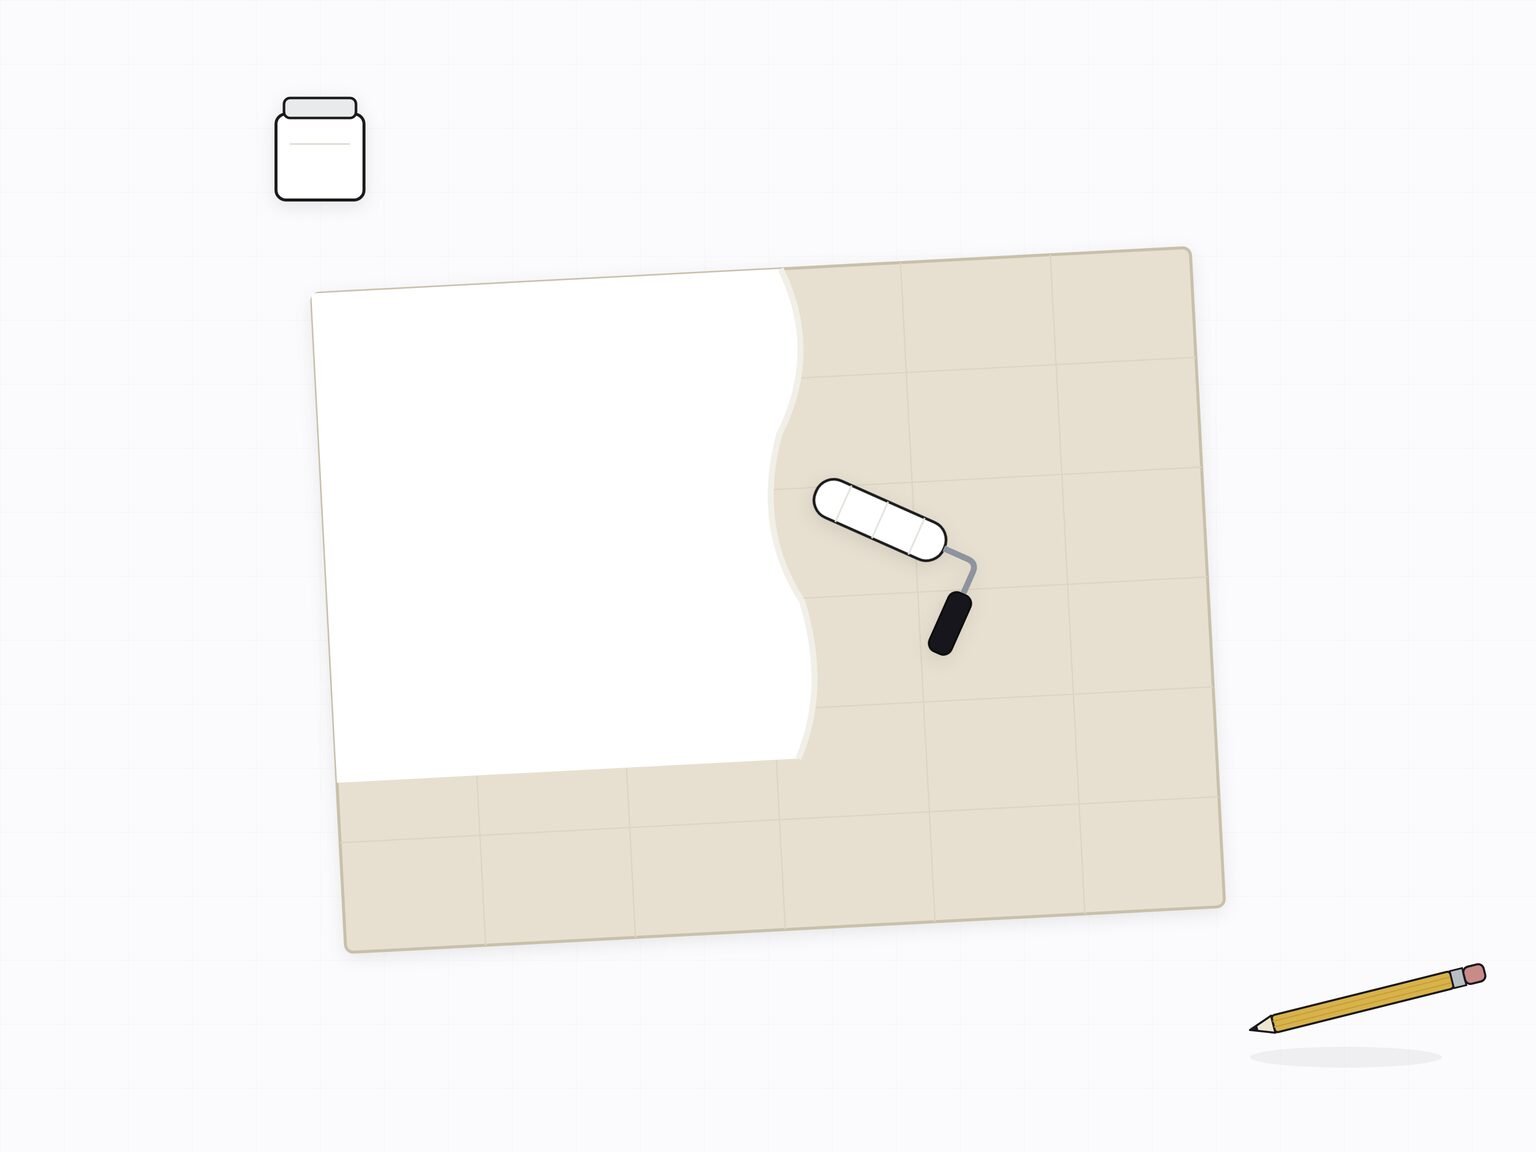
Painting from a photograph almost always starts with the same problem: getting the reference onto the canvas accurately, at the right size, before a single brushstroke of colour goes down. On paper you can cheat this with a lightbox or a sunlit window, because light passes straight through thin sheets. Canvas gives you none of that. It is opaque, so backlight tricks are useless, and it is usually stretched, so there is no flat surface behind it to press a transfer against without denting the fabric.
On top of that, canvas has a woven tooth. The gesso-primed weave grabs at a pencil and breaks up thin, continuous lines, and it resists the crisp offset that graphite transfer gives you on smooth board. None of this makes tracing onto canvas impossible — muralists, portrait painters, and photorealists do it constantly — it just means the paper methods do not port over unchanged. The four that do are below, followed by the canvas-specific handling that keeps the trace from causing more trouble than it saves. If you are transferring your own drawing rather than a photo, the companion guide on how to transfer a drawing to canvas covers enlarging and squaring up your own work.
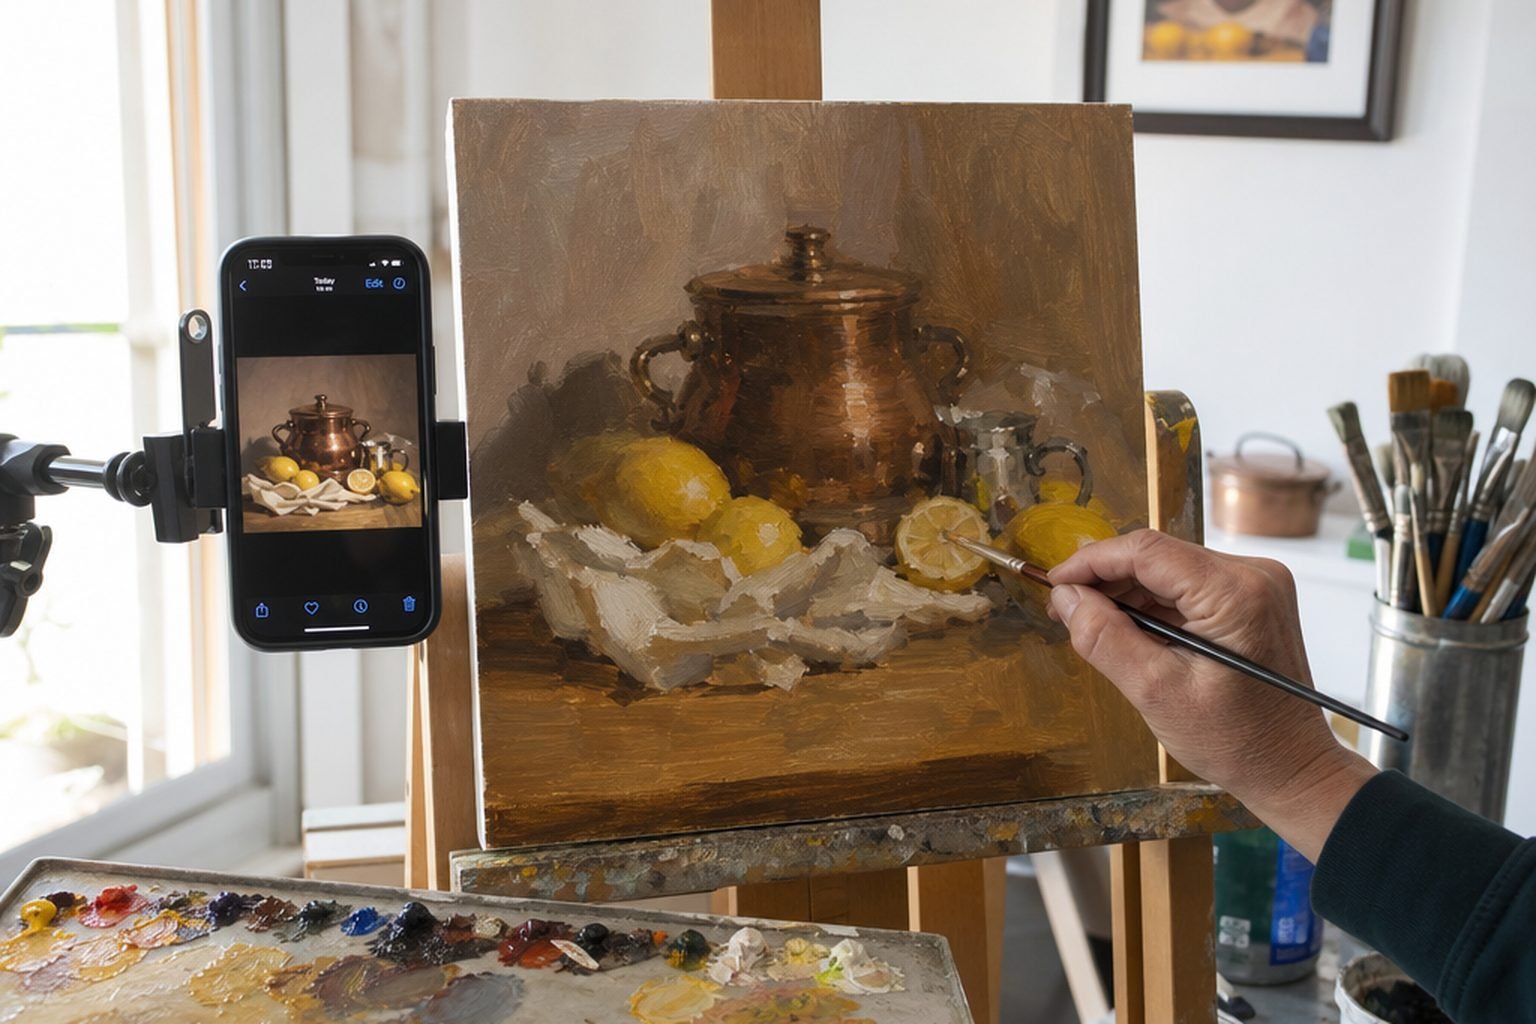
The ways to trace a photo onto canvas
Five methods reach a canvas. Each trades accuracy, scale, and convenience differently, so match the method to the job rather than looking for one winner.
| Method | How it works | Best for | The catch |
|---|---|---|---|
| Grid method | Grid a print, rule a matching larger grid on the canvas, copy cell by cell | Accurate enlargement at the easel; learning proportion | Slow to rule and copy; grid lines to erase later |
| Transfer / graphite paper | Graphite-coated sheet under a print; trace the lines so they offset onto the canvas | Clean, same-size outlines | No enlargement; tooth resists a crisp offset; lines can lift into paint |
| Projector | Throws the image onto the canvas, enlarged, so you trace the projected outline | Very large canvases, fast scale-up | Keystone distortion; needs a dim room and careful squaring; real cost |
| AR tracing | Pins the photo over the live camera view of the canvas so you draw the lines you see | Any size, fast placement, works in daylight | Needs a steady phone and consistent viewing angle |
| Freehand / grid-checked | Block in by eye, using an overlay only to check proportion | Building observational skill | Slowest to accuracy; most demanding |
The grid method and AR tracing are the two that enlarge without a dark room, which is why most painters working from a photo at home end up using one or the other. The full history and comparison of every transfer method lives in the pillar guide, how to trace a photo onto paper; here we stay on canvas.
How to trace a photo onto canvas with AR
AR tracing is the method that best suits canvas, because it enlarges to any size, works in daylight, and never touches the surface until your own pencil does. You pin the reference over the live camera view of the canvas and draw the lines you see through the screen. Here is the sequence.
-
Prepare the canvas
Prime the canvas and decide whether to work on white or a toned ground. A light-to-mid neutral tone makes a pencil trace easier to see and gives portraits a middle value to judge lights and darks against from the first mark. Let any wet ground dry fully before you draw on it.
-
Mount the phone, or lay the canvas flat
Fix the phone on a stand or a second easel facing the canvas at a consistent angle, or lay the canvas flat on a table and hold the phone above it. A steady, repeatable viewing position is what keeps the AR overlay from drifting as you work.
-
Import your reference photo
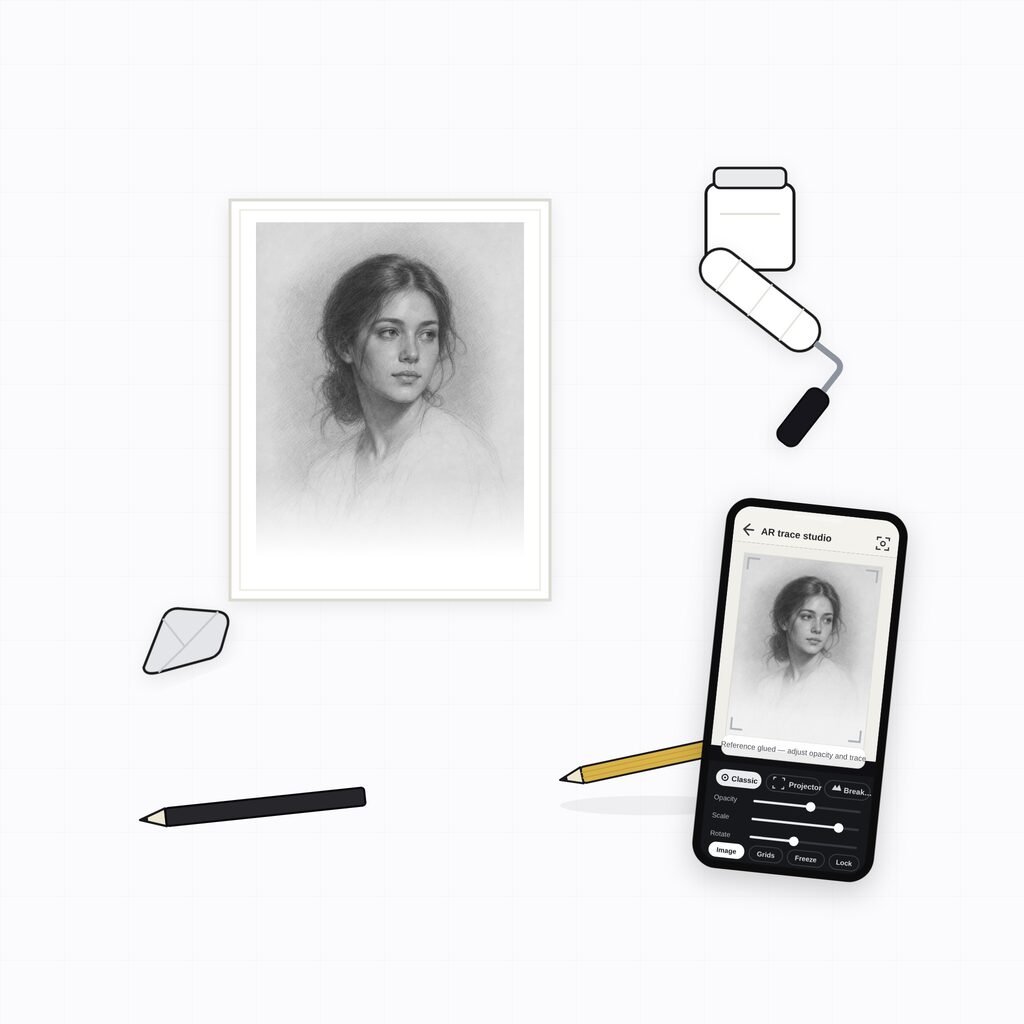
Load the photo you want to paint from into the app so it appears overlaid on the live view of the canvas. This is exactly the step most tracing apps paywall; in the Grid Maker Pro app you can import your own photo on the free tier.
-
Scale and set opacity
Pinch to size the reference to fit the canvas and drag it into position. Drop the overlay opacity so you can see both the reference lines and the canvas surface beneath at once — around half is a good starting point.
-
Block in the main contours
Draw only the major shapes and boundaries you see through the screen — the head, the shoulders, the eye sockets, the horizon — in a hard pencil or thin, quick-drying paint. Trace placement, not detail. Everything small is better observed than traced.
-
Check against composition overlays
Before you commit, confirm the arrangement is strong. Drop the same photo into the free web tool, switch on a thirds or golden overlay, and adjust your crop or placement if a key element sits awkwardly — then paint values, edges, and colour by observation.
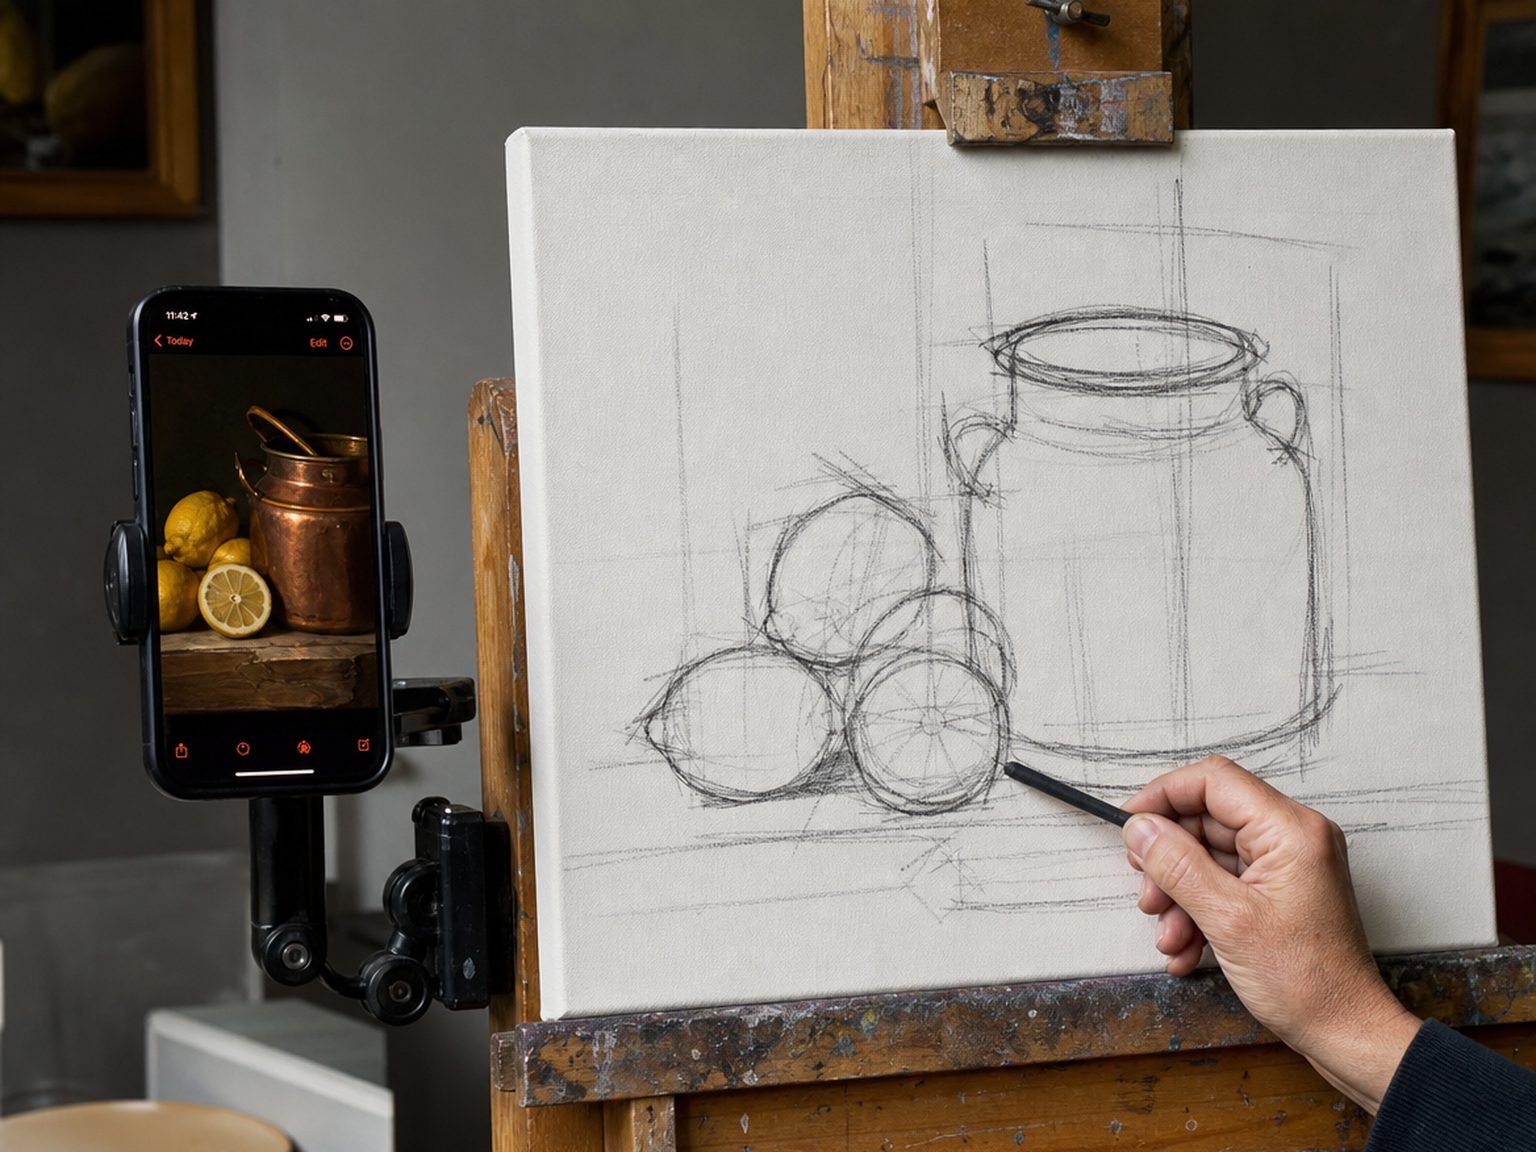
The free web tool handles the composition and grid side of this on any device, no account needed and nothing uploaded. The AR overlay onto your real canvas is the one thing a browser physically cannot do, which is what the app is for.
Canvas-specific tips
The method gets the outline onto the canvas; these details decide whether it survives contact with paint.
- Work with the tooth, not against it. A rougher canvas breaks up fine pencil lines. Use a slightly softer pencil laid lightly, or block in with thin paint and a small brush instead of a pencil, so the mark sits in the weave rather than skating over it. Sanding a smoother extra coat of gesso onto a portrait canvas gives a finer surface for a clean trace.
- Keep graphite from showing through thin paint. Under transparent oil passages or thin acrylic glazes, a heavy graphite line can read through the colour. Keep the trace light, dust off loose graphite before painting, and reserve the darker lines for areas that will carry opaque paint.
- Consider a toned ground. A light neutral imprimatura makes a pencil or thin-paint trace far easier to read than white does, and it gives you a mid-value to judge everything against — useful when painting from a photo, where the temptation is to match the screen's brightness rather than the subject's real values. Keep white grounds for luminous, transparent work.
- Seal a heavy underdrawing. If you trace a detailed outline you want to preserve, fix it with a thin coat of matte medium or clear gesso before painting so the graphite cannot lift and muddy the first layers. This matters more in oil, where solvents can pick graphite up, than in thick acrylic.
- Run a portrait proportion check. Faces are unforgiving, and a photo flattens depth in ways that skew features. After the trace, verify the eye line sits near the vertical centre of the head, the spacing of the eyes, and the fall of the features against a grid overlay before you paint. A slightly-off traced eye is far cheaper to fix now than after two hours of rendering.
For the portrait check, drop the photo into the free tool and switch on a square grid tightened until each cell holds one feature — an eye, the corner of the mouth — then compare cell by cell against your trace.
Common mistakes
- Tracing a weak composition accurately. A precisely traced but badly cropped photo is a precisely bad painting. Set the crop and check the arrangement with a thirds or golden overlay before the trace, not after.
- Pressing too hard. A deep graphite line grabs into the weave, resists erasing, and lifts into paint. A hard pencil laid lightly gives a line you can still adjust.
- Tracing detail instead of placement. Every method here gives you an outline, not a finished painting. Trace the major shapes, then observe the values, edges, and colour — that is the painting.
- Ignoring keystone with a projector. A projector not squared to the canvas throws a trapezoid, and every proportion inherits the stretch. Level it on a tripod and verify with a grid before tracing a line.
- Letting the phone or head shift during AR tracing. The overlay is only accurate from a consistent viewing angle. Mount the phone or keep your eye position steady, the same discipline a camera lucida always demanded.
When another method still wins
AR is not the answer to every canvas. On very large canvases and murals — a wall-sized piece, a big commissioned panel — a projector still earns its keep, because holding a phone steady over a surface taller than you is impractical, and a well-squared projector throws a big image in one pass. If you have a dim room and a tripod, project.
And if your goal is to get better at drawing and painting rather than finish this one piece quickly, the grid method by hand is the better teacher. Ruling and copying cell by cell actively trains your eye for proportion in a way that tracing an overlay does not, and it needs nothing but a ruler and pencil. Many painters use the grid on canvas precisely because the slow copy builds the measurement instinct that eventually lets them block in by eye. The two are a rotation, not a rivalry.
Frequently asked questions
How do you trace a photo onto canvas?
Because canvas is opaque and has tooth, a lightbox will not work. The four practical methods are the grid method (grid a print, rule a matching larger grid on the canvas, copy cell by cell), graphite transfer paper for a same-size outline, a projector for fast large scale-up, and AR tracing, which locks the reference over the canvas through a phone camera so you draw the lines you see. AR and the grid need no dark room or projector.
Can you use transfer paper on canvas?
Yes, but only at the same size as your print, and only lightly. Graphite transfer paper gives a clean erasable outline that will not bleed through paint, which is why it beats waxy carbon paper. Press gently so the graphite sits in the weave without smearing, and keep the lines faint. To enlarge, print large first, or use the grid method or AR instead.
Will graphite pencil lines show through my painting?
They can, under thin or transparent passages, especially in oil and thin acrylic glazes. Keep the trace light, dust off loose graphite before painting, and seal a heavy underdrawing with a thin coat of matte medium or clear gesso so the graphite does not lift into the paint. A hard pencil laid lightly is the safest starting point.
Is it better to trace a photo onto canvas white or toned?
A toned ground usually helps when painting from a photo. A light-to-mid neutral tone lets you judge lights and darks against a middle value from the first stroke, and a pencil or thin-paint trace reads more clearly on tone than on white. Keep white grounds for luminous, transparent acrylic work or when you want maximum glow in glazes.
Is tracing a photo onto canvas cheating?
No. Tracing fixes placement; it does not make the painting. The values, edges, colour, and every real decision are still yours once the outline is down, and optical aids have been part of serious painting for centuries. If you trace to skip thinking you learn nothing, but if you trace placement and then paint by observation you are working the way professionals always have. There is a fuller answer in the is tracing cheating guide.
The AR app, plainly
- A separate app — not a paywall on the free tool. The browser tool, with 82 composition and drawing overlays, stays free forever with no account.
- Built by Sujith Puthran, a working artist of more than 15 years, to solve the AR-tracing job at his own easel.
- On Android via Google Play (com.gridmakerpro.app); an iOS version is planned.
- Runs on-device. Your reference photos stay on your phone.
- Free tier: 3 AR traces of your own photo every month plus all 82 grids. Paid: $29.99 a year, $6.99 a month, or $79 once for lifetime.
References
- Mont Marte. Tips for transferring line work (a drawing) onto canvas. Mont Marte tips & techniques. montmarte.com. On graphite transfer, grid, and projection methods for getting an outline onto canvas.
- Alberti, Leon Battista. On Painting (Della Pittura, 1435). Translated by Cecil Grayson. Penguin Classics (1991 ed.). ISBN 978-0-14-043331-3. Book Two describes the gridded veil (velum) — the origin of the grid transfer method.
Update log
- — Published. Focused guide to tracing a photo reference onto canvas: the five methods, an AR step-by-step, canvas-specific handling, and common mistakes.
Trace your photo onto real canvas
The free browser tool handles the grid method, composition checks, and portrait proportion. Reach for the AR app when you need to pin the reference over the real canvas and draw the lines by hand — three own-photo traces a month on the free tier, and your image never leaves your phone.
Get the app →One brief every other Tuesday.
One overlay, one historical reference, one workflow note. Studio notes from working artists, photographers, and designers. No spam, unsubscribe in two clicks.