
Free Grid Drawing Worksheet Generator
Print grid drawing worksheets instantly with our 100% free generator. Cells carry letters and numbers so students can name squares out loud, and one setup prints a whole class set in seconds. No signup, no downloads needed. Trusted by 60,000+ artists worldwide.
Paper
Grid
the default squared paper
Lines
9 × 13 cells · 210 × 297 mm · vector, prints at any size
The sheet is built from numbers in this page. Nothing is uploaded, and the SVG is the artwork itself — a 0.2 mm rule prints at 0.2 mm.
Numbered cells, for the grid method
A 20mm square grid with every cell labelled A1, B2 and so on, the arrangement the grid method needs: you find the square on the reference, then draw only what is inside the matching square here.
10 controls, not a fixed result
Set margin, spacing, weight and heavy line every, choose size, style and unit, toggle landscape and label cells A1, B2 … 10 controls in all. Every change redraws the sheet, in this page's own document.
Part of the draw & transfer set
The set also holds grid drawing tool, image splitter and proportion calculator, and 10 more in the group, all of them free and all of them working in the browser.
A class set from one print
The sheet is generated at true paper size, so a worksheet printed today matches one printed next term. SVG or a PNG at 150, 300 or 600 dpi, on A-series or Letter, portrait or landscape.
- 100% free
- No signup
- No watermark
- Nothing is uploaded
Printable sheets with columns lettered and rows numbered, at the cell size the lesson needs. Labelled cells are what let a class work together: everyone can be told to look at C4.
The grid drawing worksheet draws one of the 82 composition overlays in Grid Maker Pro, and the rest stack on the same image.
- Cells A1, B2
- 20 mm default
- Class-set printable
- Nothing uploaded
What is a grid drawing worksheet?
A grid drawing worksheet is a printed sheet of labelled squares for copying a picture cell by cell. This one generates the sheet at a cell size you choose, letters the columns and numbers the rows, keeps whole cells inside a printer-safe margin, and prints or downloads as SVG or a 300 dpi PNG. It is the paper half of the grid method; the picture half needs the same number of cells over the reference.

How to use a grid drawing worksheet
A blank gridded sheet and a gridded reference at the same cell count, so a drawing can be copied one cell at a time — the exercise, prepared rather than improvised.
Match the cell count, not the cell size
The worksheet and the reference need the same number of cells across and down. The cells themselves will be different sizes — that difference is the enlargement. Six by eight on both is the workable default for a first attempt.
JPG · PNG · GIF · WEBP
Print the sheet at the cell size you can draw in
Twenty millimetres suits younger hands and short exercises; ten is finer and slower; thirty is generous for large paper. Bigger cells mean fewer of them, which means a looser copy — the cell count is what controls accuracy.
Square cells per short side · Cell labels (A1, B2…)
Work one cell at a time, and name it
Look only at the cell you are drawing. Note where lines enter and leave its edges and what shapes the space makes, then draw that. The labels exist so a teacher can say "start with C4" and everyone is in the same place.
PNG · JPG · PDF · SVG · up to 600 DPI
Three steps, about a minute. No signup, no upload.
What the Grid Drawing Worksheet does
Cells with names
A grid drawing worksheet letters its columns and numbers its rows, where an unlabelled grid forces everyone to count from a corner every time. Lettered columns and numbered rows turn every cell into an address, which is the difference between a sheet one person uses and a sheet a class can be taught from.
Whole cells, inside the margin
A worksheet with half a cell along one edge is unusable — that cell has no partner on the reference. The grid is laid inside the printable margin in whole cells only, so every cell on the page is a real cell.
A heavy rule for counting
On a sheet of forty-eight cells, finding the twenty-seventh by counting is slow and error-prone. A heavier line every few cells breaks the field into countable blocks, in the same way engineering paper does.
Labels that scale
Label size is derived from the cell size, so a 10 mm grid gets small quiet labels and a 40 mm grid gets larger ones. A fixed label size either crowds fine grids or disappears on coarse ones.
Class sets in one print
The sheet is the same for every student, so one print run covers the room. Changing the cell size for a differentiated group takes one control and another run.
Vector, so it prints sharp
Worksheets get photocopied. Vector output means the lines and the labels stay crisp through a copier rather than degrading into the grey mush that a rasterised sheet becomes.
Grid drawing worksheet examples: four worksheets, four levels
Grid drawing worksheet vs 6 × 8 vs 12 × 16
| Option | Typical use | Accuracy | Time | Suits |
|---|---|---|---|---|
| 4 × 5 | First attempt, young children | Loose | Short | Simple, bold references |
| 6 × 8 | General classroom exercise | Good | Moderate | Most subjects |
| 12 × 16 | Portraits, detailed subjects | High | Long | Older students, serious copying |
| 2 × 2 | Withdrawing the scaffold | Depends on the eye | Short | Students moving off the grid |
Who a grid drawing worksheet is for: people teaching and learning to copy accurately
How a grid drawing worksheet works — The grid method: what it teaches, what it does not, and how to set the cell count
The grid method is the oldest reliable way of copying a picture accurately, and the plainest of the 82 composition overlays to print, and it is still the one that teaches the most, because it forces a comparison at every cell rather than allowing a guess. Getting it to work is mostly a matter of choosing the cell count sensibly.
Where the method comes from
Leon Battista Alberti described a gridded veil in De pictura in 1435 — a frame strung with threads, placed between the artist and the subject, matched to a gridded drawing surface. The purpose was to hold the relationship between parts fixed while the eye moved.
Albrecht Dürer illustrated several versions of the device in the woodcuts accompanying his treatise on measurement in 1525, and those images are still the ones reproduced whenever the method is explained. The mechanism has not changed since: divide the subject and the surface into corresponding cells, and copy one cell at a time.
The reason it persists in a world of projectors and cameras is that it needs nothing. No power, no darkened room, no device to hold steady, and it works at any scale — which is exactly why muralists still use it on walls where no projector reaches.
What it actually teaches
Copying cell by cell removes the thing that makes drawing difficult for beginners: the temptation to draw what you know instead of what you see. Inside a single cell there is no eye, no nose, no hand — only a line entering one edge and leaving another, and a shape made by the space between.
The square grid overlay is the same division on screen, one of the basic drawing grid overlays, and the rectangular transfer grid lets the two counts differ. That is a genuine skill and it transfers. Learning to see edges and negative shapes rather than named objects is the core of observational drawing, and the grid is a scaffold that makes it unavoidable.
What the grid does not teach is proportion by eye, or measurement by sighting, because it does both of those for you. A student who only ever draws on a grid will draw accurately on a grid and struggle without one. The usual progression is to reduce the cell count over time — from forty-eight cells to twelve to four to none — so the scaffold is withdrawn gradually.
Choosing the cell count
Cell count, not cell size, is what controls accuracy. More cells mean each one contains less information, so each is easier to copy correctly, and errors stay local rather than propagating across the drawing.
For a first attempt, something around six by eight is a reasonable balance: enough cells that no single one is overwhelming, few enough that the sheet does not become tedious. Younger children do better with four by five, where the whole exercise finishes inside one attention span.
Detailed work — a portrait, a complex machine — wants far more, often twelve by sixteen or beyond. The trade is time: every extra cell is another comparison to make. A drawing on ninety-six cells is more accurate and takes roughly twice as long as one on forty-eight.
Cell size is a separate decision from cell count
Once the accuracy fixes the cell count, the cell size follows from the paper: a six-by-eight grid on A4 gives cells of about 30 mm, and the same grid on A3 gives about 42 mm. Both produce the same drawing at different sizes.
The constraint on cell size is the hand. A cell smaller than about 10 mm is hard to draw inside with a normal pencil, and one much larger than about 40 mm stops being a useful unit of comparison because the eye can no longer take the whole cell in at once.
Why labelling matters more than it looks
An unlabelled grid works fine for one person working alone. It fails the moment two people need to talk about it. A teacher saying "look at the fourth column, sixth row" is asking the class to count twice, and half of them will count from the wrong corner.
With columns lettered and rows numbered, a cell has a name, and "start at C4 and work outward" is unambiguous. The same applies to a student comparing their sheet to the reference — matching C4 to C4 is a check, whereas matching "about here" to "about there" is a guess.
The convention used here is spreadsheet convention: letters across, numbers down, starting at the top left. It is worth keeping because most people already know it.
Working outward from a strong cell
Starting at the top left and working across in reading order is the instinct, and it is not the best method. Errors accumulate along the path, so a drawing built left to right tends to drift and end up compressed or stretched on the right-hand side.
Starting from a cell with a strong, unambiguous feature — an eye, a corner, a sharp edge — and working outward in both directions distributes the error instead of accumulating it. That is why a labelled grid helps: the strong cell can be named and everyone can start there.
The common mistakes
Drawing the object rather than the cell is the first and the most persistent. The symptom is a drawing where each part is correct and the whole does not fit together, because the student recognised a nose and drew a nose instead of copying the lines in front of them.
Mismatched cell counts is the second. If the reference has eight columns and the worksheet has seven, nothing lines up, and the error is usually noticed halfway through. Counting both grids before starting takes ten seconds.
Pressing too hard is the third. The grid lines on the worksheet are meant to be erased or ignored at the end, and a drawing made with heavy construction lines cannot escape them. A light grid, drawn in grey, helps — which is why the default here is not black.
Where the worksheet fits with the rest
This page makes the paper. The other half of the method is a matching grid over the reference picture, at the same cell count, which is what the grid overlay and the drawing grid tools produce.
For scaling onto something larger than paper — a canvas, a board, a wall — the arithmetic changes, because the cell you can reach across becomes the constraint and the cell count follows from it rather than the other way round.
Where a grid drawing worksheet gets used
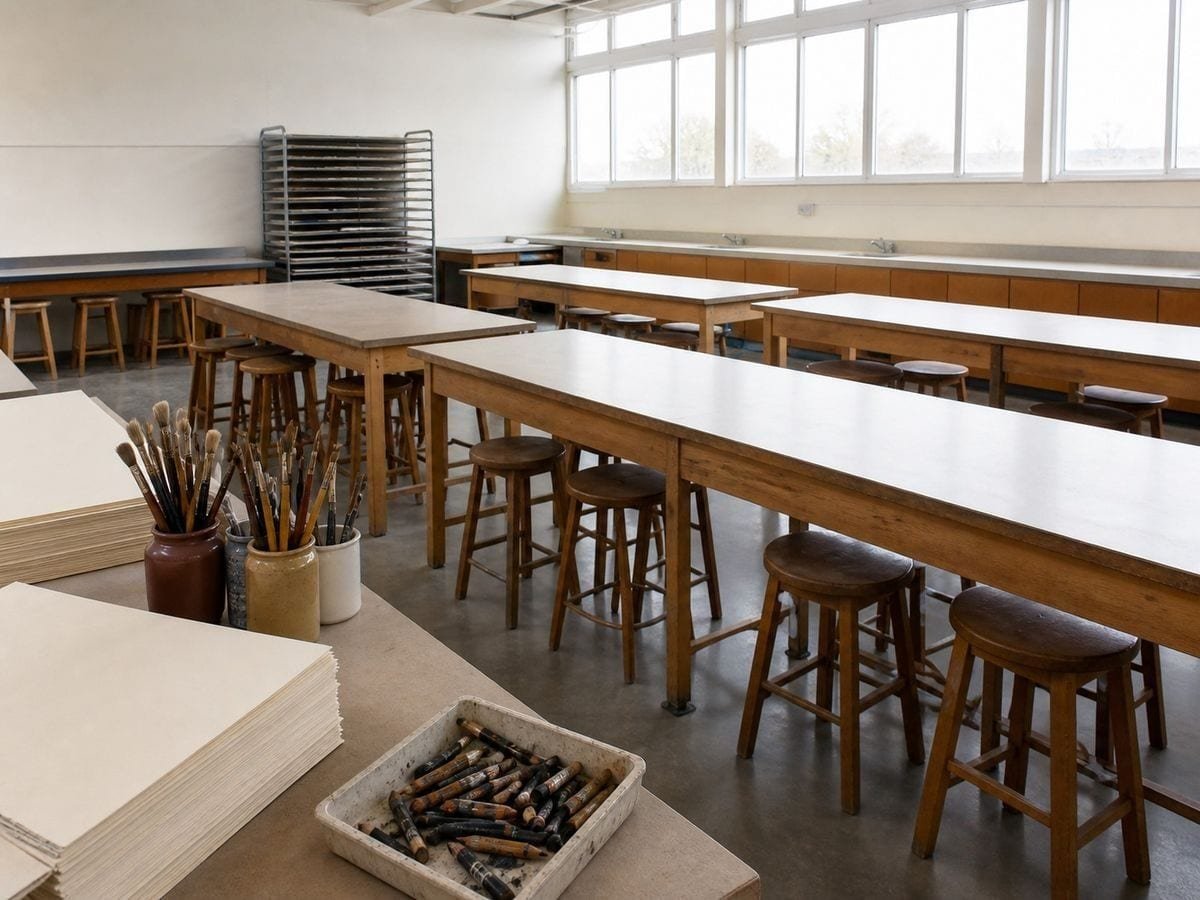
Primary and secondary art rooms, where a class set at one cell size and a shared reference is the whole lesson. The labels are what make it teachable to thirty people at once.
Self-taught practice, where the grid is used deliberately as a scaffold and the cell count reduced over weeks until the drawing happens without it.
Home and holiday activity, where a large-celled sheet and a simple reference gives a child a drawing they are pleased with, which is a different goal from teaching observation.
Grid drawing worksheet: frequently asked questions
The geometry
What is a grid drawing worksheet?
A grid drawing worksheet is a printed sheet of squares with the columns lettered and the rows numbered, used to copy a picture one cell at a time. The labels let a cell be named, which is what makes the sheet usable by a group rather than only by one person.
Does the reference need the same cell size as the worksheet?
No — it needs the same cell COUNT. The difference in cell size between the reference and the sheet is exactly the enlargement. Matching counts is what makes the cells correspond.
Which cell should a student start with?
A cell with a strong unambiguous feature, working outward from there in both directions. Starting at the top left and working across accumulates error along the path, which is why grid drawings often come out compressed on one side.
Why are the lines grey rather than black?
Because the grid is scaffolding and the drawing is the point. A light grey grid is easy to ignore and easy to erase around; a black one competes with the drawing and shows through in a photograph of the finished work.
What cell size works best for children?
Around 20 to 30 mm. Smaller than about 10 mm is hard to draw inside with an ordinary pencil, and larger than about 40 mm stops working as a unit of comparison because the eye cannot take the whole cell in at once.
Will the labels photocopy cleanly?
Yes. The sheet is vector, so lines and labels stay sharp through a copier instead of degrading, which is the usual failure of a downloaded worksheet image.
Using it
How many cells should I use?
Six by eight is the general-purpose classroom grid. Use four by five for young children so the exercise finishes in one sitting, and twelve by sixteen or more for portraits and detailed subjects, accepting that it takes roughly twice as long.
How do I put a matching grid on the reference picture?
The grid overlay tool puts a grid on a photograph at a cell count you set and labels the cells the same way, so the two sheets correspond directly.
What is the half-grid subdivision for?
Getting a difficult cell right without re-ruling the whole sheet. Switch it on and the cell you are stuck on becomes four, which is usually enough to place an awkward curve; switch it off again and the coarse grid you have been counting in is unchanged.
How do I keep my place on a large sheet?
Use the highlight row and column. Copying cell by cell, the commonest mistake is not misjudging a shape but working the wrong square after looking away — a highlighted crosshair gives you somewhere to come back to, and it moves as you go.
Export and print
Can I print these on A3?
Yes. A3, A4, A5, US Letter, Legal and Tabloid are all available, portrait or landscape. A larger sheet at the same cell count gives bigger cells and a larger finished drawing.
Can I get the worksheet as an SVG?
Yes, and it is the better choice if the sheet is going to a copy shop or onto larger paper than your own printer takes. Vector lines and vector labels stay crisp at A1; a raster printed at that size goes visibly soft.
Which export do I use for drawing on a tablet?
The transparent grid-only PNG. It carries the cells and the labels with nothing behind them, so it sits as its own layer above the canvas in Procreate or any layered app and can be hidden the moment the copying is done.
Choosing a grid
Is the grid method cheating?
No. It is a measuring technique that has been in use since Alberti described it in 1435, and Dürer illustrated it in 1525. It teaches observation by forcing a comparison in every cell. What it does not teach is proportion by eye, which is why the cell count should be reduced over time.
Is a printed worksheet better than working on screen?
For learning, yes. Paper forces the drawing to be made by hand at a fixed size, which is the skill being practised, and it removes the temptation to zoom — which quietly turns cell-by-cell copying into tracing.
Practical matters
Is it free, and do I need an account?
It is free and there is no account. Print as many class sets as you need.
Is anything uploaded?
No. The sheet is generated from the numbers you set, inside this page. There is no server and nothing leaves your device.
Can I hand these out in a class I charge for?
Yes. There is no licence on a sheet of numbered squares, the exports carry no watermark and the terms put no restriction on what you do with what you generate. Print as many as the class needs.
Open the tool Grid drawing worksheet
Cells with names, at the size the lesson needs
A grid drawing worksheet takes one cell size. Print the class set and start at C4. Free, no signup, nothing uploaded.
Back to the generator →