
How to transfer a design to a wall
A mural starts with the same problem every time: you have a small study you love, and a wall that is ten or twenty times its size, and you have to get one onto the other without the proportions falling apart. There are five real ways to do it — scaling up with the grid method, projecting the image, pouncing a pricked pattern, tracing it in AR through your phone, or working freehand. This guide walks each one honestly, then shows the AR method step by step and the wall-specific things that trip muralists up.
One of the guides behind the 82 composition overlays every visual artist should know and use.
By Sujith Puthran · Published 1 July 2026
In short
- Transferring a design to a wall means scaling a small study up onto a large surface while holding its proportions. Five methods do it: the grid method, a projector, pouncing, AR tracing, and freehand.
- The grid method needs only chalk and a straightedge and never fails, but it is slow on a big wall. A projector is fast on large surfaces but wants a dark room and careful squaring. Pouncing suits repeated or ornamental designs. Freehand is for the experienced eye.
- AR tracing — locking the reference over the wall through a phone or tablet camera — is the modern answer. It scales up with no maths, needs no dark room, and shines on interior and shaded walls.
- Set the crop and check the composition in the free Grid Maker Pro web tool first, so you are enlarging a strong arrangement, not just an accurate one.
- The AR tracing lives in the separate Grid Maker Pro AR app. The web tool stays free forever in your browser; the app adds the one thing a browser cannot do — locking a reference over a real wall.
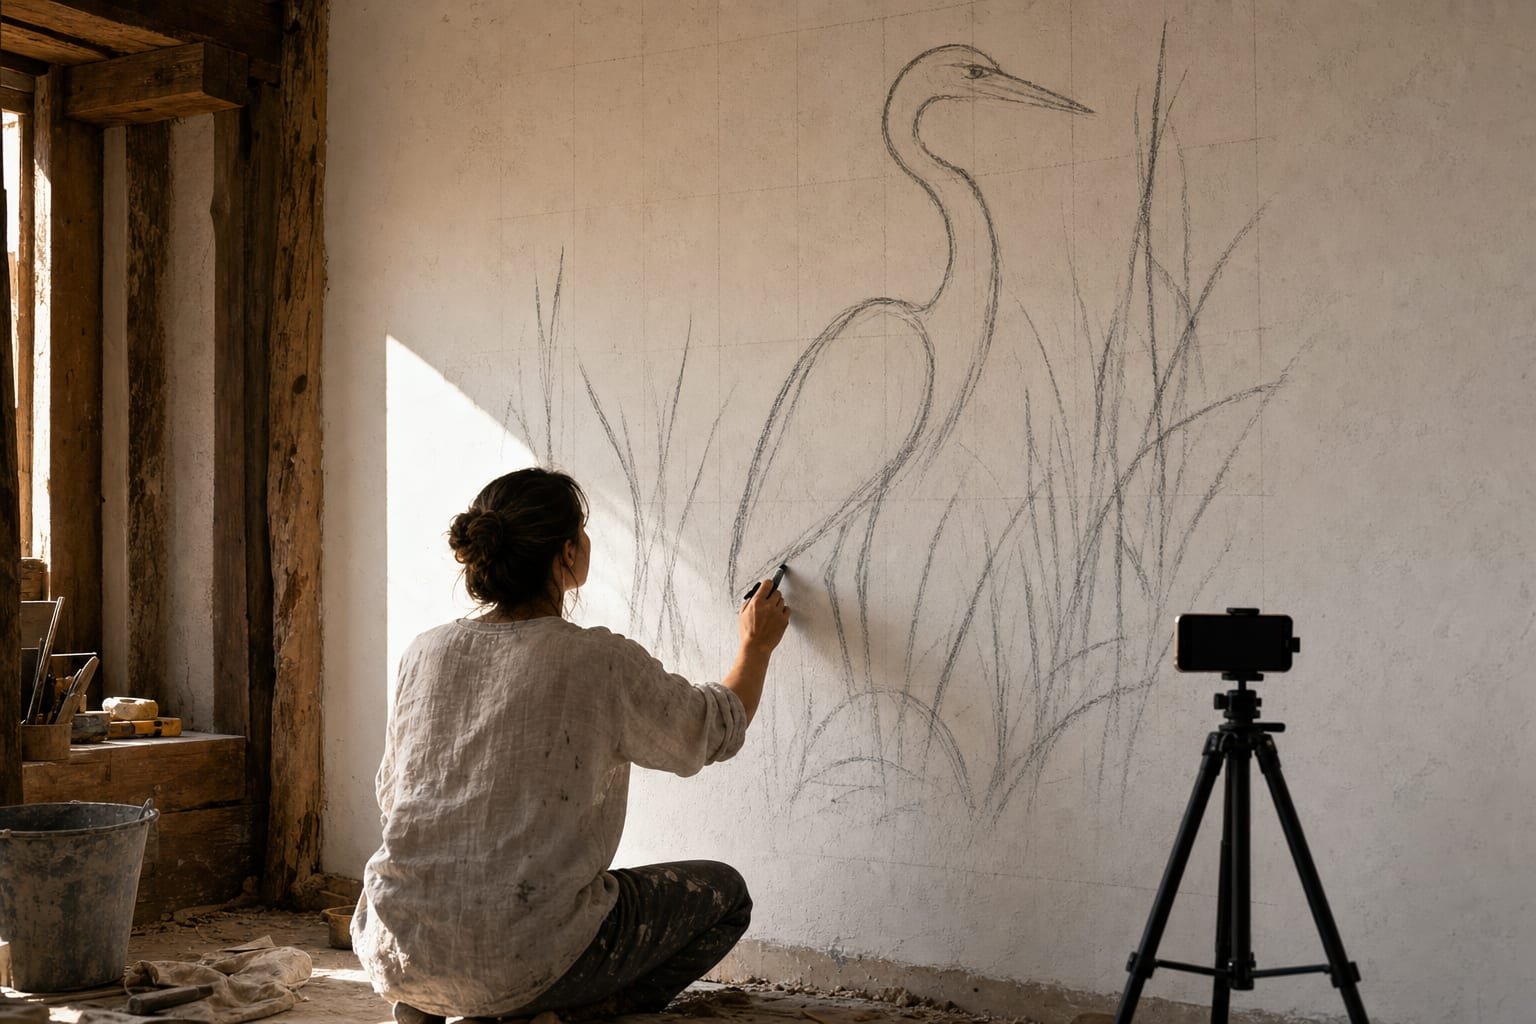
Every muralist meets the same wall, so to speak. The study on your desk holds together because you drew it at a size your eye could take in at a glance. Blow it up to architectural scale by eye and the errors that were invisible at four inches become glaring at four feet — a face drifts, a horizon tilts, a figure's shoulders creep too wide. Scaling up accurately is the muralist's core craft, and it is a different skill from painting well.
The good news is that the problem is old and well solved. Renaissance fresco painters scaled cartoons onto walls by gridding and pouncing centuries before projectors existed, and the principles have not changed — only the tools have. The sections below lay out the honest choices, then the AR method in detail, because AR is the one built specifically for the awkward business of a person, a phone, and a big wall.
The ways to transfer a design to a wall
No single method wins on every wall. The right one depends on the wall's size, the light you have, and whether the design repeats. This table is the quick map; the rest of the guide goes deeper on the modern method.
| Method | How it works | Best for | The catch |
|---|---|---|---|
| Grid method (scaling up) | Grid the study; chalk a matching grid with the same cell count but much larger on the wall; copy cell by cell. | Any wall, any budget — the reliable fallback that needs only chalk and a straightedge. | Slow on a large wall; ruling and copying dozens of cells takes time. |
| Projector | Throw the image from an opaque or digital projector onto the wall, scale to fit, and trace the outline. | Very large walls and fast scale-ups when you can darken the room or work at night. | Keystone distortion unless dead-square; needs darkness and a stable position; real equipment cost. |
| Pouncing | Prick holes along the lines of a full-size cartoon, hold it to the wall, and dab charcoal dust through to leave a dotted outline. | Repeated motifs, ornament, lettering, and designs you will reuse across walls. | You must first make a full-size cartoon; laborious for a one-off freeform image. |
| AR tracing | Lock the reference over the live camera view of the wall on a phone or tablet; draw the shapes you see through the screen. | Interior and shaded walls, odd shapes, and solo muralists who want a fast scale-up with no dark room. | Needs a steady device and consistent viewing angle; tracking can drift on blank walls; hard in bright sun. |
| Freehand | Block the design in directly with chalk, judging proportion by eye and correcting as you step back. | Experienced muralists, loose or gestural work, and designs forgiving of variation. | Unforgiving without a trained eye; errors compound across a big surface. |
Whichever method you pick, the transfer only copies what you give it. Set the crop and check the balance on screen first so you are scaling up a composition that already works.
How to transfer your design to a wall with AR
AR tracing is the method built for this exact job: a person, a phone, and a wall, with no dark room and no enlargement maths. You place the reference onto the wall on screen at the size you want, then draw the shapes you see through it. Here is the full sequence.
-
Photograph or finalise the study
Finalise the design and get it into your phone as one clean image. Set the crop and check the composition in the free web tool first, so you are scaling up a strong arrangement rather than locking in a weak one at wall size.
-
Mount the phone or hold it steady
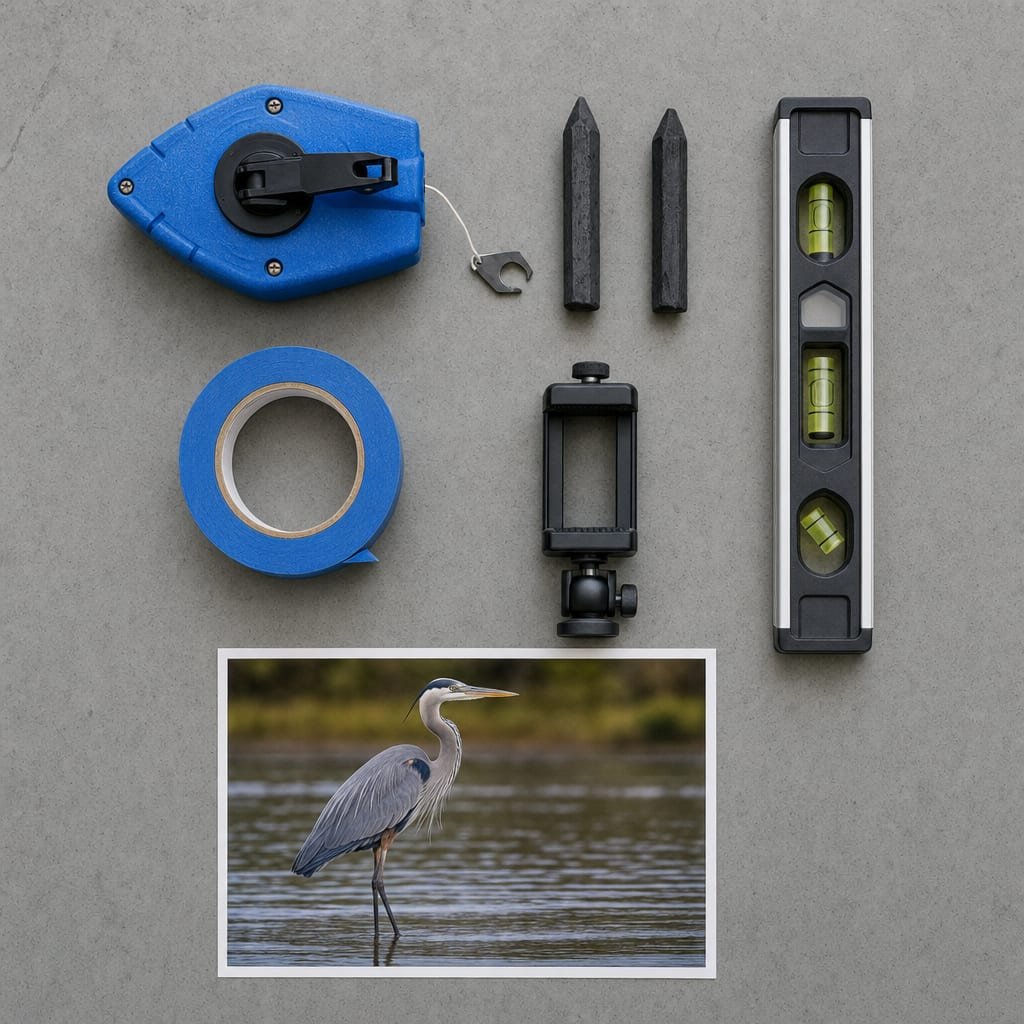
Clamp the phone or tablet to a tripod or a mount facing the wall, or brace yourself so your viewing angle stays consistent. AR tracking holds the reference relative to the wall, but it drifts if the device or your eye moves much, so stability is the single biggest factor in a clean transfer.
-
Import the reference
Open the reference photo in the AR tracing app so it appears overlaid on the live camera view of the wall. You should see your design floating on the real surface through the screen.
-
Scale the overlay to the wall
Pinch to scale and drag to position the reference until it fills the wall area you want the mural to occupy. Because you place it straight onto the surface, there is no enlargement ratio to work out and no keystone trapezoid to fight — the size you see is the size you draw.
-
Chalk or pencil the main shapes
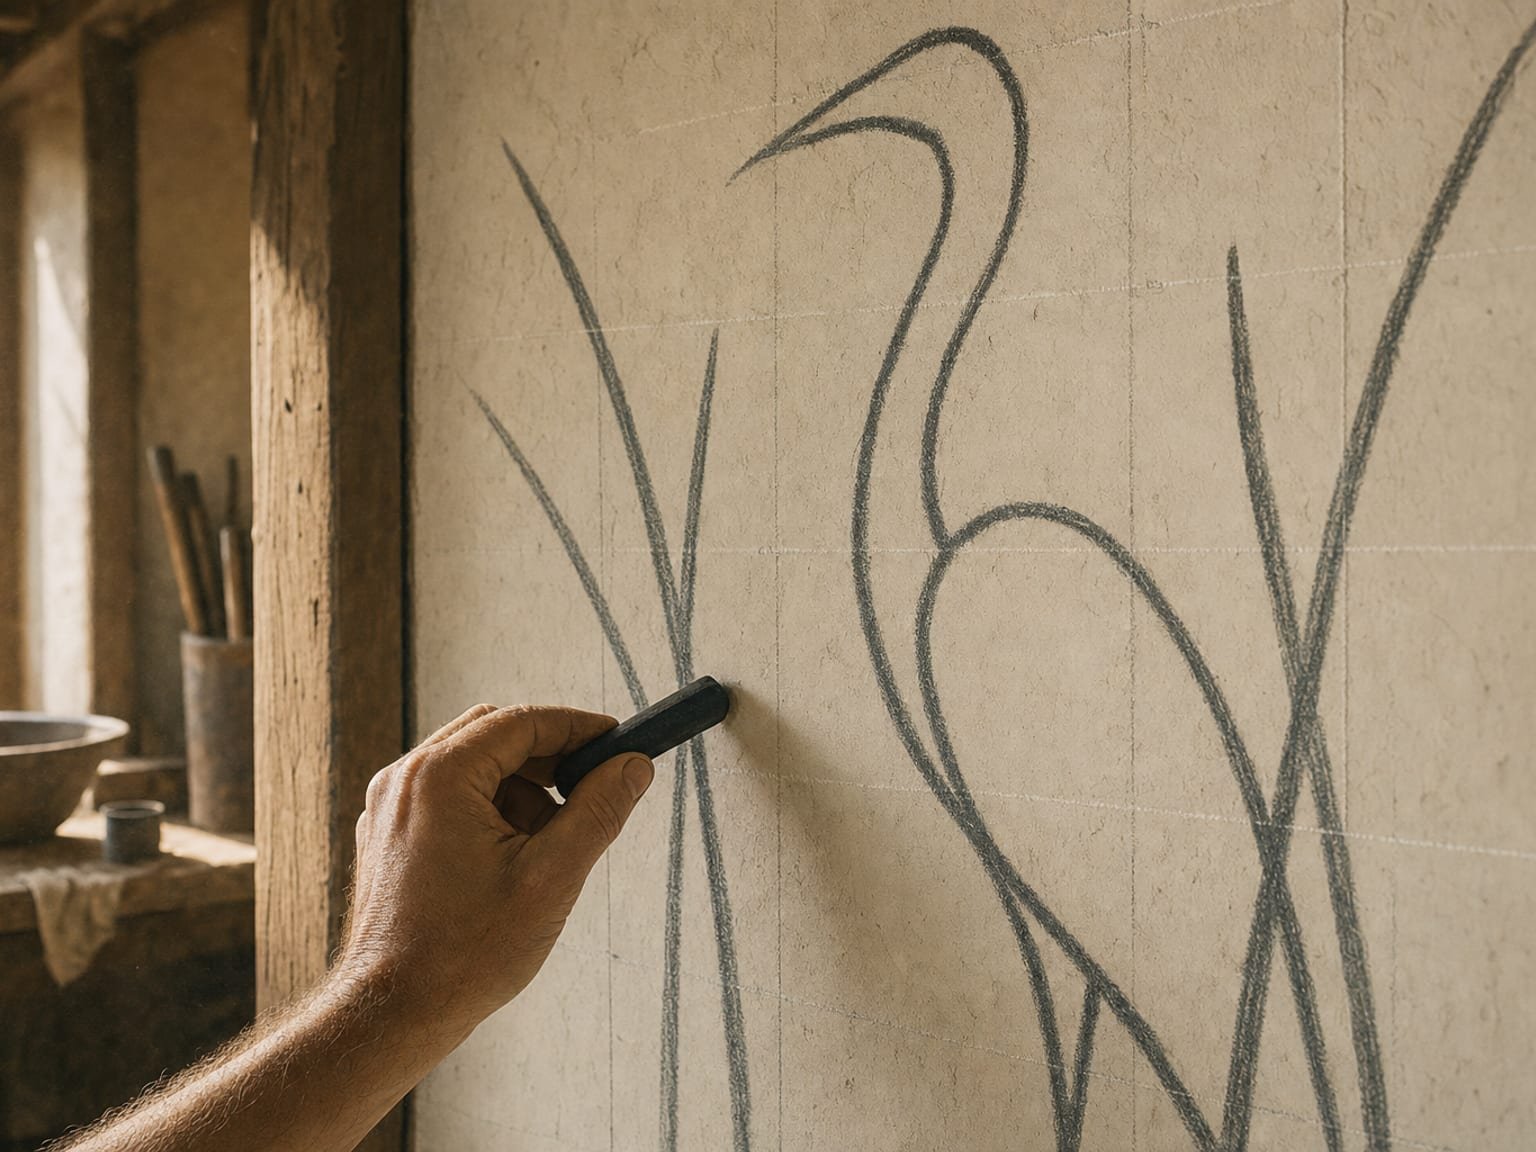
Looking through the screen, mark the major shapes, boundaries, and landmark lines onto the wall with chalk or a soft pencil. Block in the big structure first — the silhouette, the horizon, the main masses — not the fine detail, which you refine by hand once the scaffold is right.
-
Work in sections
For a large wall, reposition the phone and re-anchor the reference to each region in turn, transferring section by section until the whole outline is chalked in. Then put the phone down and do the real work — the values, edges, and colour — by hand and eye.
The AR app, plainly
- A separate app — not a paywall on the free tool. The browser tool stays free forever, with all 82 composition overlays.
- Built by Sujith Puthran, a working artist of more than 15 years, to solve the AR-tracing job at his own easel and on his own walls.
- On Android via Google Play (com.gridmakerpro.app); an iOS version is planned.
- Runs on-device. Your reference photos stay on your phone.
- Free tier: 3 AR traces of your own photo every month. Paid: $29.99 / year, $6.99 / month, or $79 once for lifetime.
Wall-specific tips
A wall behaves nothing like a sheet of paper, and a few things separate a clean mural start from a frustrating one.
- Prime and basecoat first. Transfer onto a cured, even basecoat, not bare masonry or fresh render. A primed wall gives chalk and pencil something consistent to grip, keeps the surface from drinking your marks, and gives you a uniform tone to judge shapes against. Let it dry fully before you mark it.
- Respect architectural scale. A shape that reads at desk size can feel cramped or oversized on a wall. Step well back after chalking the main masses and check the proportions from where viewers will actually stand — usually much further away than you are working.
- Light for AR outdoors. AR tracing struggles in bright, direct sun, where screen glare washes out the overlay and heat can make tracking jumpy. Work an exterior wall in the shade, on an overcast day, or in the softer light of early morning or late afternoon. Interior walls are the easiest case of all.
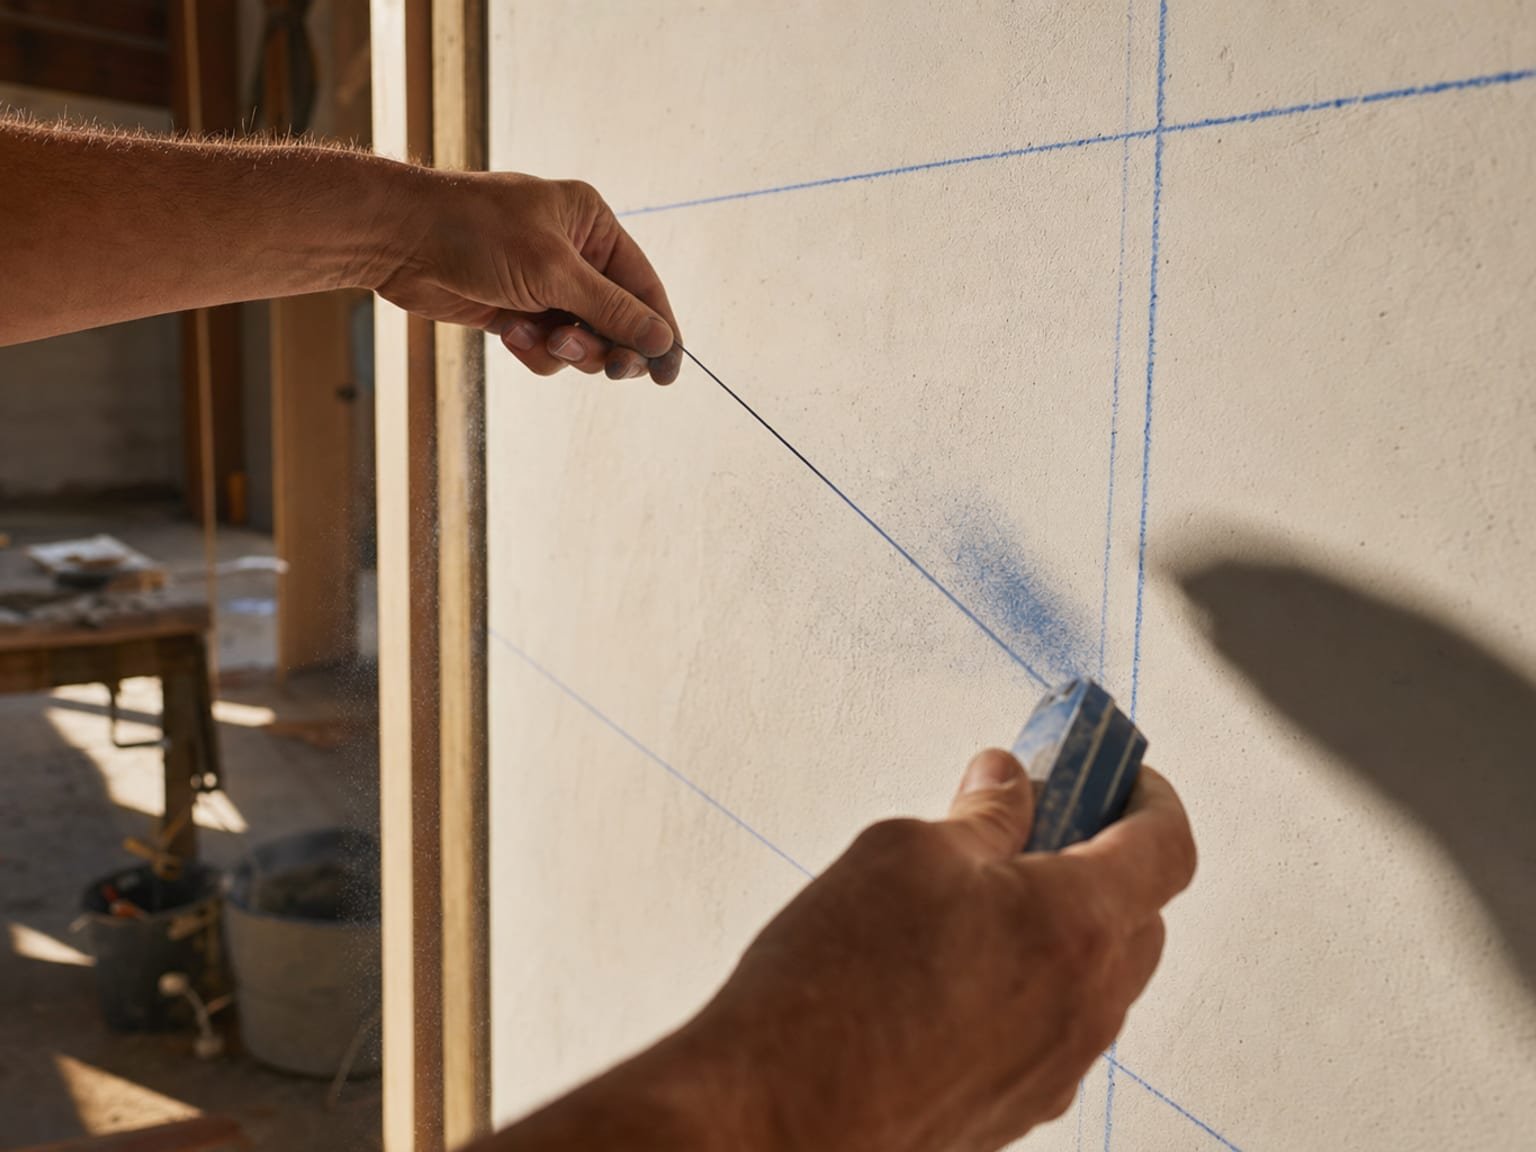
- Section large walls deliberately. Divide a big wall into logical regions and transfer them one at a time, re-anchoring the reference to each. Chalk a couple of registration marks where sections meet so the pieces line up, the same way a pounced or gridded cartoon is aligned panel to panel.
- Chalk versus pencil. Chalk is the default on a large wall: it shows on most basecoats, wipes off, and does not score the surface. Use a chalk pencil or soft graphite only for finer landmark lines on a smaller or smoother wall, and keep hard graphite and markers off the wall entirely — they can ghost through thin paint.
If you would rather scale up the old-fashioned way, the free tool gives you the grid to copy from and doubles as a keystone check if you switch to a projector — the lines should land evenly across the wall.
Common mistakes
- Transferring onto an unprepared wall. Marking bare, dusty, or still-damp masonry means your outline smears, vanishes, or refuses to take paint cleanly. Prime and basecoat, and let it cure, before any transfer.
- Scaling up a composition you never checked. Enlarging locks in every flaw. A badly cropped study becomes a badly cropped mural at ten times the size. Check the crop and balance before you touch the wall.
- Letting the phone or your eye drift during AR tracing. If the device moves relative to the wall, or your head shifts, the overlay slides and the shapes you chalk inherit the error. Mount the phone and keep a consistent viewing position.
- Chasing detail before the big shapes are right. Transferring fine features before the major masses are placed means correcting fine work later. Block in the large structure first, confirm it from a distance, then refine.
- Ignoring keystone with a projector. A projector that is not square to the wall throws a trapezoid, and every proportion you trace stretches with it. Level it, square it, and verify with a grid before drawing a line.
- Fighting bright sun outdoors. Trying to AR-trace an exterior wall in direct glare wastes time and drains the battery. Wait for shade or soft light, or fall back to a grid or a night-time projector.
When another method still wins
AR is not the answer to every wall, and it is fair to say where the older methods still beat it. On a very large exterior wall in bright sun, screen glare and tracking drift make AR frustrating — a projector run after dark, squared to the wall on a stable stand, will scale a huge image up faster and more legibly. On a wall where even chalk is hard to place accurately, or where you simply have no phone to hand, a physical grid chalked straight onto the surface is the reliable fallback that has worked for six centuries and needs no battery.
And when a design repeats — an ornamental border, a motif, lettering you will reproduce across several walls — pouncing a pricked cartoon or cutting a production stencil is worth the setup. You make the pattern once and lay it down again and again with perfect consistency, which no freehand or single-trace method can match. The honest position is the one this whole guide takes: match the method to the wall, and keep more than one in your kit.
Weighing the three most common choices in more depth? The dedicated comparison walks the trade-offs between the grid, the projector, and tracing.
Frequently asked questions
What is the easiest way to transfer a design to a wall?
For most muralists working solo, AR tracing is the easiest: you lock your reference over the wall through a phone or tablet camera and draw the main shapes you see, with no enlargement maths and no projector to square up. The grid method needs nothing but chalk and a straightedge and is the most reliable low-tech option, but it is slower on a large wall. A projector is fast on very large surfaces but needs a dark room or nightfall and careful squaring to avoid keystone distortion.
How do you scale a small drawing up onto a big wall?
The grid method is the classic scale-up: draw a grid over your small study, chalk a matching grid with the same number of cells but much larger onto the wall, and copy the design one cell at a time. Because the ratio is constant across every cell, the enlargement holds its proportions. AR tracing does the same scale-up without drawing any grid — you pinch the reference to fill the wall on screen and trace the shapes directly.
Do I need a projector to paint a mural?
No. A projector is one option, but the grid method scales any design up with only chalk and a straightedge, and an AR app scales it up through a phone camera with no dark room required. Projectors remain useful for very large exterior walls or when you want to work fast at night, but many muralists never buy one.
Should I use chalk or pencil to mark out a mural?
Chalk is the usual choice on a large wall because it wipes off easily, shows up on most basecoats, and does not score the surface. A soft pencil or chalk pencil works for finer landmark lines on a smaller or smoother wall. Avoid hard graphite and permanent markers, which can ghost through thin paint.
Does the Grid Maker Pro AR app work for murals?
Yes. Locking a reference over a real wall and tracing the main shapes by hand is exactly what the AR app is built for, and walls are one of the cases where it beats a projector. The separate Grid Maker Pro web tool, with its 82 composition overlays, stays free forever in your browser for setting the crop and checking the composition first. The AR app is a separate paid product with a free tier of three traces of your own photo each month; it is an addition, not a paywall on the free tool.
References
- OFFWRLD Murals — "How to get your mural on the wall: 6 transfer methods every muralist should know." A working-muralist survey of grid, projector, pouncing, and freehand wall-transfer methods and when each suits a wall.
- Alberti, Leon Battista. On Painting (Della Pittura, 1435). Translated by Cecil Grayson, introduction by Martin Kemp. Penguin Classics (1991 ed.). ISBN 978-0-14-043331-3. Book Two describes the gridded veil (velum), the founding principle of scaling a design up by a constant cell ratio.
Update log
- — Published. Guide to transferring a design onto a wall: the five methods compared, step-by-step AR tracing, wall-specific tips, and when a projector or physical grid still wins.
Scale your design onto the wall
Set the crop and check the composition in the free browser tool, then lock the reference over your real wall with the AR app and chalk the shapes by hand. Your image stays on your device, either way.
Get the app →One brief every other Tuesday.
One overlay, one historical reference, one workflow note. Studio notes from working artists, photographers, and designers. No spam, unsubscribe in two clicks.