
How to transfer an image onto fabric
Getting a design onto cloth is its own problem. Fabric has a weave that swallows fine lines, it stretches and shifts as you draw, and whatever you mark has to survive washing. There are five honest ways to transfer an image onto fabric — light-table or window tracing, water-soluble transfer pens and carbon, iron-on and printable transfers, AR tracing through a phone, and plain freehand. This guide covers each with what it is best for and its catch, then walks the AR method step by step for embroidery, quilting, and textile work.
One of the guides behind the 82 composition overlays every visual artist should know and use.
By Sujith Puthran · Published 1 July 2026
Fabric is not a flat, rigid sheet that holds a line the way paper does, and every transfer method has to account for that. The surface is a mesh of threads, so a hard graphite line can disappear into the weave or, on a loose weave, skip and break. The cloth moves — it stretches under a stylus, bunches under a hoop, and slides on the table — so a design drawn without stabilising the fabric ends up distorted the moment you let go. And unlike a drawing on paper, most textile work gets handled, worn, and washed, which means the guide marks you leave behind have to come out cleanly or hide under the finished stitching or paint.
Those three constraints — weave, movement, and washability — are why fabric has its own toolkit rather than borrowing the paper one wholesale. A lightbox still works, but only on thin, pale cloth. Transfer paper still works, but the pen has to be one made for fabric. The choice of marker matters more than it does on paper, because the wrong ink sets permanently under an iron or in cold water. The rest of this guide is about matching the method and the marker to the fabric and the job in front of you. If you want the fuller picture of transfer methods across every surface, the pillar guide on how to trace a photo onto paper covers the underlying techniques in depth.
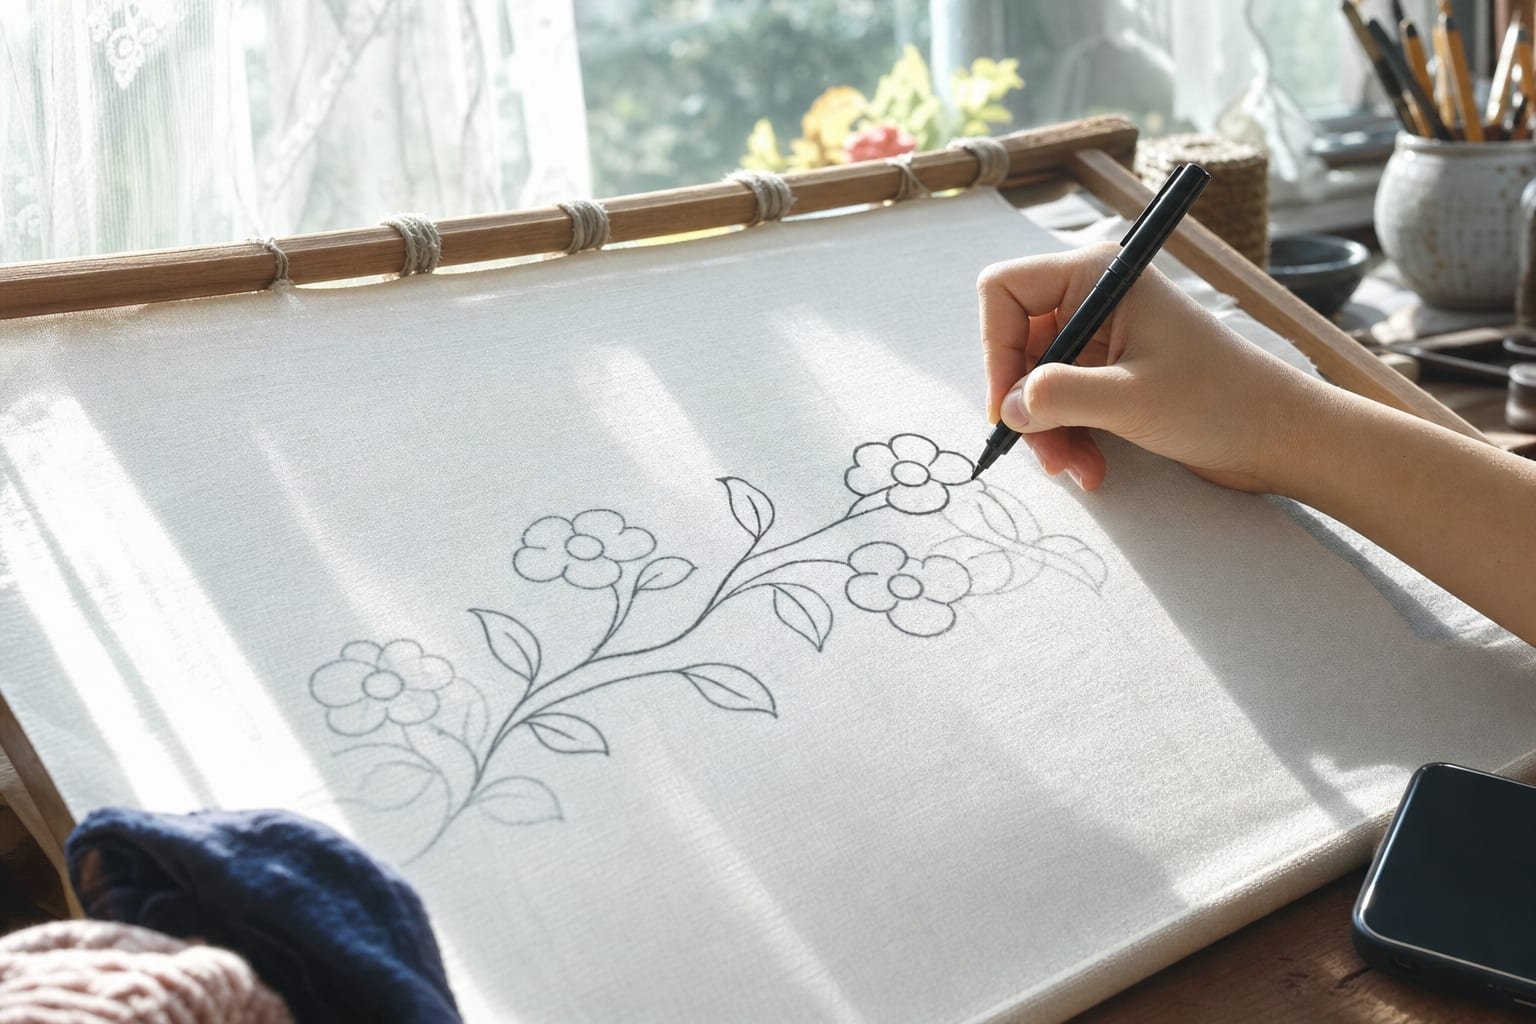
The ways to transfer an image onto fabric
Five methods cover almost every fabric transfer. None is best for everything — each trades away something for what it does well. Read across for what each one is genuinely suited to before you pick.1
| Method | How it works | Best for | The catch |
|---|---|---|---|
| Light table / window tracing | Tape the printed design behind the fabric; the backlight makes the lines show through so you trace them onto the cloth. | Thin, pale, smooth fabric — cotton, muslin, quilting cottons, light linen. | Needs light to pass through. Useless on dark, thick, or textured fabric. |
| Transfer pens & carbon | Trace the design with a water-soluble marker or dressmaker's carbon/tracing paper that offsets a coloured line onto the fabric under pressure. | Medium-weight cloth, quilting, dressmaking marks, opaque fabric a light won't reach. | Colour must contrast with the fabric; lines must be rinsed or brushed out afterward. |
| Iron-on / printable transfer | Print the image onto transfer paper, then press it onto the fabric with an iron so the printed layer bonds to the cloth. | Photographic images, t-shirts, tote bags, production runs of matching pieces. | Leaves a printed film, not stitchable line-art; reversing text and heat settings need care.1 |
| AR tracing | An app locks the reference over the fabric through the phone camera; you trace the outlines you see on screen with a fabric marker. | Any size or colour of fabric, odd shapes, large panels, dark cloth, scaling a design up. | Needs a phone on a stand and a steady viewing angle; gives outlines, not colour. |
| Freehand | Draw the design directly onto the fabric by eye with a water-soluble marker or tailor's chalk. | Simple motifs, lettering, loose textile art, artists confident in their drawing. | No accuracy safety net — proportion and placement are entirely on your eye. |
The free Grid Maker Pro web tool helps with several of these before you ever touch the fabric — drop the image in, overlay a grid, and check the composition or plan an even scale-up. What a browser physically cannot do is hold that reference over your real cloth so you can trace it by hand. That is the AR method below.
How to transfer an image onto fabric with AR
AR tracing solves the two problems that trip up every other fabric method at once: it does not care whether light passes through the cloth, and it does not care how big or dark the fabric is. You lock your design over the fabric through the phone camera, set its size and opacity once, and trace the outlines you see on screen straight onto the cloth. It works the same on a pale cotton hoop, a black t-shirt, or a quilt panel too large to fit any light table.
-
Stabilise the fabric
Hoop the fabric or tape it flat and taut to a table so it cannot shift while you draw. Any movement of the cloth moves your traced lines with it, and fabric slides far more easily than paper.
-
Mount the phone on a stand
Set the phone or tablet on a tripod or stand directly above the fabric with the screen facing you. This keeps both hands free and, just as important, keeps your viewing angle constant so the overlay does not appear to drift as you move.
-
Import your photo or pattern
Open your reference image or line-art pattern in the AR tracing app. It runs on-device, so nothing uploads and your design stays on your phone.
-
Scale and set opacity
Pinch to size the design to the fabric and drag it into position, then lower its opacity until you can see both the overlay and the weave underneath. Being able to see the cloth is what lets you trace accurately onto it.
-
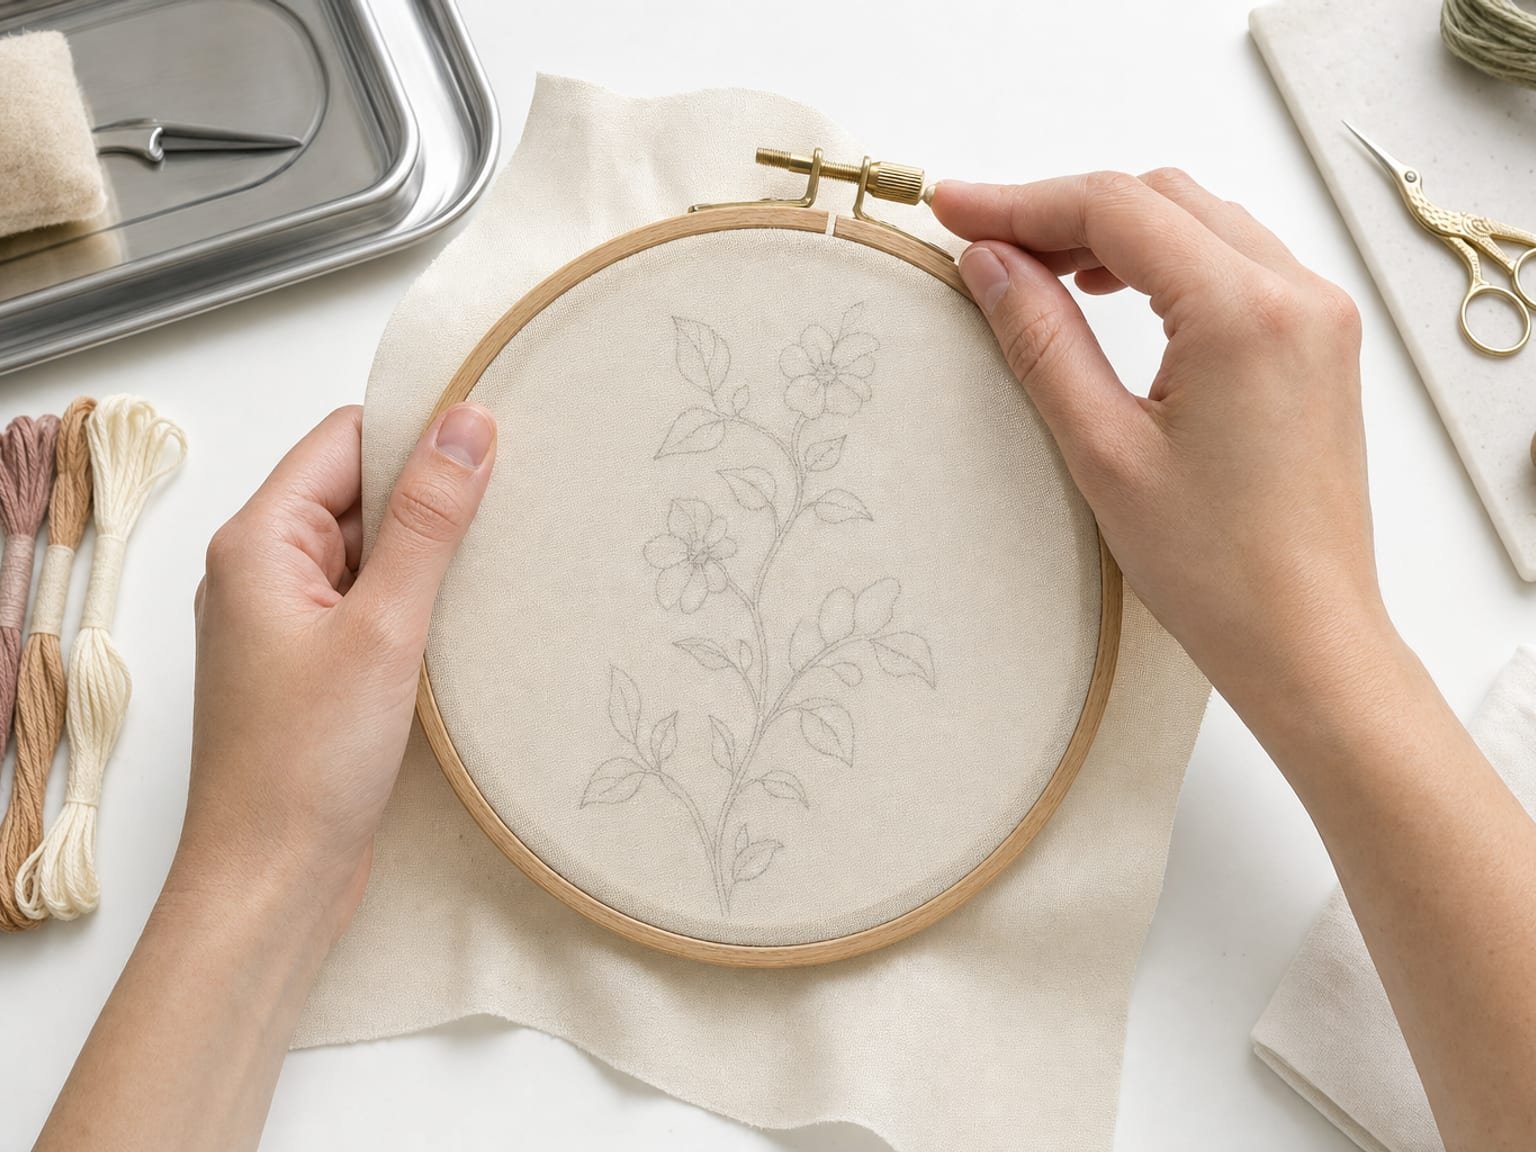
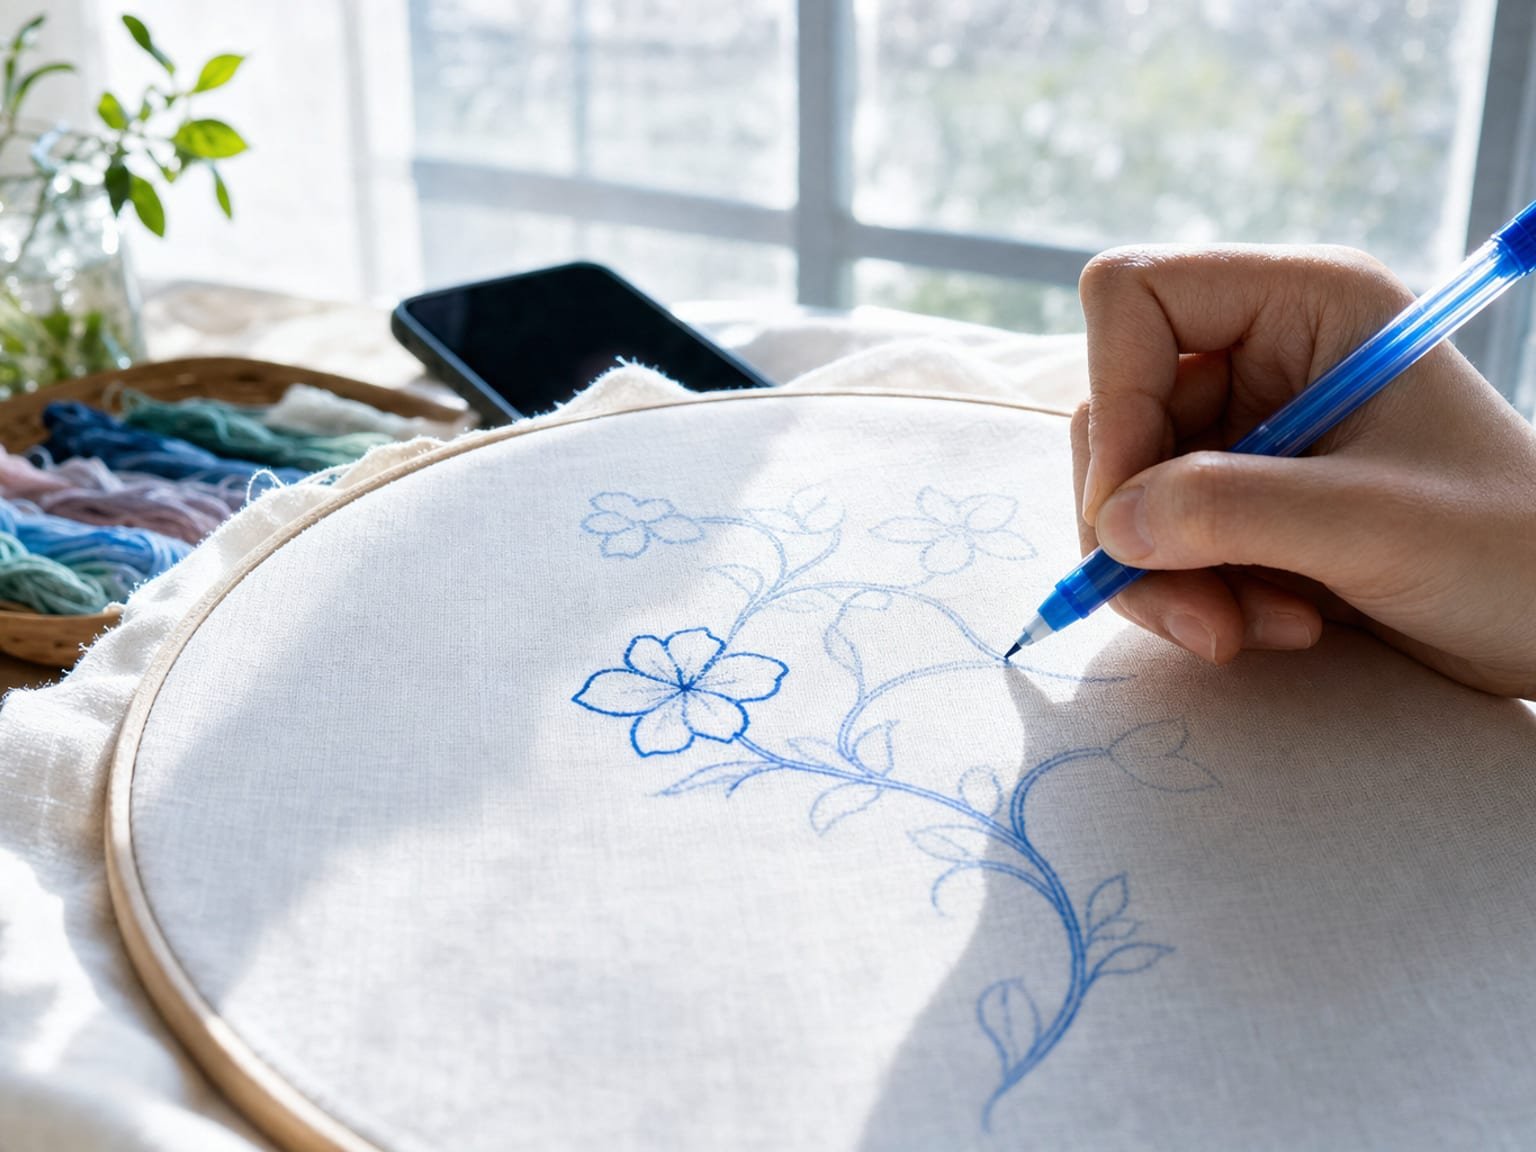
Trace the outlines with a fabric marker
Draw the design's outlines onto the cloth with a water-soluble marker or a transfer pen, glancing at the screen to place each line. Keep your head in a steady position so the overlay stays pinned where you set it.
The AR app, plainly
- A separate app — not a paywall on the free tool. The browser tool with its 82 grids stays free forever, no account.
- Built by Sujith Puthran, a working artist of more than 15 years, to do the one job a browser cannot: lock a reference over a real surface for tracing.
- On Android via Google Play (com.gridmakerpro.app); an iOS version is planned.
- Runs on-device — your reference photos stay on your phone.
- Free tier: 3 AR traces of your own photo every month. Paid: $29.99 / year, $6.99 / month, or $79 once for lifetime.
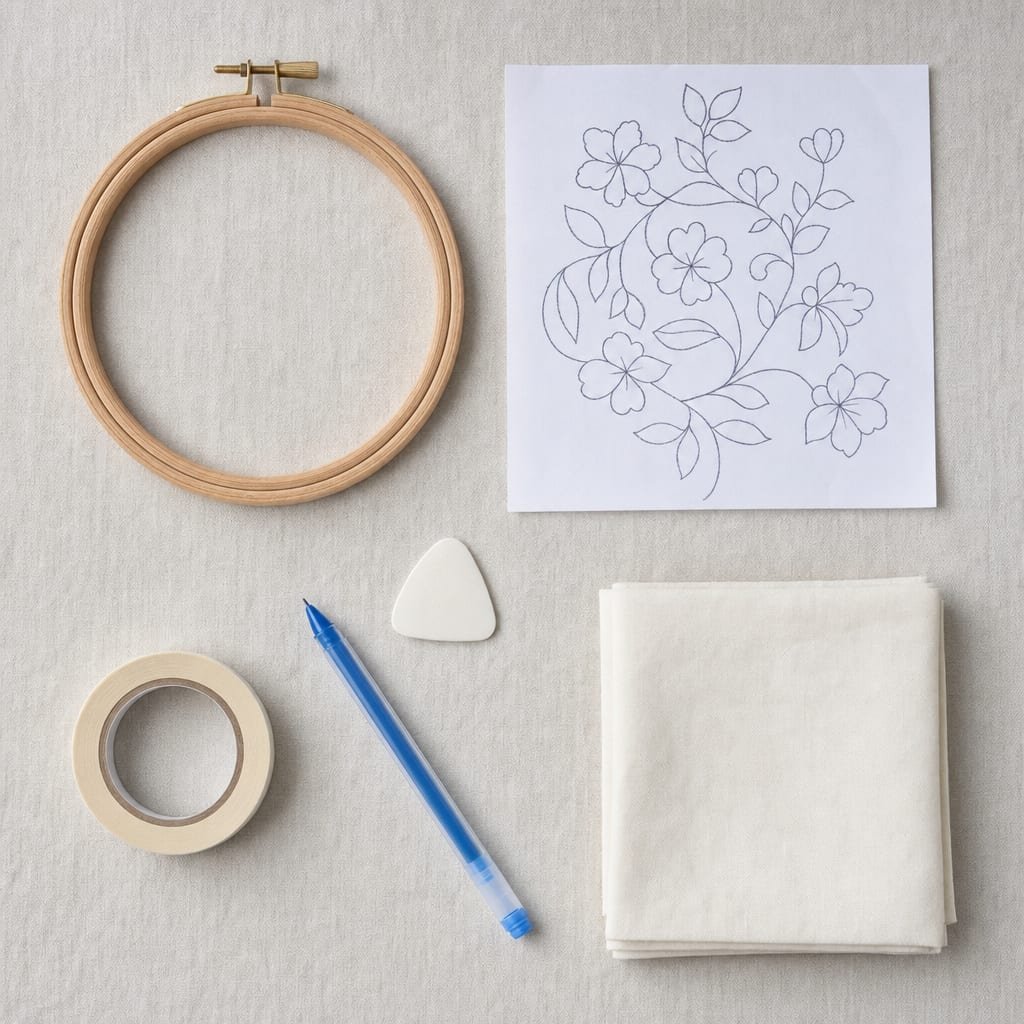
Fabric-specific tips
- Choose the marker by how it comes out. Water-soluble (water-erasable) markers rinse away with a spritz or a cold soak and suit any washable piece. Heat-erasable pens vanish under an iron but the ink can reappear in cold conditions, so they are best where the line will be fully covered. Whichever you pick, test it on a scrap of the same fabric first.
- Never iron over a water-soluble line before you rinse it. Heat can set a water-soluble mark permanently, turning your guide line into a stain. Rinse the piece in cold water before any iron or warm wash touches it.
- Hoop or stabilise before you mark, not after. Drawing on slack fabric and then hooping it stretches the design out of shape. Get the cloth taut first, then transfer.
- Add a stabiliser for stretchy or loose weaves. Iron-on or tear-away stabiliser backing keeps knits and open weaves from distorting under the pen and the needle. For dark or busy fabric, a printable water-soluble stabiliser lets you print or trace the design onto the film, stick it down, stitch through it, and wash it away.
- For dark fabric, don't fight the light. Window and light-table tracing rely on seeing through the cloth, which dark fabric defeats. Reach instead for a chalk marker with a stencil, dressmaker's carbon in a contrasting colour, a wash-away stabiliser, or AR tracing — all of which work regardless of colour.
- Match the method to the craft. For embroidery, transfer just the outline you will stitch over and keep it fine. For quilting, mark placement and quilting lines with a tool that rinses out cleanly across a large panel. For garment painting, transfer a light outline you can paint over and hide, and check the composition before you commit.
Common mistakes
- Using a permanent or ballpoint pen "just to be safe." A regular pen will never come out and will bleed through paint or thin stitching. Use a marker made for fabric, every time.
- Ironing before rinsing. Setting a water-soluble line with heat is the most common way to ruin an otherwise finished piece. Rinse cold first.
- Marking slack fabric. Transferring onto un-hooped, un-taped cloth guarantees the design shifts and warps the moment you tension it. Stabilise before you draw.
- Skipping the scrap test. Fabrics react differently to every marker and transfer paper. A ten-second test on a scrap of the same cloth prevents a surprise stain on the real thing.
- Pressing too hard with a stylus on a light table. Heavy pressure sinks the line into the weave and can dent or distort thin fabric. Trace with a light, even hand.
- Transferring a design you haven't checked. An accurately transferred but poorly placed or cropped design is still a poorly placed one. Set the crop and check the arrangement in the free tool before you transfer.
When another method still wins
AR tracing and hand transfer are the right tools when you are placing an outline you will then stitch or paint by hand. But two fabric jobs are genuinely better served by other methods, and it is worth saying so plainly.
Production runs want a printable or iron-on transfer. If you need the same photographic image on twenty matching t-shirts or tote bags, tracing each one by hand is the wrong tool. Print the image onto iron-on transfer paper and press it — you get an identical result every time, in minutes, and the printed layer carries full colour that no hand-traced outline can.1 Hand transfer is for pieces you finish by hand; iron-on is for repeatable printed graphics.
Sheer, pale fabric is a light table's home turf. When the cloth is thin and light-coloured — organza, fine cotton lawn, pale muslin — a light table or a sunlit window is faster and cheaper than any app. The design shows straight through, you trace it directly, and there is nothing to set up. Save the AR method for the cases the light cannot reach: dark cloth, thick cloth, and pieces larger than any panel you can back-light. The full trade-offs across every transfer method are laid out in the pillar guide on how to trace a photo onto paper.
Frequently asked questions
What is the easiest way to transfer an image onto fabric?
For light-coloured, lightweight fabric, tracing over a light table or a sunlit window is the easiest and cheapest method: tape the printed design behind the fabric and trace the lines that show through with a water-soluble marker. For dark or thick fabric that light will not pass through, an AR tracing app or transfer paper works instead, because neither depends on seeing the design through the cloth.
How do you transfer an image onto dark fabric?
Light will not pass through dark fabric, so window and light-table tracing do not work. Use a chalk-based or heat-erasable marker with a stencil or transfer paper, a tear-away or water-soluble stabiliser you print or trace onto and stitch through, or an AR tracing app that locks the design over the fabric through the phone camera so you trace what you see on screen rather than through the cloth.
What kind of pen should I use to trace a design onto fabric?
Use a marker made for fabric so the lines come out cleanly. Water-soluble (water-erasable) markers rinse away with a spritz or a cold soak and suit washable pieces. Heat-erasable pens vanish with an iron but the ink can return in the cold, so test first. Always test any marker on a scrap of the same fabric before drawing the real design, and never iron over a water-soluble line, which can set it permanently.
Can you transfer a photo onto a t-shirt at home?
Yes. For a printed photographic image, printable iron-on transfer paper run through a home printer and pressed with an iron is the standard route, and it is the right choice for a production run of matching shirts. If instead you want to hand-paint or embroider the design, trace its outline onto the shirt first with an AR app or a light table, then do the colour and stitching by hand.
How do I keep transferred lines from showing in the finished piece?
Draw lightly and just inside where the stitching or paint will cover, so the marks are hidden by the finished work. Use a water-soluble marker and rinse the piece in cold water once you are done, before any heat or hot water touches it. Do not press or wash a water-soluble line in warm water until it has been rinsed out, because heat can set it.
References
- Bellemare, Melissa J. "Image Transfer Methods: How to Print Pictures on Wood, Fabric, Glass, and More." Empress of Dirt. empressofdirt.net/image-transfer-methods. Survey of home image-transfer techniques across surfaces, including iron-on and printable transfers onto fabric.
- Alberti, Leon Battista. On Painting (Della Pittura, 1435). Translated by Cecil Grayson, introduction by Martin Kemp. Penguin Classics (1991 ed.). ISBN 978-0-14-043331-3. The earliest written description of the gridded veil (velum) for transferring a design accurately from one surface to another.

Update log
- — Published. Focused guide to transferring an image onto fabric for embroidery, quilting, textile art, and t-shirts, including the AR tracing method step by step.
Get your design onto the cloth
Plan the design and check the composition in the free browser tool, then reach for the AR app when you need to lock a reference over real fabric — pale or dark, small or panel-sized — and trace it by hand. Your image stays on your device, either way.
Get the app →One brief every other Tuesday.
One overlay, one historical reference, one workflow note. Studio notes from working artists, photographers, and designers. No spam, unsubscribe in two clicks.