
How to transfer an image onto a cake
A cake is a soft, edible, one-shot surface, so getting a design onto it needs food-safe tools and a method that forgives no second attempt. There are five honest ways to do it: pinprick and pouncing from a paper template, edible-ink printing on icing sheets, a projector, phone-camera AR tracing, and freehand. This guide compares them, then walks the AR method step by step and covers the tips that are specific to fondant and buttercream.
One of the guides behind the 82 composition overlays every visual artist should know and use.
By Sujith Puthran · Published 1 July 2026
Transferring a design onto paper or canvas is a well-trodden problem with plenty of margin for error. A cake is not. The surface is edible, so every tool that touches it has to be food-safe. It is soft, so a heavy hand dents fondant or drags through buttercream. And it is usually a one-shot job — you cannot erase a scribed line from icing the way you rub out pencil, so the design has to land right the first time. That combination rules out most of the ordinary transfer kit: graphite transfer paper, a lightbox under the surface, a stylus you would use on paper.
What is left is a smaller set of methods built around the constraints. Some, like the pinprick and pouncing techniques, are as old as cake decorating itself. Others, like edible-ink printing and AR tracing, are recent. This guide runs through all of them so you can pick by the design you are transferring and the surface you are working on — a firm fondant plaque behaves very differently from soft buttercream — and then it walks the AR method in detail, because it is the one that needs nothing beyond the phone in your pocket and a food-safe scribe.
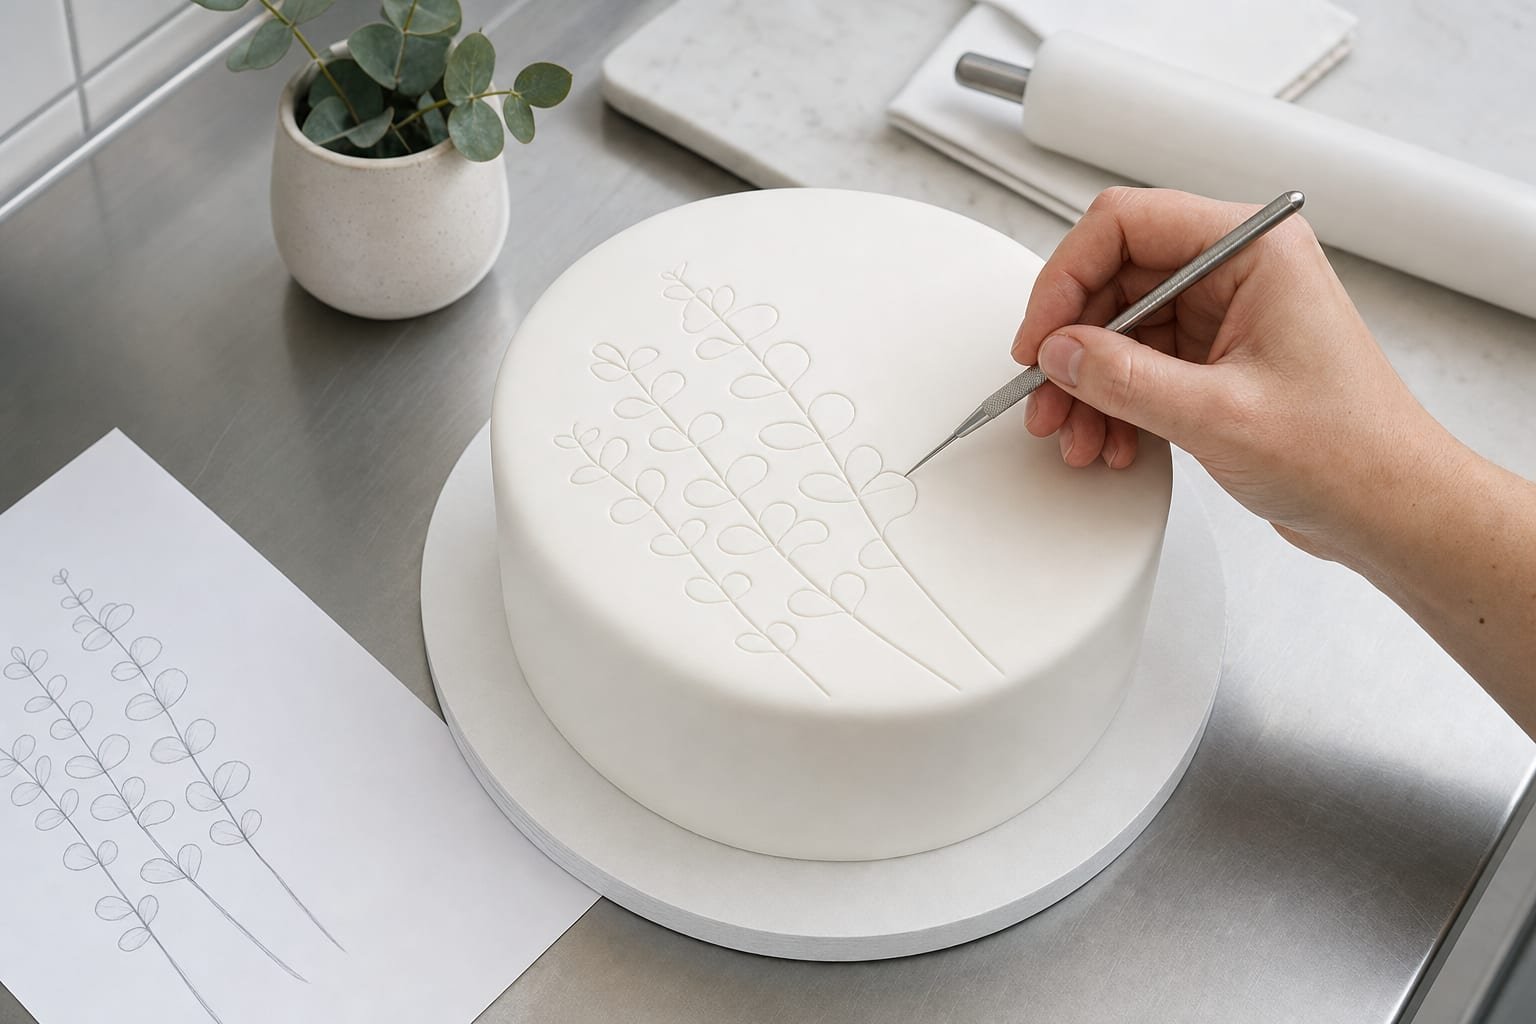
The ways to transfer an image onto a cake
Five methods cover almost every job. The right one depends on whether you need a photo-realistic picture or a line design you will hand-decorate, and on how much equipment you want to own.
| Method | How it works | Best for | The catch |
|---|---|---|---|
| Pinprick / pouncing | Prick the outline of a paper template through onto the surface with a scribe or pin, then dust cocoa or edible powder over the holes to leave a dotted guide. | Line designs, monograms, and outlines on fondant or firm buttercream | Only transfers an outline; the template must be sized to the cake first. |
| Edible-ink printing | Print the image with edible ink onto an icing or wafer sheet, then lay the sheet directly onto the cake. | Photo-realistic images and full-colour pictures | Needs a dedicated edible-ink printer and sheets; less hand-decorated look. |
| Projector | Project the design onto the cake surface and trace the outline with a food-safe scribe. | Large tiers and boards where a template is awkward | Needs a dark room and careful squaring; keystone skew stretches the design. |
| AR tracing | Lock the design over the live camera view of the cake through a phone, then trace the outline you see onto the surface below. | Fast placement on plaques and firmed cakes with no extra kit | Needs a steady mount and a consistent viewing angle; gives placement, not colour. |
| Freehand | Sketch the design straight onto the surface by eye with a food-safe scribe or edible marker. | Simple shapes and decorators confident with proportion | Hardest to keep accurate; no safety net on a one-shot surface. |
Pinprick and pouncing are the traditional standby and cost almost nothing.1 Edible-ink printing wins outright for a photograph. The rest of this guide focuses on AR tracing, which sits between the two: it places a line design as fast as a projector but without the dark room, and it works on the awkward surfaces a paper template struggles with.
How to transfer an image onto a cake with AR
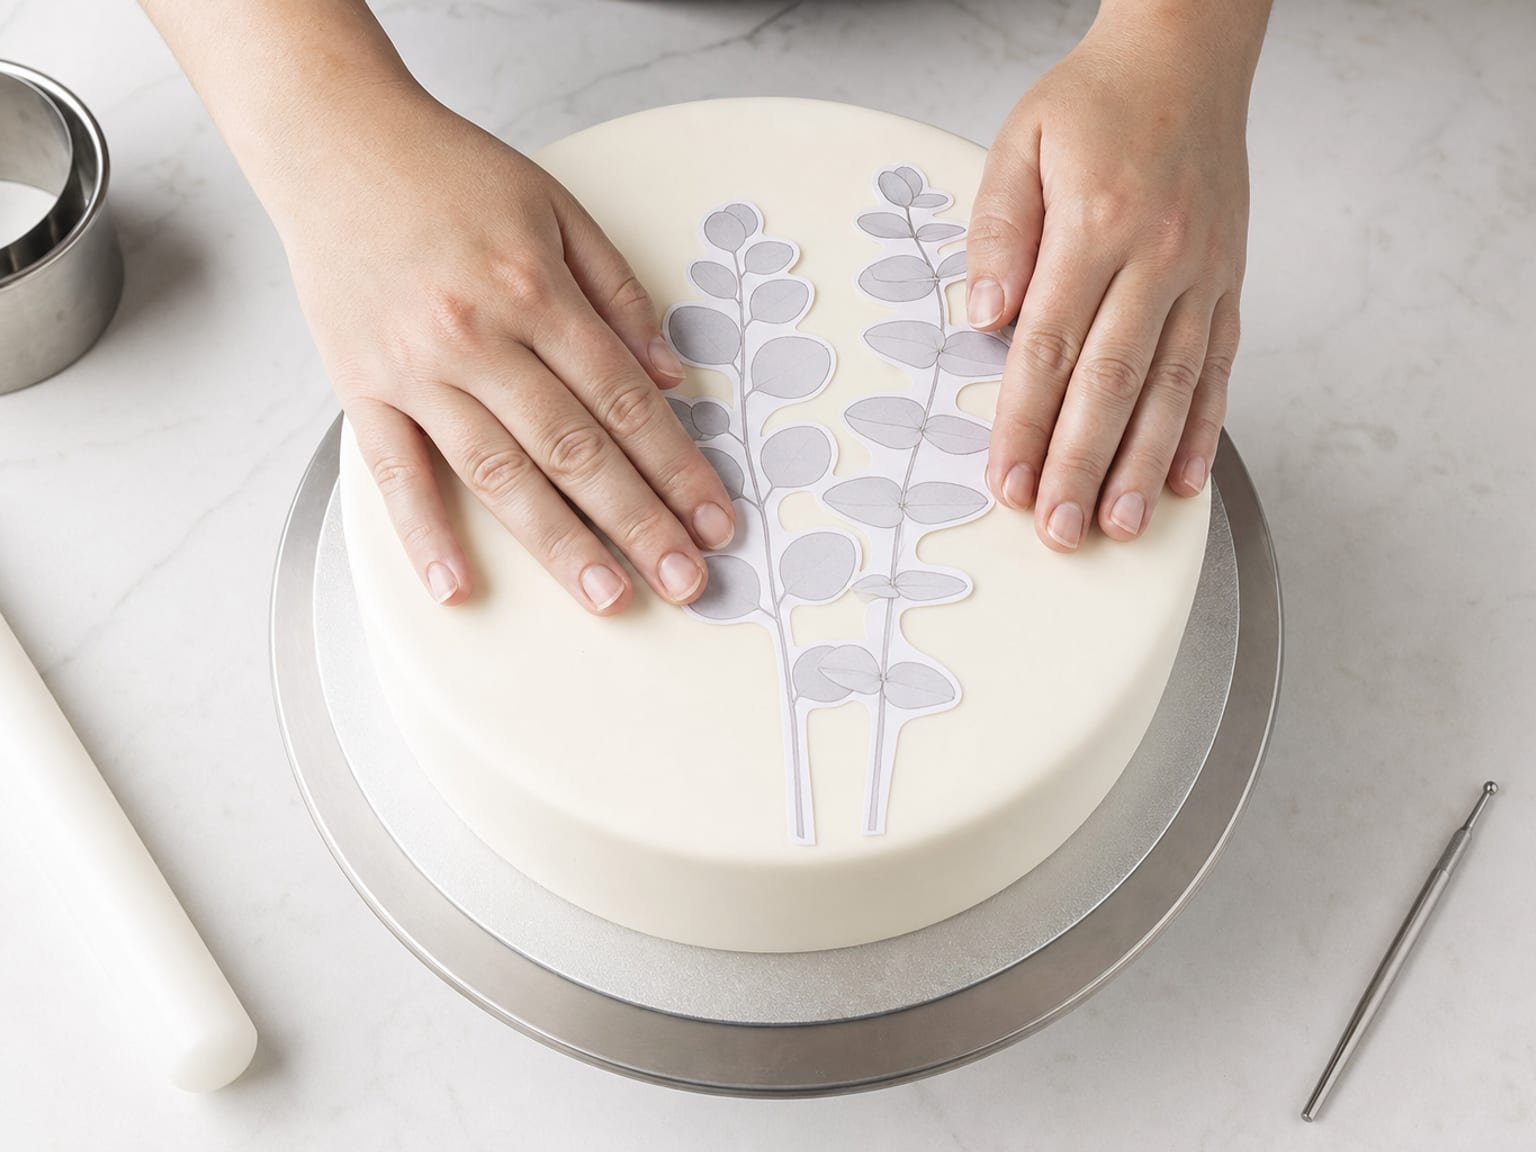
AR tracing locks your chosen design over the live camera view of the cake and holds it in place, so you can draw the lines you see through the screen onto the surface beneath. Because you place and scale the design directly onto the cake, there is no template to cut and no projector to square. Here is the method, start to finish.
- Firm the surface first.
Chill the iced cake until the buttercream is set, or work on a rolled fondant plaque that has firmed for a few hours. A firm surface takes a light scribe line without denting; soft icing drags and smears.
- Mount the phone above the cake.
Fix your phone or tablet on a stand or overhead mount, looking straight down at the surface. This frees both hands and keeps your viewing angle constant, which matters because the design stays accurate only if your eye stays in a consistent position.
- Import and lock the design.
Open your reference image in the AR tracing app and lock it over the live camera view of the cake.
- Scale and set opacity.
Pinch to size the design to the cake and drag it into position. Lower its opacity until you can clearly see both the design and the surface underneath, so you are marking the real cake, not chasing a solid overlay.
- Trace lightly with a food-safe scribe.
Following the design on screen, trace the outline onto the surface with a food-safe scribe tool or a new edible-ink marker. Keep the pressure light — you want a faint guide you can pipe over, not a groove.
- Never let the screen touch the cake.
Keep the phone above the surface at all times. Glance at the screen, mark the cake below it. The screen stays clean, and only your food-safe scribe ever contacts the icing.
The free Grid Maker Pro web tool is the open front door to this — 82 composition and drawing overlays in your browser, free forever, no account. Use it to crop and check the design before you decorate. Locking that design over a real cake surface through the camera is the one thing a browser cannot do, and that is what the Grid Maker Pro AR app is for.
The AR app, plainly
- A separate app — not a paywall on the free web tool. The browser tool stays free forever.
- Built by Sujith Puthran, a working artist of more than 15 years, to solve the AR-tracing job by hand.
- On Android via Google Play (com.gridmakerpro.app); an iOS version is planned.
- Runs on-device. Your reference photos stay on your phone.
- Free tier: 3 AR traces of your own photo every month. Paid: $29.99 a year, $6.99 a month, or $79 once for lifetime.
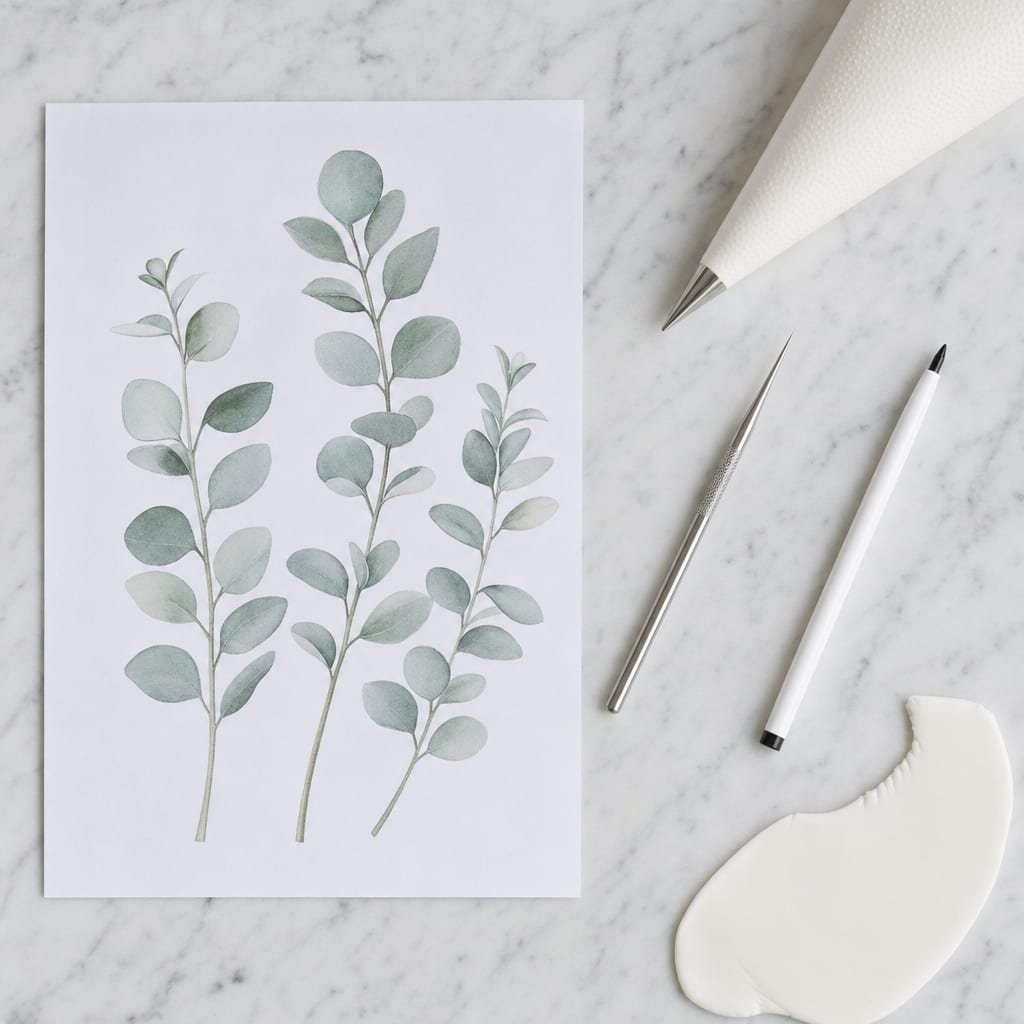
Cake-specific tips
Keep it food-safe
Only food-safe tools touch the icing. Use a purpose-made cake scribe or a new, clean edible-ink marker — never a graphite pencil, ballpoint, or a scribe you have used for anything else. Wash your hands and every tool before you start, and again if they touch a work surface. The phone, the stand, and the reference file never contact the cake, which keeps the whole workflow clean by design.
Fondant plaque versus direct on buttercream
A rolled fondant plaque, set firm for a few hours, is the friendliest surface there is for transferring a design: it takes a scribed line cleanly and you can transfer onto it flat on the bench, then place it on the cake afterward. Buttercream is trickier because it is soft — chill it until the surface has crusted or firmed, and keep your scribe pressure very light so it marks without gouging. If a design is fiddly, transfer onto a plaque rather than fighting soft buttercream.
Chill, and work fast
Cold icing holds a line; warm icing does not. Keep the cake chilled until the moment you transfer, and work quickly once it is out — buttercream softens as it warms and fondant can sweat in humidity. Have your design already scaled and locked in the app before the cake leaves the fridge, so the only slow step at the surface is the tracing itself.
Outline first, then fill
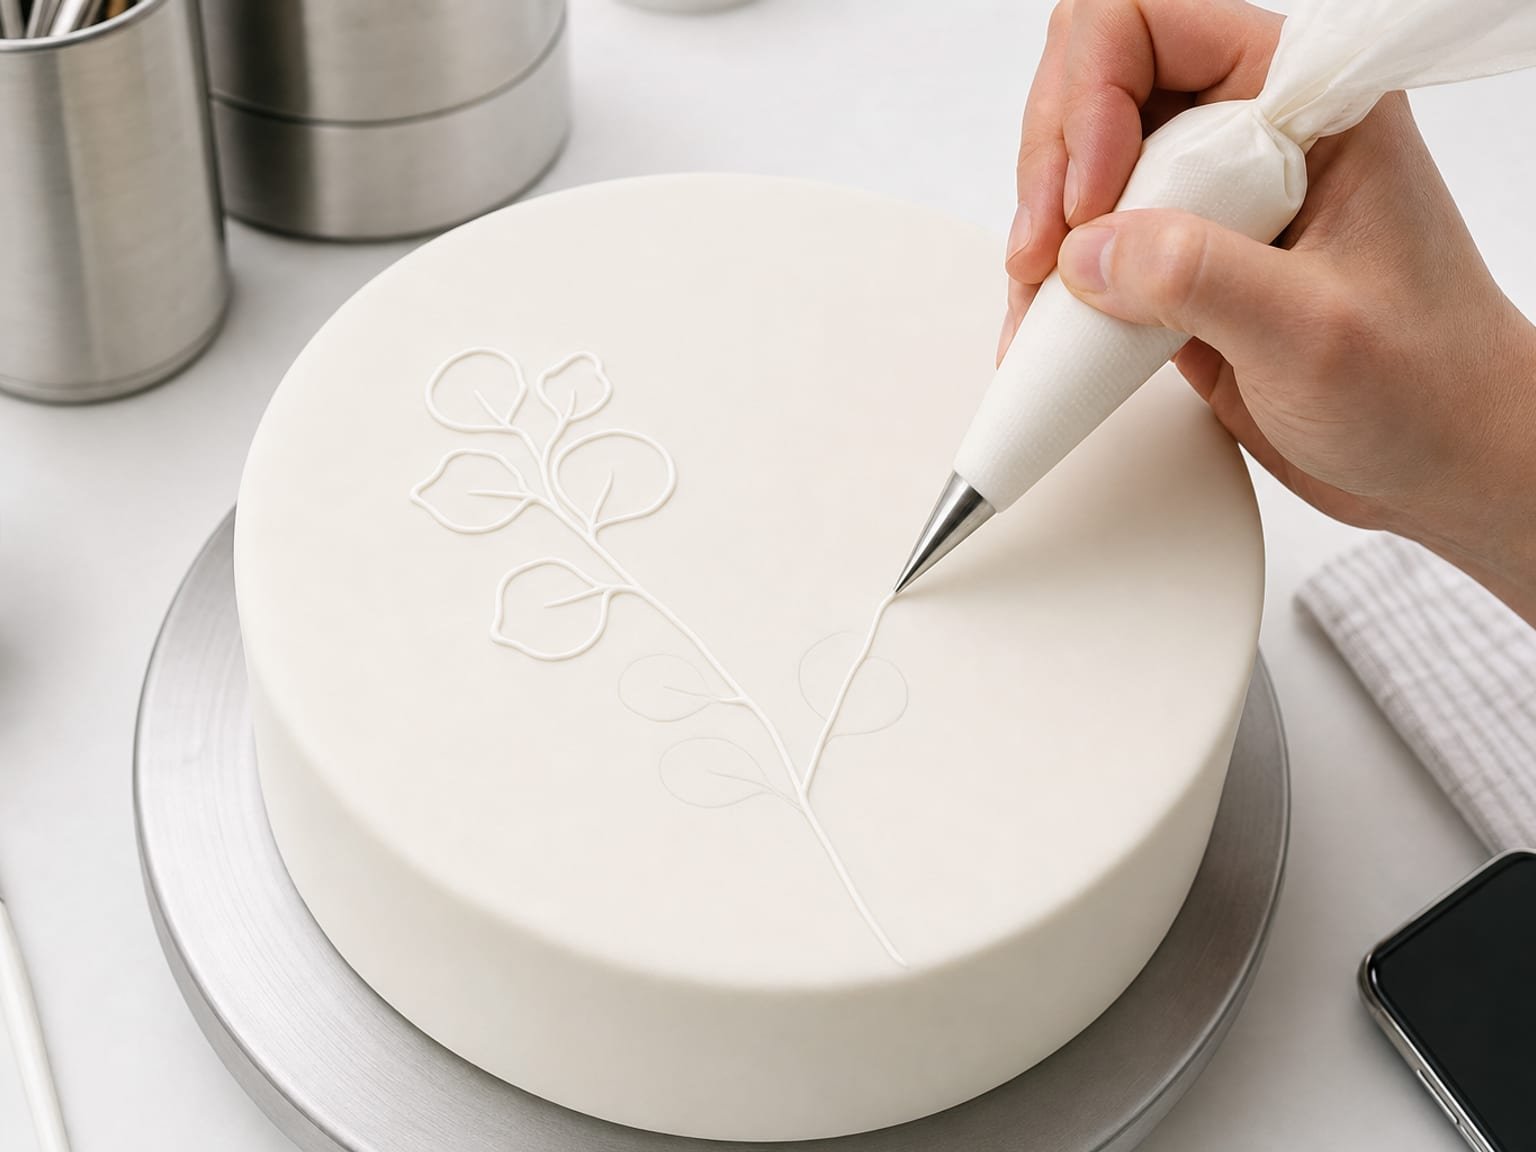
Every transfer method here gives you a placement outline, not a finished decoration. Trace only the outline, then pipe, paint, or flood-fill the colour by hand afterward. The transferred line is the scaffold; the piping is the craft. This is also why a light scribe line is ideal — you want it just visible enough to follow and easy to cover as you decorate.
Common mistakes
- Transferring onto soft, warm icing. A scribe drags through unset buttercream and leaves a smear. Chill or firm the surface first, every time.
- Pressing too hard with the scribe. A heavy line gouges fondant and is hard to cover. Aim for a faint guide, not a groove.
- Letting the phone touch the cake. Keep the screen above the surface and mark the cake below it — the device never contacts the icing.
- Using a non-food-safe pen or pencil. Graphite and ordinary ink do not belong on food. Use only a food-safe scribe or a new edible-ink marker.
- Skipping the crop. A design that is not sized and composed to the cake before you start transfers its problems straight onto the surface.
- Tracing an outline and stopping. The transfer is a placement scaffold. The values and colour are still yours to pipe by hand.
When another method still wins
Tracing places a line design, and that is where it stops. For a photo-realistic image — a portrait, a logo in full colour, a photograph of a face — an edible-ink printer on an icing or wafer sheet is the right tool. It reproduces the whole picture at once with colour and tone that no hand-tracing can match, and you lay the printed sheet straight onto the cake.
For production and repeat work — the same design across a batch of cakes, or a run of cupcakes — printed edible toppers are faster and more consistent than transferring each one by hand. Tracing earns its place on the one-off line design you want to pipe yourself; printing earns its place where the picture is complex or the volume is high. Pick by the job, not by loyalty to a method.
Frequently asked questions
What is the easiest way to transfer an image onto a cake?
For a photo-realistic image, an edible-ink printer on an icing or wafer sheet is easiest — it prints the whole picture at once and you lay it straight onto the cake. For a line design you want to hand-decorate, tracing is easiest: pinprick or pouncing a paper template, or locking the design over the surface with an AR tracing app and marking the outline with a food-safe scribe.
Can you transfer an image onto buttercream?
Yes. Chill the buttercream until it is firm, then transfer a line outline by pinprick, pouncing, or AR tracing with a food-safe scribe held very lightly so it does not gouge the surface. For a full photo on buttercream, use a frozen buttercream transfer or an edible-ink icing sheet laid onto crusted buttercream.
Is it safe to use a phone to trace a design onto a cake?
Yes, as long as the phone never touches the cake. Mount the phone above the surface and trace the outline you see on screen with a food-safe scribe or a new edible-ink marker onto the surface below. Wash your hands and tools first, and let only food-safe tools contact the icing.
How do you transfer an image onto fondant?
Let a rolled fondant plaque set for a few hours so it is firm but not brittle, then transfer the design by pinprick, pouncing, or AR tracing with a food-safe scribe. Fondant takes a scribed line cleanly, which is why many decorators transfer onto a plaque first and place it on the cake afterward.
Do I need special equipment to trace a design onto a cake?
No. Pinprick and pouncing need only a printed template, a pin or scribe, and cocoa or edible dust. AR tracing needs a phone you already own, a stand, and a food-safe scribe. An edible-ink printer or projector helps for photo-realistic images and large tiers, but neither is required for a line design.
References
- Bakes and Blunders. "How to Transfer a Design to Your Cake." bakesandblunders.com/how-to-transfer-a-design-to-your-cake. On the pinprick and pouncing template techniques and food-safe scribing for cake decorating.

Update log
- — Published. Cake-specific transfer guide: method comparison, step-by-step AR tracing, food-safe tips for fondant and buttercream, common mistakes, and when edible-ink printing wins.
Trace your design onto the cake
Crop and check your design in the free browser tool, then lock it over the real cake surface with the AR app and trace it by hand with a food-safe scribe. Your reference stays on your device, either way.
Get the app →One brief every other Tuesday.
One overlay, one historical reference, one workflow note. Studio notes from working artists, photographers, and designers. No spam, unsubscribe in two clicks.