
How to trace an image onto wood
Getting a photo or design onto wood is its own problem. You cannot slide a plank onto a lightbox, the grain drinks up graphite, and a printout only reaches so big. This guide covers every honest way to transfer an image onto wood — grid, graphite paper, projector, AR tracing, and freehand — then the wood-specific tips that make the transfer last, whether you are painting a sign or burning a pattern.
One of the guides behind the 82 composition overlays every visual artist should know and use.
By Sujith Puthran · Published 1 July 2026
Wood is one of the most rewarding surfaces to draw on and one of the most awkward to transfer onto. Unlike paper, you cannot see through it, so a lightbox is out. Unlike a flat sheet, a board has grain and texture, which pulls pencil and paint in unpredictable directions and can swallow a light graphite line before you have finished tracing it. And there is no easy way to hold a reference over a plank at your bench — a printout curls, a projector needs a dark room, and freehand on a surface you cannot erase cleanly is nerve-racking.
The good news is that every general tracing method adapts to wood with a couple of adjustments, and the modern AR approach was practically made for it. The rest of this guide compares the options, walks the AR method step by step, and then covers the wood-specific details — sanding, sealing, and tracing for a wood-burning pen — that decide whether the finished piece looks clean or muddy. If you want the full background on transfer methods in general, the pillar on how to trace a photo onto paper covers each technique in depth.
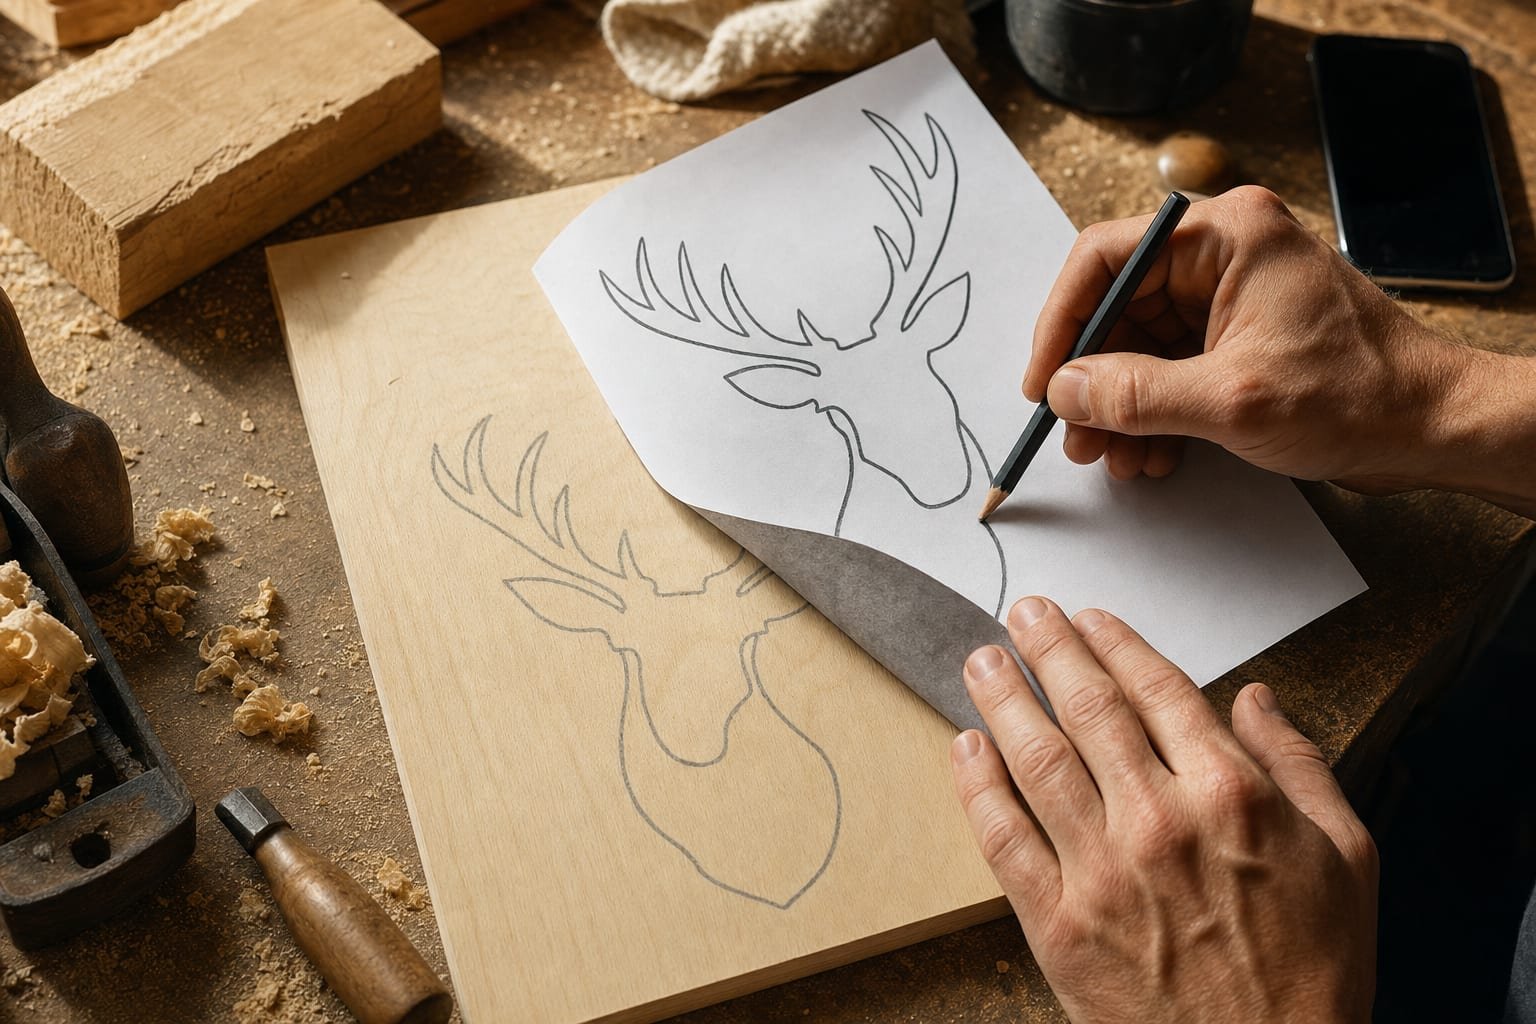
The ways to transfer an image onto wood
Five methods cover almost every wood project. None is best for everything — they trade accuracy, scale, and setup against each other. Match the method to the board.
| Method | How it works | Best for | The catch |
|---|---|---|---|
| Grid method | Draw a grid over the reference and a matching, larger grid on the wood, then copy cell by cell. | Enlarging a design accurately with no equipment; training your eye. | Slow; you have to rule and later erase a grid on the wood. |
| Transfer / graphite paper | Print the design, lay graphite-coated paper underneath, and trace so the lines offset onto the wood. | Clean same-size outlines on small to medium boards. | Locked to print size; graphite can vanish into raw grain — seal first if painting. |
| Projector | Throw the image from a digital or opaque projector onto the wood and trace the projected outline. | Large panels, wall signs, and full boards in one shot. | Needs a dark room and a dead-square setup; keystone distortion skews proportions. |
| AR tracing | Lock the reference over the wood through a phone camera and draw the lines you see on screen. | Any size or shape of board, in daylight, with no printing. | Needs a steady phone mount and a consistent viewing angle. |
| Freehand | Draw directly from the reference by eye, using measured proportions. | Loose, expressive work; building drawing skill. | Least accurate; mistakes on wood are hard to erase cleanly. |
For most people the practical choice is graphite paper for small same-size work and AR tracing for anything that needs enlarging or sits on an awkward board. The free Grid Maker Pro web tool helps with the grid route — drop a photo in your browser, overlay a square grid, and rule the matching grid on the wood by hand. What a browser cannot do is hold that reference over the plank itself, which is the job the AR method below solves.
How to trace a photo onto wood with AR
AR tracing locks your reference photo over the real wood through the phone camera, so you draw the lines you see with no projector, no dark room, and no enlargement maths. Here is the full sequence.
-
Prepare the wood
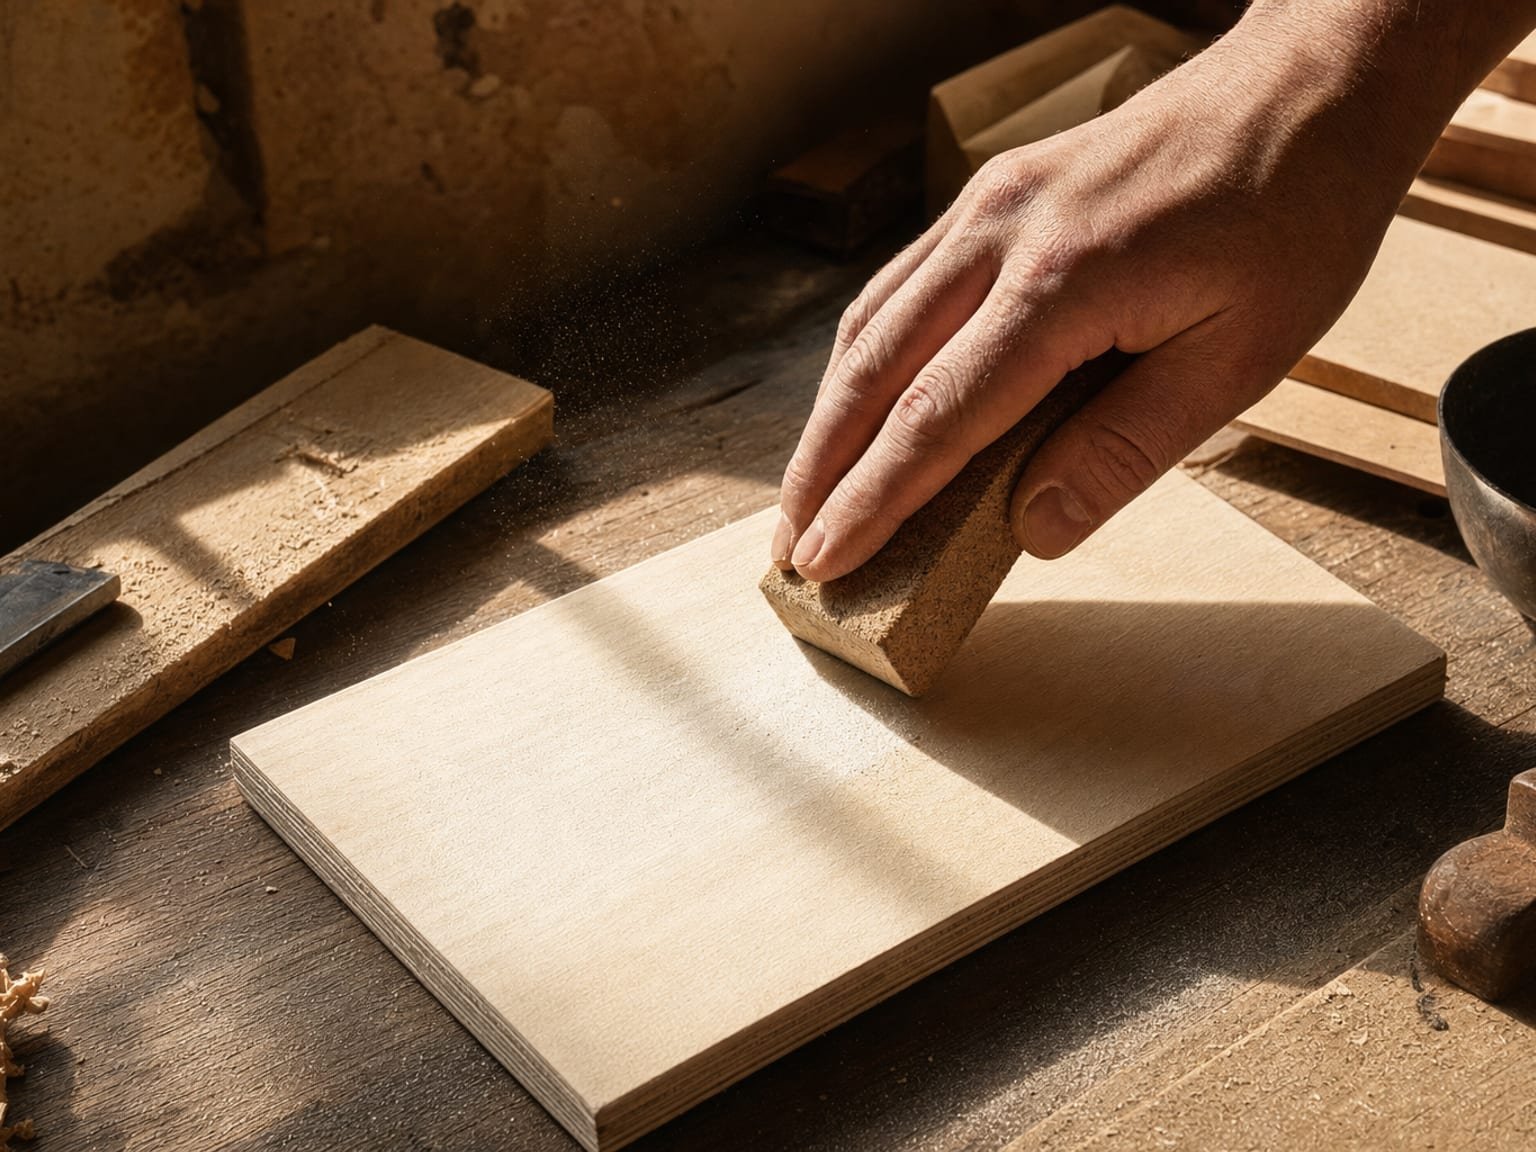
Sand the surface smooth — start at 120 grit to knock down the roughness, then finish with 220 so a pencil, stylus, or burner tip glides instead of catching on the grain. Wipe off the dust. If you plan to paint the transfer, seal or prime the wood first with a thin coat of clear sealer or gesso so your lines sit on the surface rather than soaking into raw grain. If you are wood-burning, leave the wood bare — see the tips below.
-
Clamp your phone on a stand
Mount the phone on an overhead stand, a gooseneck clamp, or an arm positioned above the board. Tracing onto wood needs both hands and a steady view, so a handheld phone is a struggle. Set it so the camera looks straight down at the surface, roughly square, to keep the overlay from skewing.
-
Import your photo
Open the AR tracing app and import the reference photo you want on the wood — a portrait, a logo, a botanical pattern, a lettering layout. The image stays on your device; nothing is uploaded.
-
Scale and set the opacity
Pinch to size the reference so it fills the board exactly, then drag it into position. Lower the opacity until you can clearly see both the overlaid image and the wood grain beneath it. Because you scale to fit the surface directly, there is no ratio to calculate and no trapezoid to correct.
-
Trace the lines onto the wood
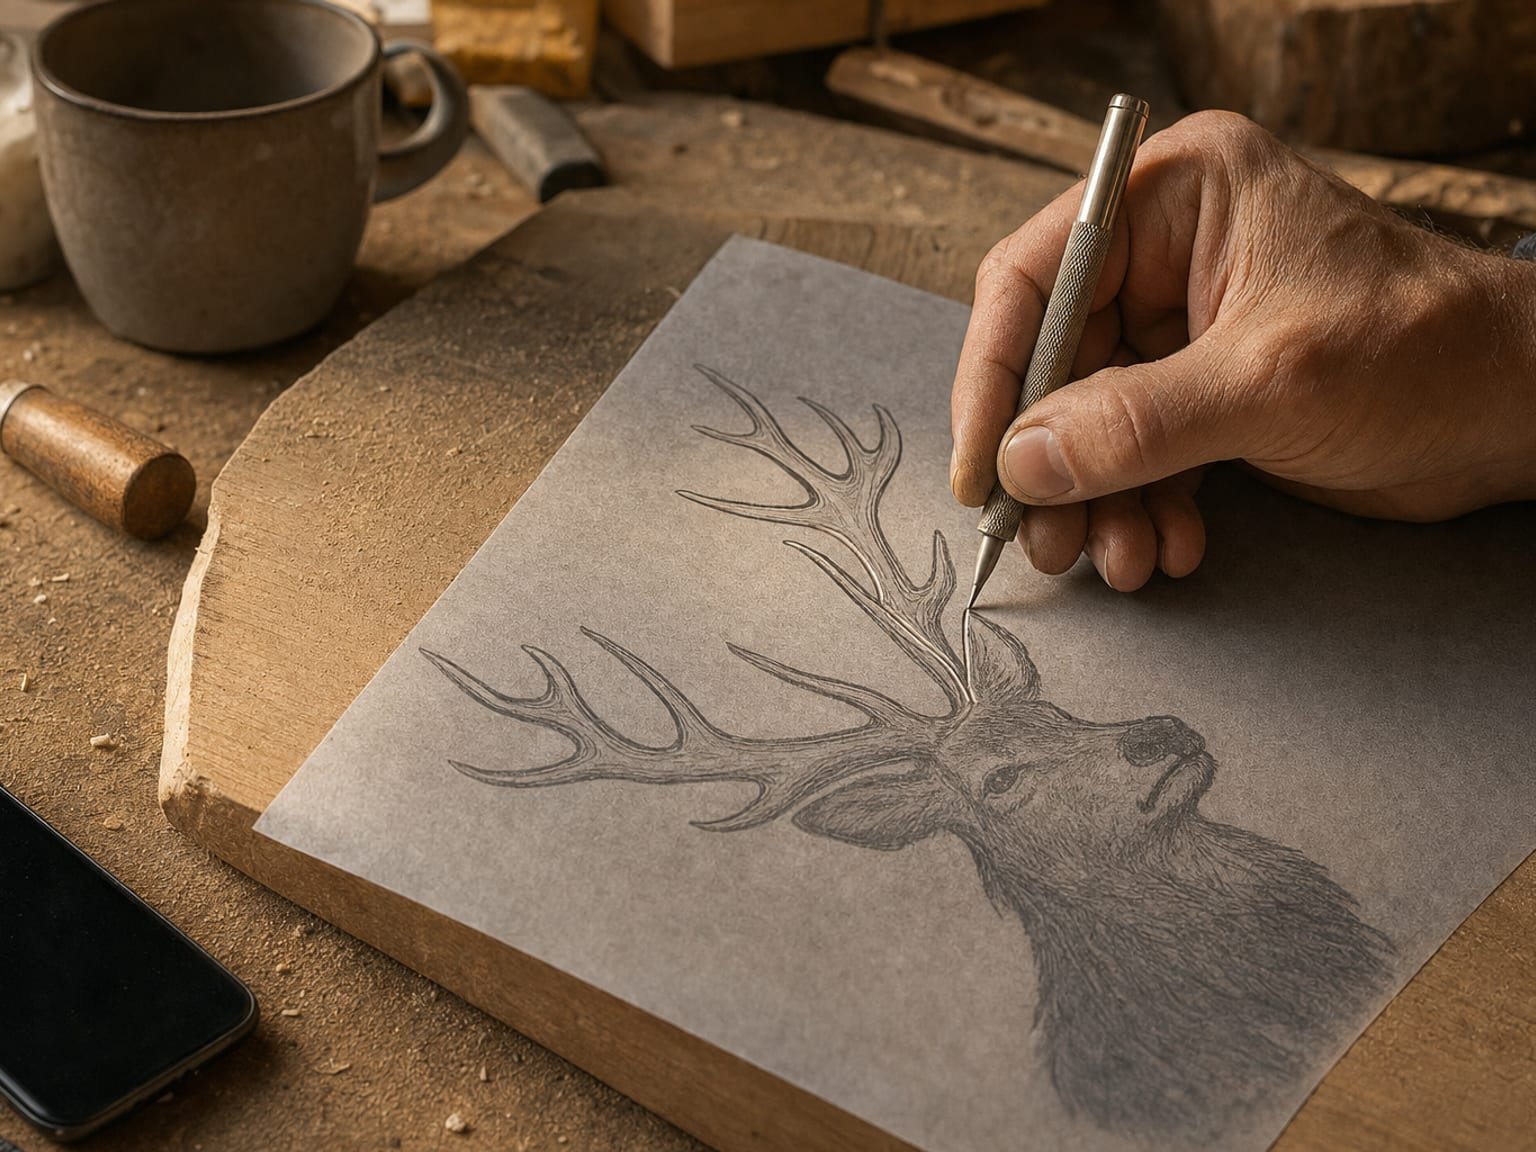
Looking through the screen, draw the contours you see onto the wood. Use a pencil if you will paint over the lines, a light stylus or fine pencil for a delicate guide, or a wood-burning pen if you are doing pyrography directly. Keep your head in one position while you work so the overlay does not appear to shift.
-
Seal the finished piece
Once the transfer, painting, or burning is finished, brush or spray a clear protective finish over the wood to lock in the artwork and protect the surface. Match the sealer to the medium — a water-based poly over acrylic, a wax or oil finish over a burn.
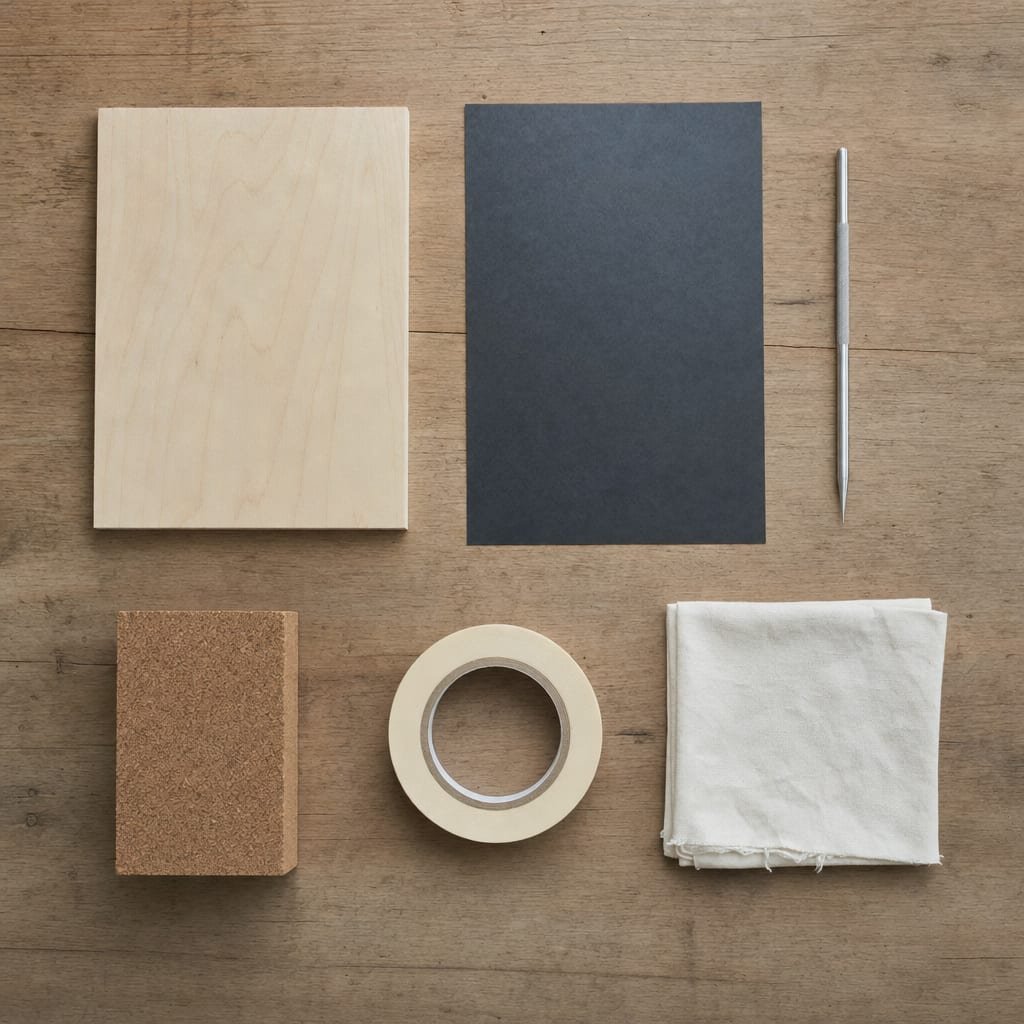
Wood-specific tips
Sanding sets everything up
Wood grain fights fine lines. A surface sanded to 220 grit takes pencil and burner tips evenly; a rough one drags and skips. Sand along the grain, not across it, and remove all dust before you start, or the first pass of graphite will smear.
Seal before graphite if you are painting
Raw wood is thirsty. Graphite and light pencil lines can sink into open grain and disappear, and paint bleeds along the fibres. A thin coat of clear sealer or gesso before you transfer keeps your lines crisp and your paint edges sharp. Let it dry fully and sand it lightly before tracing.
Tracing for wood-burning (pyrography)
Pyrography reverses the sealing rule: do not seal the wood before you burn, because finishes can scorch, discolour, or release fumes under a hot tip. Transfer the outline with a light graphite line or an AR-traced pencil guide, keeping it faint — heavy graphite can show through or interfere with the burn. Then follow the guide with the burner. A guide too dark to burn over cleanly is worse than no guide.
Painted wood signs and lettering
For a sign, layout accuracy matters more than anything. Seal and prime the board, then use AR or graphite paper to transfer a precise lettering layout, and check letter spacing on screen before you commit. AR is especially good here because you can nudge the layout on the board until it is centred before a single line goes down.
Seal after, always
Whatever the medium, finish with a protective seal. Bare wood absorbs moisture and dirt, and an unsealed pencil or paint layer smudges with handling. A clear top coat is the difference between a piece that survives and one that fades.
Common mistakes
- Tracing onto rough, unsanded wood. Grain drags the line and swallows detail. Sand to 220 first, every time.
- Skipping the seal before painting. Raw grain drinks graphite and bleeds paint. Seal or prime unless you are burning.
- Sealing before a wood-burn. Finishes scorch and fume under the tip. Burn on bare wood, seal afterwards.
- Pressing graphite lines too hard. Heavy transfer lines smudge, show through thin paint, and are hard to erase from grain. Keep the guide light.
- Holding the phone by hand for AR. The overlay drifts and both hands are occupied. Mount the phone on a stand.
- Transferring an accurate but weak composition. Check the crop and arrangement on screen before you trace, not after.
When another method still wins
AR is not the answer for every board, and it is worth being honest about that. For a very large panel or a full wall sign, a projector still wins — it throws the whole image at once, where AR asks you to work across a big surface in sections. If you are doing a production run of the same design — a batch of identical ornaments, coasters, or signs — a printed graphite-transfer template or a cut stencil is faster to repeat than lining up an AR overlay each time. And for same-size outline work on a small board, plain graphite transfer paper is quicker to set up than mounting a phone at all. The AR method earns its place on the large, odd, and one-off jobs; it does not have to win everywhere.
Frequently asked questions
What is the easiest way to transfer an image onto wood?
For a same-size design, graphite transfer paper is the easiest: print the image, lay coated paper underneath, and trace the lines so they offset onto the wood. To enlarge, or to work on a large or awkward board where a printout will not fit, AR tracing is easier still — you lock the reference over the wood through your phone camera and draw the lines you see, with no printing and no enlargement maths.
Should I seal wood before or after transferring an image?
It depends on the finish. If you are going to paint the transfer, seal or prime the wood first so graphite and paint sit on the surface instead of bleeding into the raw grain. If you are wood-burning, do not seal beforehand — sealers can scorch or release fumes under a hot tip. In both cases, apply a clear protective sealer once the artwork is finished.
How do you transfer a pattern for wood-burning?
Sand the wood smooth, then transfer the outline with graphite transfer paper or by tracing an AR-locked reference in pencil. Keep the lines light — graphite and pencil can smudge or show through a burn if pressed hard. Do not seal the wood before burning. Then follow the pencil guide with the burner tip.
Can I trace onto a large wooden board or sign?
Yes. For a large board, a printout and transfer paper stop working because you cannot print big enough. AR tracing scales the reference to any size on screen, so it handles large boards and signs well. For very large surfaces such as a full wall panel, a projector still wins because it throws the whole image at once.
Does the AR app cost money, and is the free web tool changing?
The free Grid Maker Pro web tool stays free forever and runs entirely in your browser — 82 grids, no account, nothing to pay. The AR app is a separate paid product that adds the one thing a browser cannot do: lock a reference over a real surface through the camera. Its free tier gives three AR traces of your own photo each month; paid plans are $29.99 a year, $6.99 a month, or $79 once for lifetime.
The AR app, plainly
- A separate app — not a paywall on the free tool. The browser tool stays free forever.
- Built by Sujith Puthran, a working artist of more than 15 years, to solve the AR-tracing job at his own bench.
- On Android via Google Play (com.gridmakerpro.app); an iOS version is planned.
- Runs on-device. Your reference photos stay on your phone.
- Free tier: 3 AR traces of your own photo every month. Paid: $29.99 / year, $6.99 / month, or $79 once for lifetime.
Sources
- Empress of Dirt. "Image Transfer Methods: How to Transfer Photos and Designs onto Wood and Other Surfaces." empressofdirt.net/image-transfer-methods. Accessed 1 July 2026.
- Alberti, Leon Battista. On Painting (Della Pittura), 1435 — the earliest written account of the gridded veil (velum) used to transfer proportion accurately, the ancestor of the grid method.
Update log
- — Guide published: wood-specific transfer methods, the AR step-by-step, and sealing tips for painting and pyrography.
Trace your reference straight onto the wood
The free web tool overlays 82 grids on your photo in the browser, forever. When you need to lock that reference over a real board and trace it by hand, the AR app adds exactly that.
Get the app →One brief every other Tuesday.
One overlay, one historical reference, one workflow note. Studio notes from working artists, photographers, and designers. No spam, unsubscribe in two clicks.