
Trace a portrait onto canvas with AR, then paint
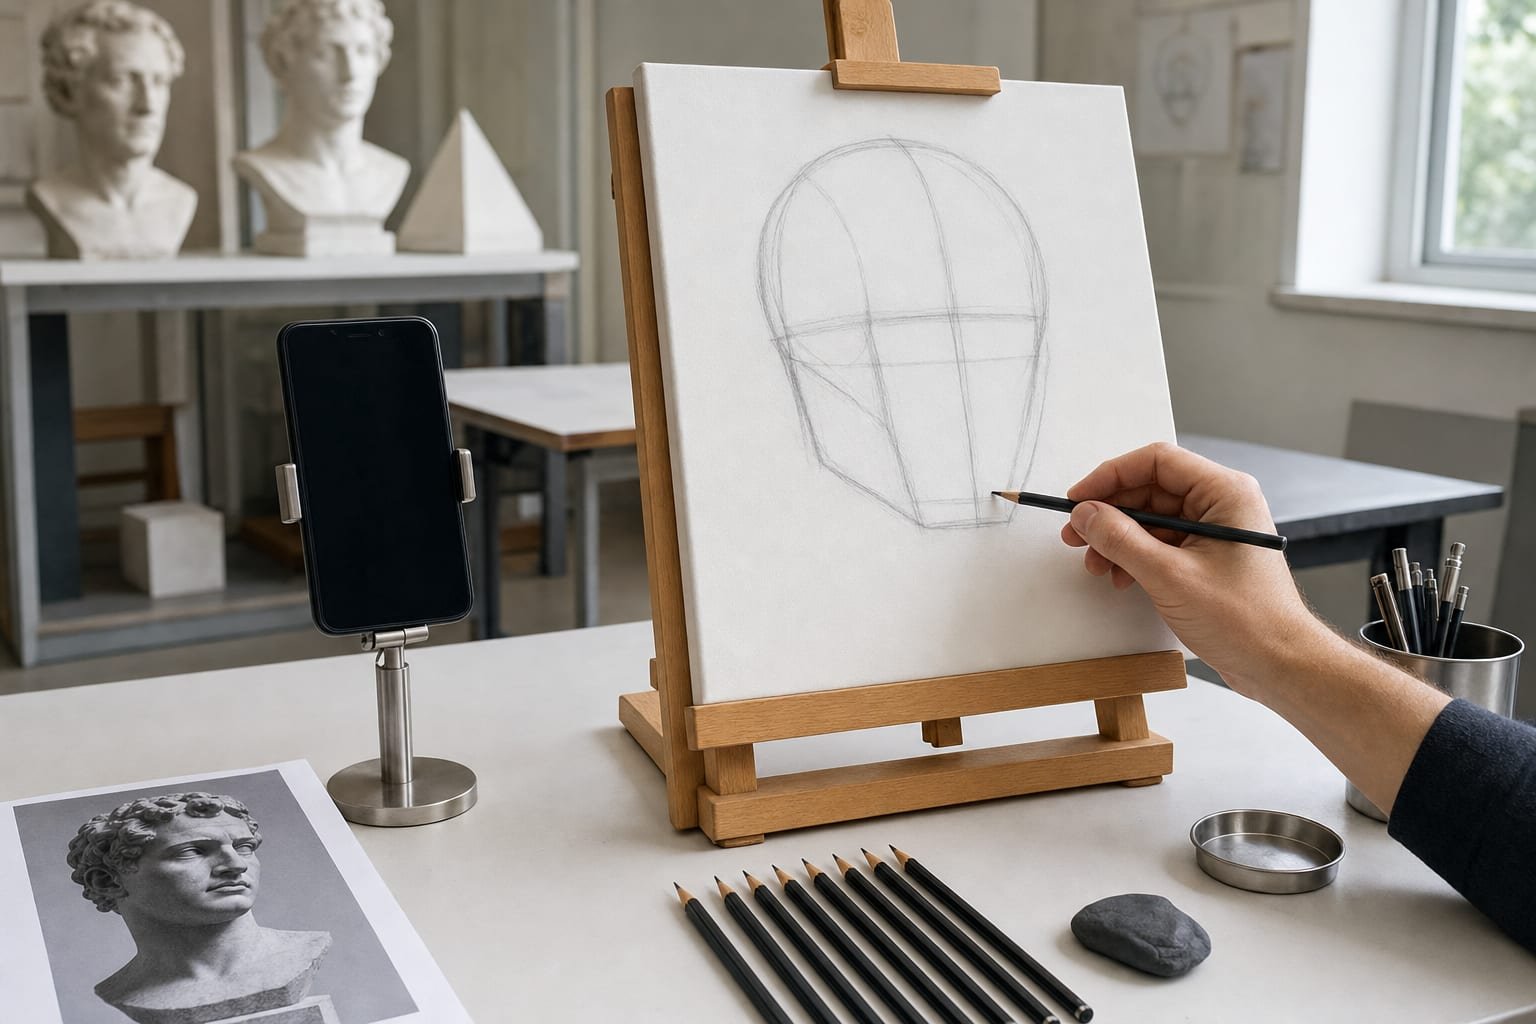
A 2-session unit for high school or adult beginners. Students lock a reference photo over a real canvas through a phone camera, block in the head and features by hand, check the proportions against the overlays, then set the phone aside and paint. The block-in gets them past the blank-canvas fear fast; the proportion checks are where the actual learning lives.
This lesson plan draws on the 82 composition overlays every visual artist should know and use.
Learning objectives
By the end of the unit, students will:
- Block in a head from a reference photo, placing the cranium, jaw, and centre line before any detail
- Locate the brow, nose base, and mouth using the thirds of the face and a head-construction overlay
- Explain the difference between using AR to place proportions and copying a photo blindly
- Check their own block-in against the overlay and correct a feature that sits too high or too wide
- Carry the proportion landmarks into a painted portrait done in their own hand
Standards alignment
- VA:Cr1.2.HSIShape an artistic investigation of an aspect of present-day life using a contemporary practice of art or design.
- VA:Cr2.1.HSIEngage in making a work of art or design without having a preconceived plan.
- VA:Re8.1.HSIInterpret an artwork by analyzing use of media to create subject matter, characteristics of form, and mood.
Materials
- A stretched canvas or canvas board per student, plus a graphite pencil or thin charcoal for the block-in
- A phone or tablet per student or pair for the AR reference; the free web tool on a laptop for the proportion overlays
- One clear, well-lit reference portrait per student — front-lit, eyes-level, minimal distortion works best for a first attempt
- A small phone stand or clamp so hands stay free while the AR reference holds position
- Paints (acrylic or gouache travel well in a classroom), brushes, a palette, and water or medium
Lesson sequence
Blocking in the portrait and checking proportion
45 minutesShow two portraits side by side, one with the eyes placed too high on the head, one with them near the vertical midline where they usually sit. Ask which looks off, and why. Most students feel the error before they can name it. Name it for them: the eyes fall close to halfway down the head, and getting that one landmark right fixes most beginner portraits. This is what the overlay will help them check.
- (4 min) Students set up the canvas and clamp the phone so the reference photo is locked over the canvas surface through the camera. The Grid Maker Pro AR app is a separate paid add-on that does this AR step; its free tier gives three traces of your own photo each month, which is enough for one classroom portrait per student. The 82 grids and the whole web tool stay free forever in the browser.
- (6 min) With the reference locked in place, students block in only the big shapes by hand: the ball of the cranium, the wedge of the jaw, and a light centre line down the face. No eyes, no detail yet. AR places the shapes; the hand does the drawing.
- (8 min) Students open the head-construction overlay in the free web tool on a laptop and compare it to their block-in. Does the brow line sit where the overlay puts it? Is the head too narrow? They mark the brow, nose base, and mouth as light guide lines across the block-in.
- (9 min) Refine by hand. Students place the eyes on the brow line, spaced roughly one eye-width apart, then the nose and mouth on their guide lines. They are correcting against the overlay, not tracing the photo detail by detail.
- (3 min) Honest note to the class: AR gets you a correct block-in fast, but the grid method — drawing a square grid and copying cell by cell — builds the measuring eye that lets you eventually work without any aid. Use AR to get moving; keep practising the grid to get better.
- Which landmark was furthest off in your first block-in — the brow, the nose, or the width of the head?
- How is checking against the overlay different from copying the photo line for line?
- If your phone died mid-lesson, could you finish the block-in with a hand-drawn grid instead? What would that cost you in time?
Painting the blocked-in portrait
45 minutesAsk students to squint at their reference until the details blur and only large light and dark shapes remain. That squinted version is what they paint first. The block-in gave them the drawing; today they add value and colour without losing the proportions they already fixed.
- (6 min) Students put the AR phone aside and glance at the reference only as a still image now. They lay in the largest dark shape (usually hair or shadow side) and the lightest light, establishing the value range before mixing skin tone.
- (18 min) Work from big shapes to small: the mass of the face, then the planes of the cheek and forehead, then the features last. Because the block-in landmarks are already correct, a feature that starts to drift can be pulled back to its guide line. Encourage brush marks in the student's own hand rather than photographic smoothing.
- (6 min) Mid-point check: hold the painting at arm's length beside the reference. If the likeness slipped, it is almost always a feature that migrated off its landmark. Correct the placement, not the rendering.
- Did the accurate block-in free you to focus on colour and value, or did you still fight the drawing?
- Where does your painting look most like you and least like the photo? Is that a flaw or a signature?
- Now that you have felt how the landmarks hold a likeness, could you block in your next portrait with less help?
To keep building the measuring eye, read how to trace a photo onto paper and try the same portrait with the square-grid method. The AR step lives in the Grid Maker Pro AR app; the overlays stay free in your browser.
Assessment rubric
4-point scale per criterion:
| Criterion | 4 — Mastery | 3 — Proficient | 2 — Developing | 1 — Beginning |
|---|---|---|---|---|
| Block-in structure | Cranium, jaw, and centre line placed correctly before detail | Structure sound with minor placement slips | Some structure but detail started too early | No clear block-in stage |
| Proportion landmarks | Brow, nose, and mouth match the overlay across the face | Most landmarks correct | One or two landmarks noticeably off | Landmarks not established |
| Correction from feedback | Found and fixed a drifting feature independently | Corrected most issues with prompting | Caught a few issues | Errors left uncorrected |
| Painting & ownership | Confident value blocks in the student's own hand, likeness held | Solid values, likeness mostly held | Values flat or likeness drifted | Painting stage not reached |
Extensions
- Same face, no aid: Have students block in a second portrait of the same person from the same photo without AR, using only the square grid or freehand measuring. Compare the two to feel what the aid was carrying.
- Cross-disciplinary (biology): Connect the thirds of the face to real skull structure — the brow ridge, the nasal aperture, the dental arch — and discuss why the proportions are anatomical, not arbitrary.
- Differentiation: Students who need support use a front-lit, symmetrical reference and a longer block-in stage; advanced students take a three-quarter pose where the centre line curves and foreshortening enters.
- Ethics & skill: Discuss when using AR or the grid is a smart tool and when hand-measuring practice matters more, tying back to the tracing guide. Tools place proportion; skill is built by repetition.
More lesson plans: browse all. Want this plan customized for your curriculum? Email us.