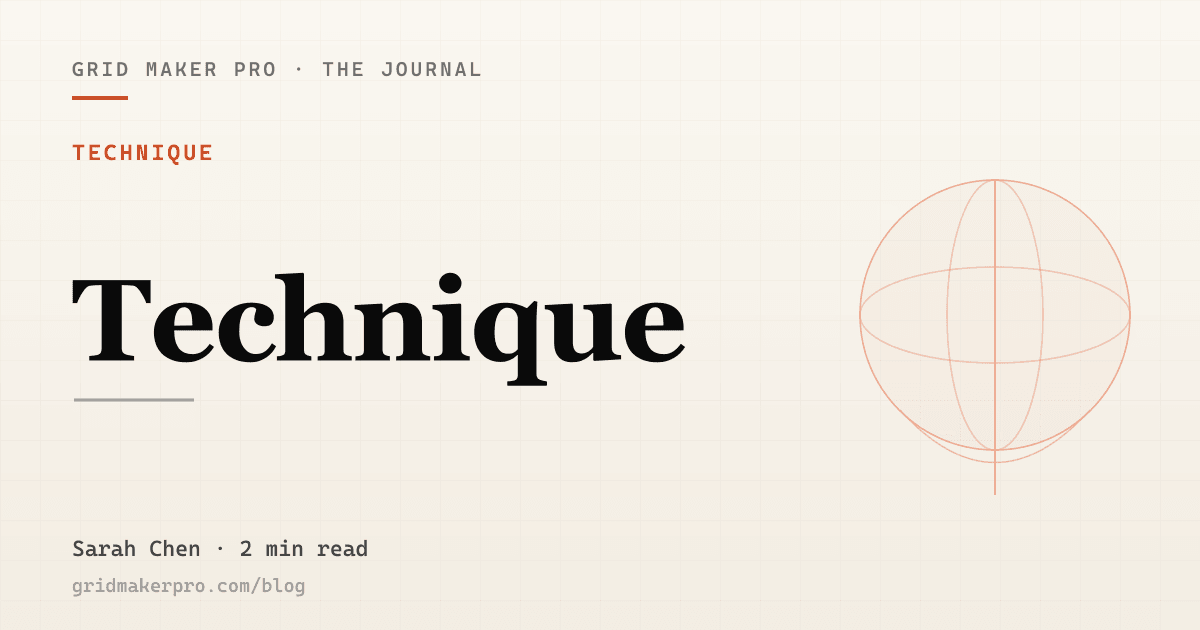
Andrew Loomis published the head-construction method in 1942. Eight decades later, every atelier still teaches it. The method boils down to one geometric move: a sphere with one side flattened. But the published Loomis (Drawing the Head and Hands, 1956) shows the sphere from a single angle. Real students need it from every angle. This post is a five-overlay walkthrough — front, three-quarter, near-profile, profile, tilted-up.
Front view
The construction is the easy one. Sphere is a circle, side plane is a small ellipse, brow line is horizontal, lower eye-line is two-thirds down. Practice this fifty times before moving on.
Three-quarter
This is the angle 80% of portrait commissions ask for. The sphere is still a circle; the side plane shifts to one side; the brow + eye-lines curve around the cranium following its 3D geometry. The trick is the ear position — Loomis places it on the equator of the sphere, just behind the brow-line vertical.
Near-profile
The sphere is still a circle, but now you can see only one eye + the ridge of the nose. The far brow disappears; the close cheek bulges out. Most beginners draw a flat side here; Loomis insists on the curvature.
Profile
The sphere is a circle, the side plane is gone, and the construction becomes a single vertical bisecting the brow + chin. This is where the Reilly method takes over from Loomis — the rhythm curves through the head become more important than the sphere itself.
Tilted up
A head tilted up changes the sphere/plane angle in ways that throw beginners. The brow line curves up across the top of the sphere; the eyes appear closer to the top of the head than they do in any other view. Foreshortening crushes the chin-to-brow distance.
Closing — the tool
Each of these is a one-click overlay in Grid Maker Pro's Loomis Head tool — drop in a reference photo at any angle, the overlay snaps to the head, you draw the construction in pencil before any colour.