Whether you’re a beginner artist looking to improve your accuracy or a professional seeking to speed up your workflow, GridMakerPro transforms how you approach reference-based drawing. This guide will walk you through the essential steps to turn any reference image into a precise sketch using the grid method—the smart way.
Why use the grid method?
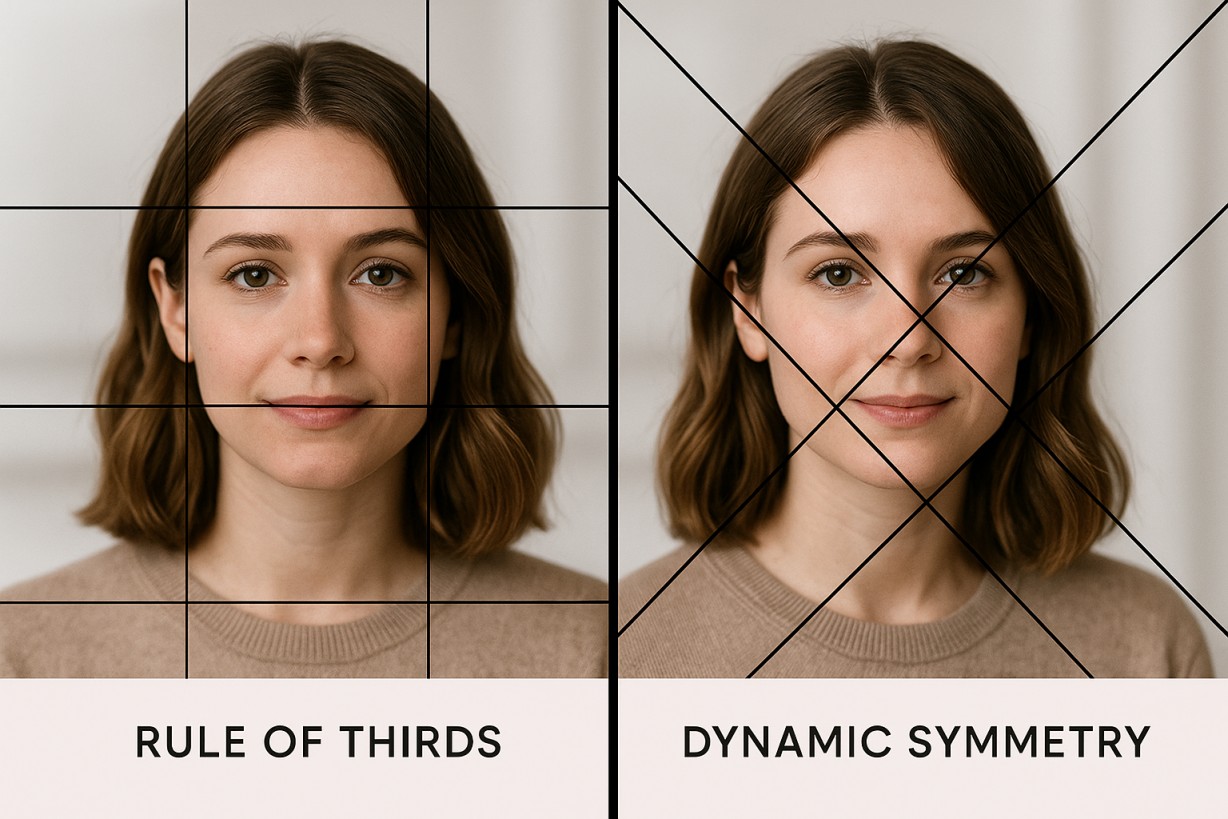
The grid method has been used by artists for centuries, from Renaissance masters to contemporary illustrators. It works by breaking down complex images into manageable, smaller sections, making it easier to:
- Accurately capture proportions and spatial relationships
- Reduce overwhelm when tackling detailed or complicated subjects
- Train your eye to see shapes, values, and distances more precisely
- Build confidence in your drawing abilities
GridMakerPro modernizes this time-tested technique, eliminating the tedious manual work of drawing grids on your references and paper.
Step 1: Upload your reference image
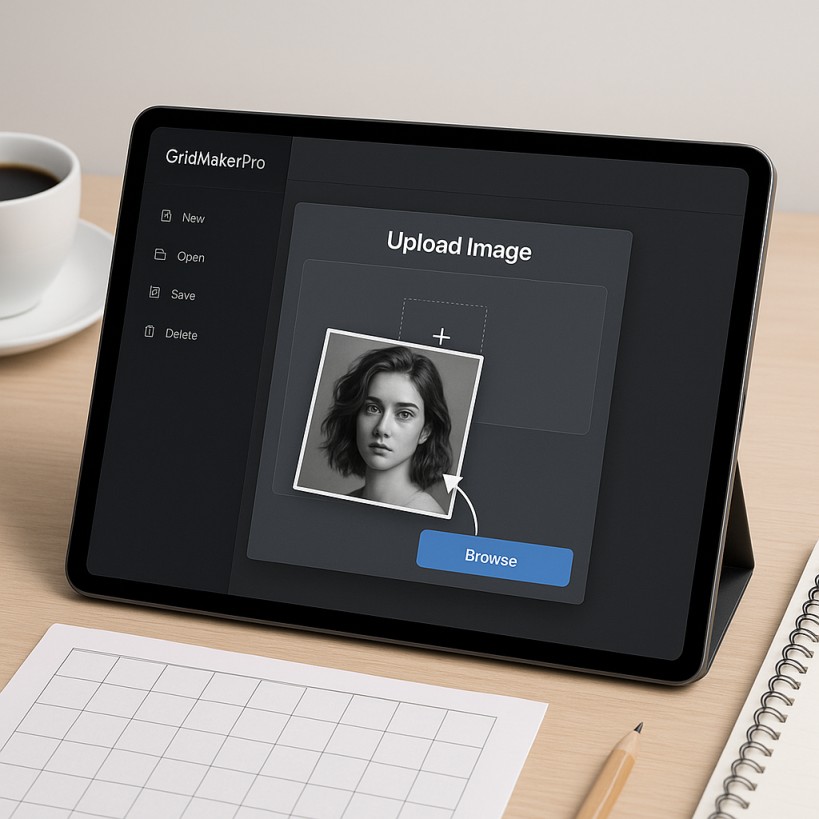
Start by selecting a reference photo you want to draw. This could be a portrait, landscape, still life, or any subject that inspires you. In GridMakerPro, simply upload your image—the tool accepts all common formats including JPG, PNG, and HEIC files.
Pro tip: Choose references with good lighting and clear details, especially when you’re first learning. High-contrast images with defined edges are easier to translate through the grid method.
Step 2: Choose your grid configuration
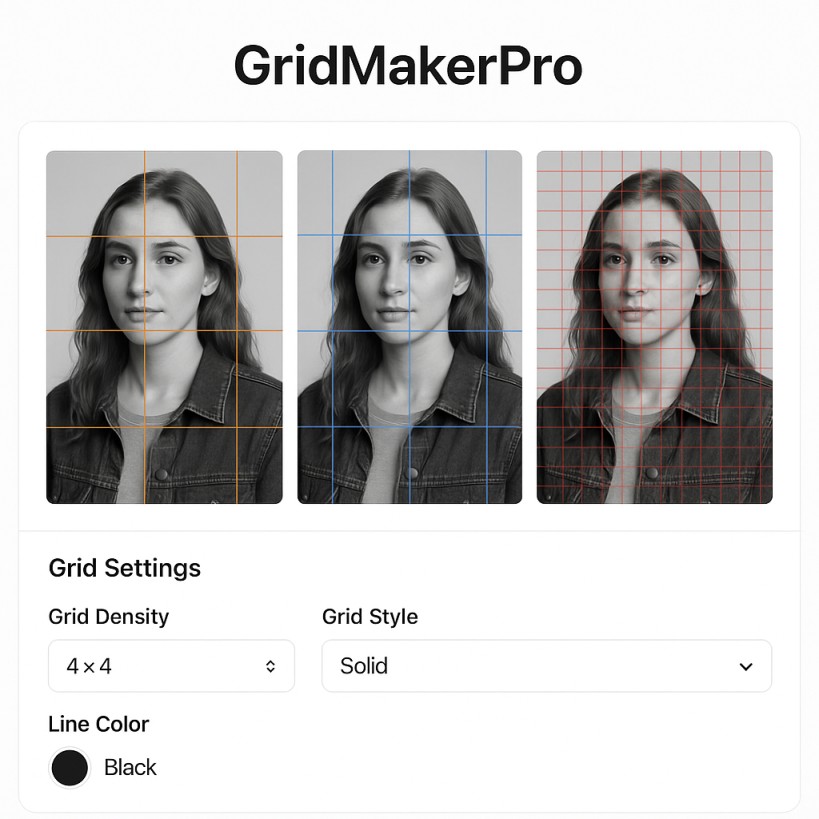
GridMakerPro offers flexible grid options to match your needs:
- Grid density: Start with fewer squares (like 4×4 or 6×6) for simple subjects, and increase density (8×8, 10×10, or higher) for complex, detailed images
- Grid style: Select from various line styles and colors that provide good contrast against your reference
- Numbering options: Enable row and column labels to help you navigate between your reference and drawing surface
The right grid density depends on your subject’s complexity and your skill level. More squares mean more accuracy but also more time investment.
Step 3: Print or display your gridded reference
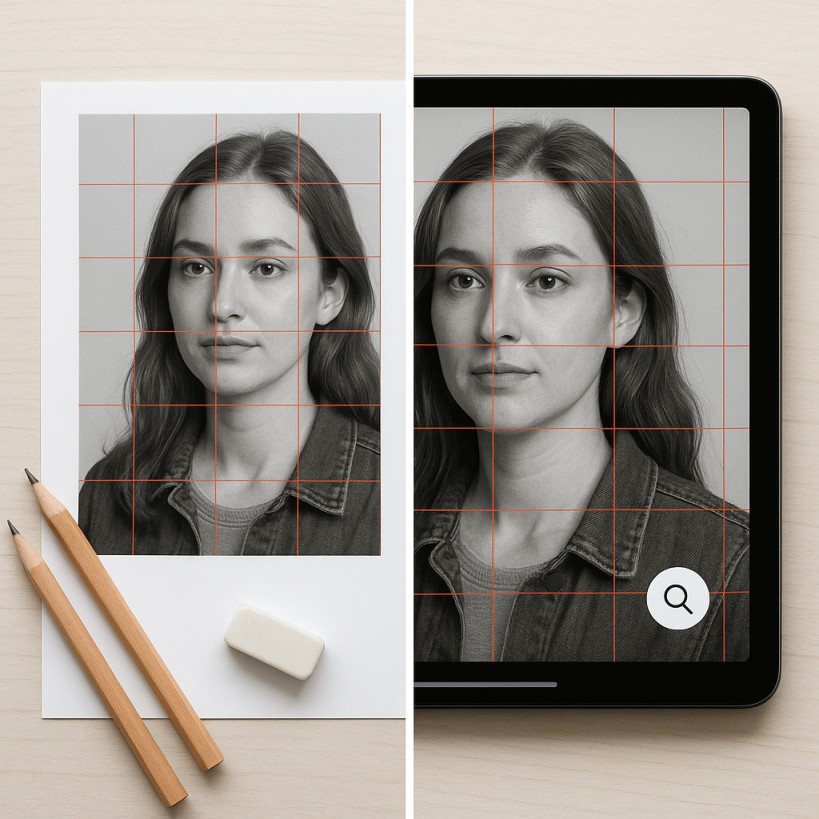
Once you’ve applied the grid to your reference, you have several options:
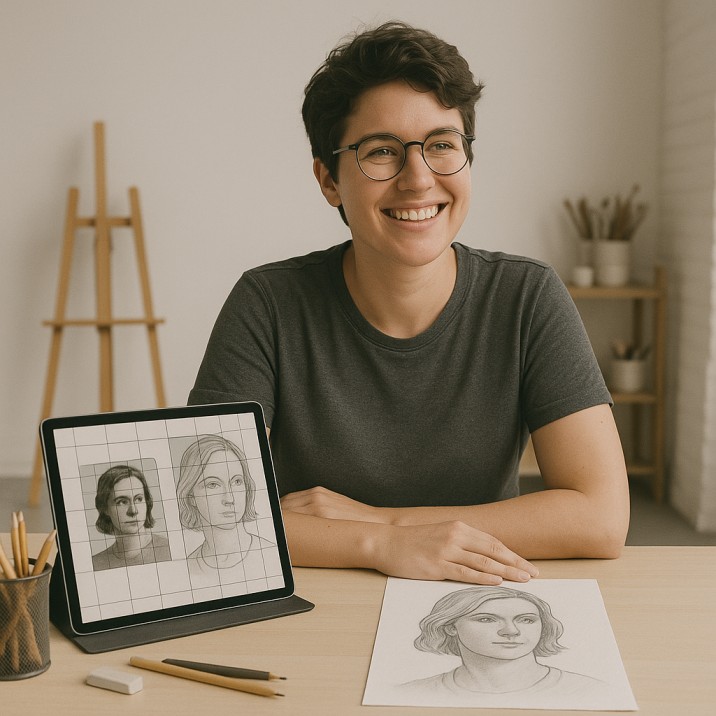
Digital display: Keep your gridded reference on a tablet or second screen while you draw. This approach is eco-friendly and allows you to zoom in on specific grid squares for detail work.
Print it out: Print your gridded reference for a traditional workflow. This works beautifully if you prefer working without screens or need to reference your image at various angles.
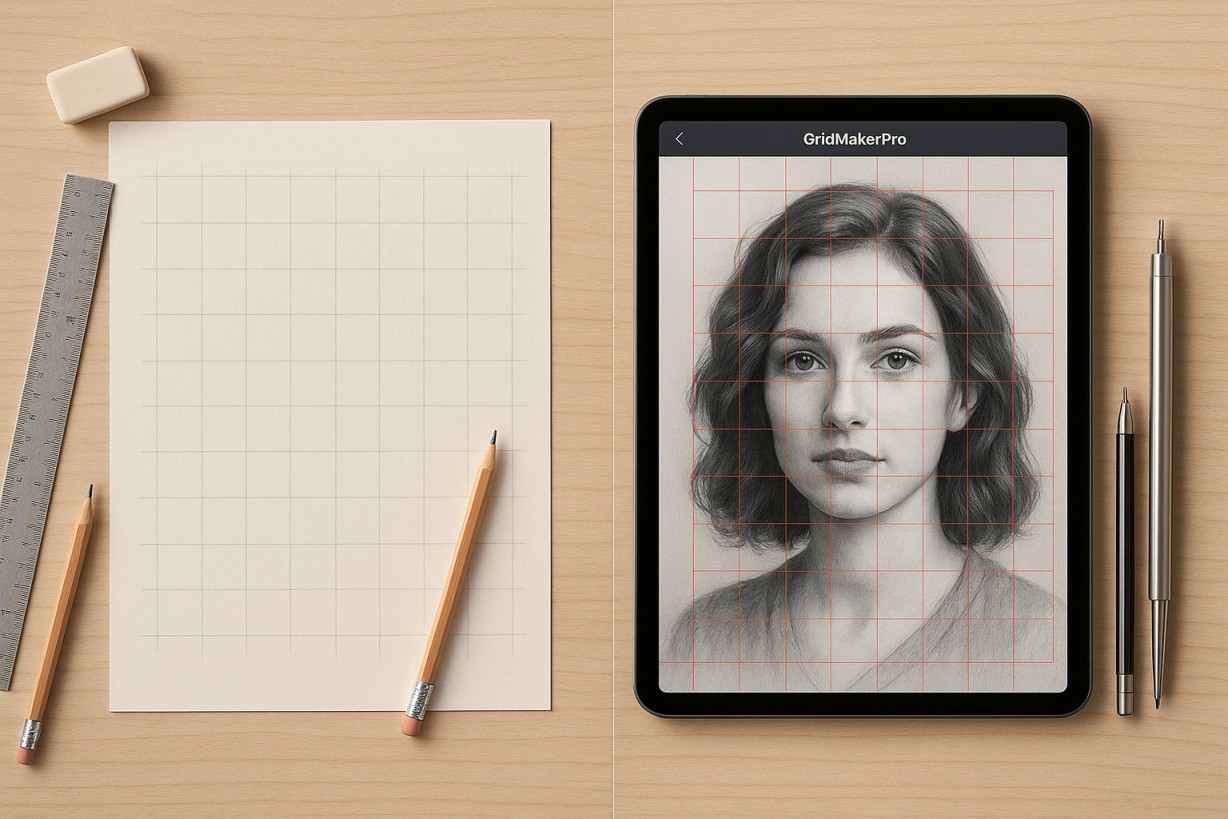
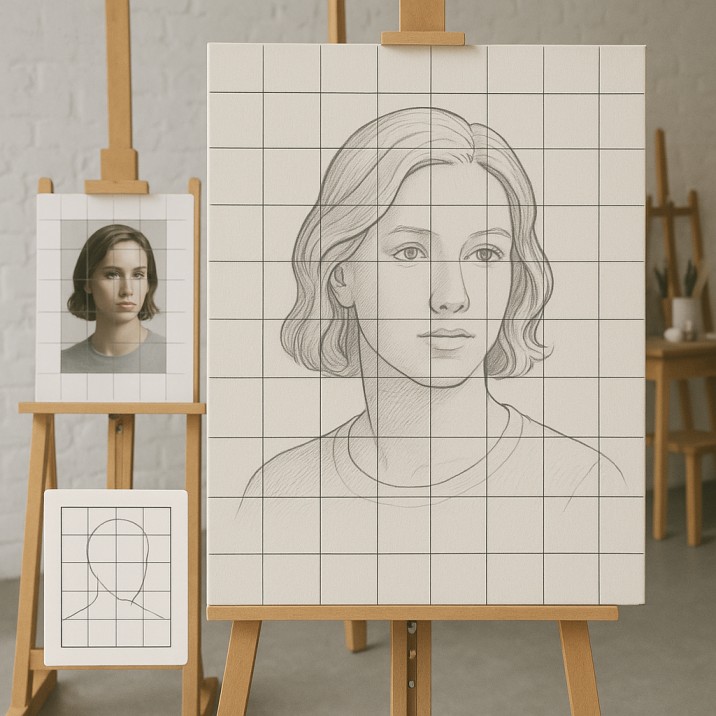
Step 4: Create a matching grid on your drawing surface
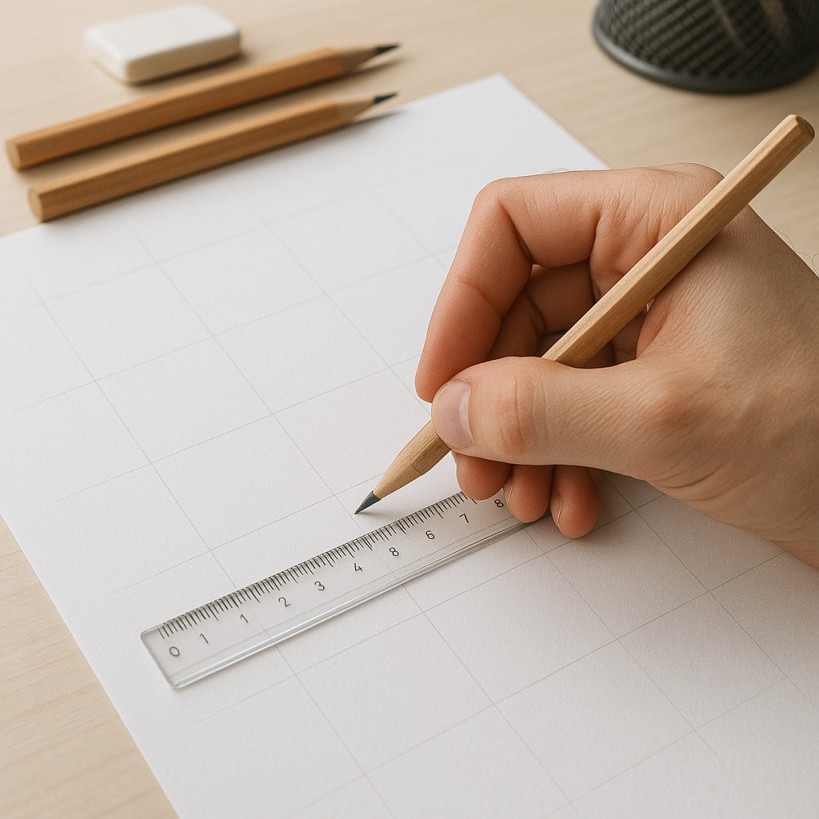
The key to the grid method’s success is creating an identical grid layout on your drawing paper or canvas. You can:
- Use a ruler and pencil to lightly draw a matching grid (make sure it’s the same number of rows and columns)
- Print a blank grid from GridMakerPro sized to your paper
- Use a light box with a printed grid underneath your drawing surface
Important: Draw your paper grid lightly so you can erase it later without damaging your finished artwork.
Step 5: Draw square by square
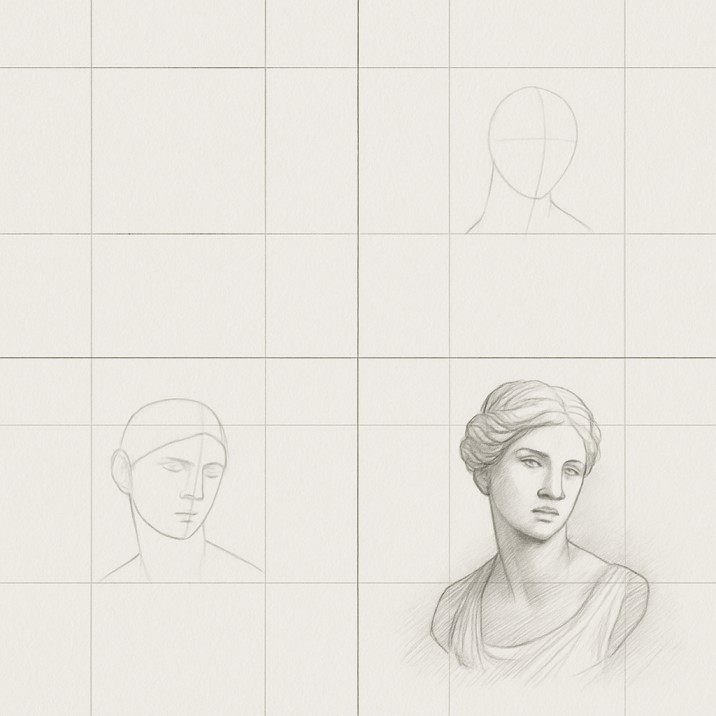
Now comes the fun part—drawing! Here’s the smart approach:
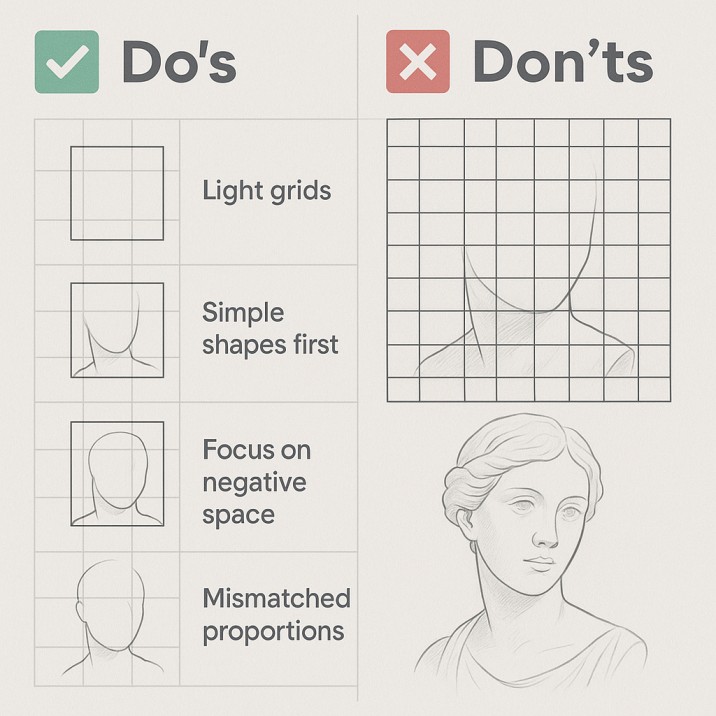
- Start with basic shapes: Look at each grid square and identify the simple shapes within it. Don’t get caught up in details yet.
- Focus on one square at a time: This prevents you from feeling overwhelmed and helps maintain accuracy. Where does the line enter the square? Where does it exit?
- Check relationships: Pay attention to where lines intersect with grid lines. If a curve crosses the grid line one-third from the bottom in your reference, it should do the same in your drawing.
- Work systematically: You might work left to right, top to bottom, or start with the focal point and work outward. Find what feels natural to you.
- Step back regularly: Take breaks to view your drawing from a distance. This helps you spot proportion issues before you’ve invested too much time in details.
Step 6: Refine and finish
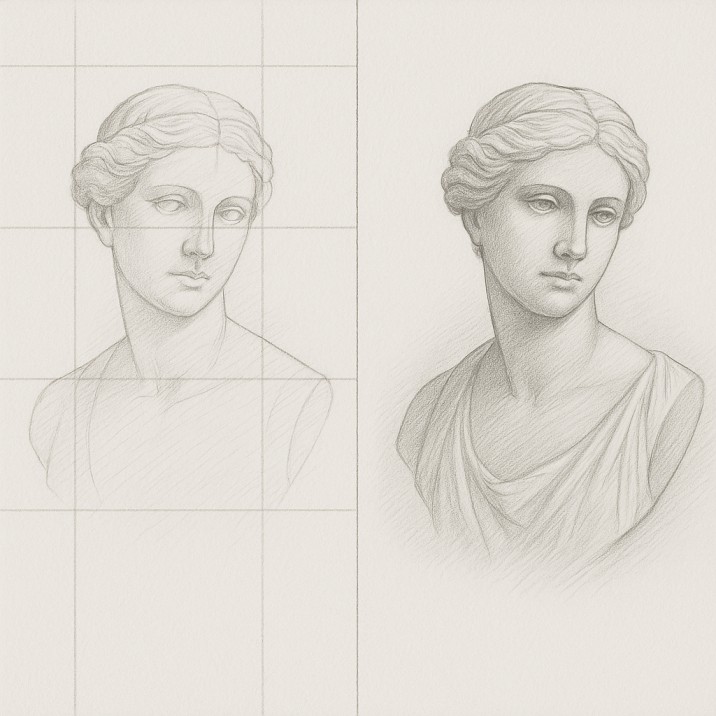
Once you’ve sketched out the basic structure using the grid as your guide, you can:
- Carefully erase the grid lines from your drawing
- Add details, shading, and finishing touches
- Apply color if you’re working in a color medium
Remember, the grid is your foundation, not your limitation. Once the proportions are correct, let your artistic interpretation shine through.
Common mistakes to avoid
Rushing through squares: Take your time with each section. Accuracy in the early stages prevents major corrections later.
Ignoring negative space: Pay as much attention to the empty spaces around your subject as to the subject itself.
Getting too detailed too soon: Block in the basic shapes and proportions first. Details come last.
Not matching your grid exactly: If your reference has a 6×8 grid, your paper must also have a 6×8 grid with the same proportions.
Beyond the basics
As you become comfortable with the grid method, you can:
- Experiment with scaling—use the grid to draw your subject larger or smaller than the reference
- Try different grid densities to find your sweet spot between speed and accuracy
- Combine the grid method with other techniques like sighting and measuring
- Gradually reduce your reliance on grids as your observational skills improve
The smart workflow advantage
GridMakerPro eliminates the time-consuming setup that traditionally discourages artists from using the grid method. No more:
- Measuring and drawing grids by hand on expensive prints
- Worrying about damaging reference photos
- Starting over if you need a different grid density
With GridMakerPro, you can experiment with different configurations instantly, helping you learn what works best for different subjects and styles.
Ready to start?’
The grid method isn’t cheating—it’s a legitimate tool used by master artists throughout history. GridMakerPro simply makes this proven technique more accessible and efficient. Whether you’re drawing portraits, animals, architecture, or any other subject, the smart reference-to-sketch workflow will help you create accurate, confident artwork.
Upload your first reference image today and discover how GridMakerPro can transform your drawing practice. Happy sketching!